
From clay to bronze
Since I’ve been making sculpture and bronze in particular, I have met very few people outside of the foundry who are familiar with the details of this ancient process. I am often asked to explain, hence this blog. Metal casting using wooden patterns to made hollow forms in sand is more easily understood. But in sculpture, the reproduction of complex form, detail and the marks of the sculptors tools and hands in the finished work means a different process in large part. It has been around for millennia - lost wax casting or cire perdue in the French. Examples date back to 3,000BCE, but rather than get bogged down in history I’ll explain the process of making a portrait bust from start to finish, keeping it simple. You can see photographs of quite a few of these stages of the process if you click to following link to my blog of the making of ‘The Captain’.

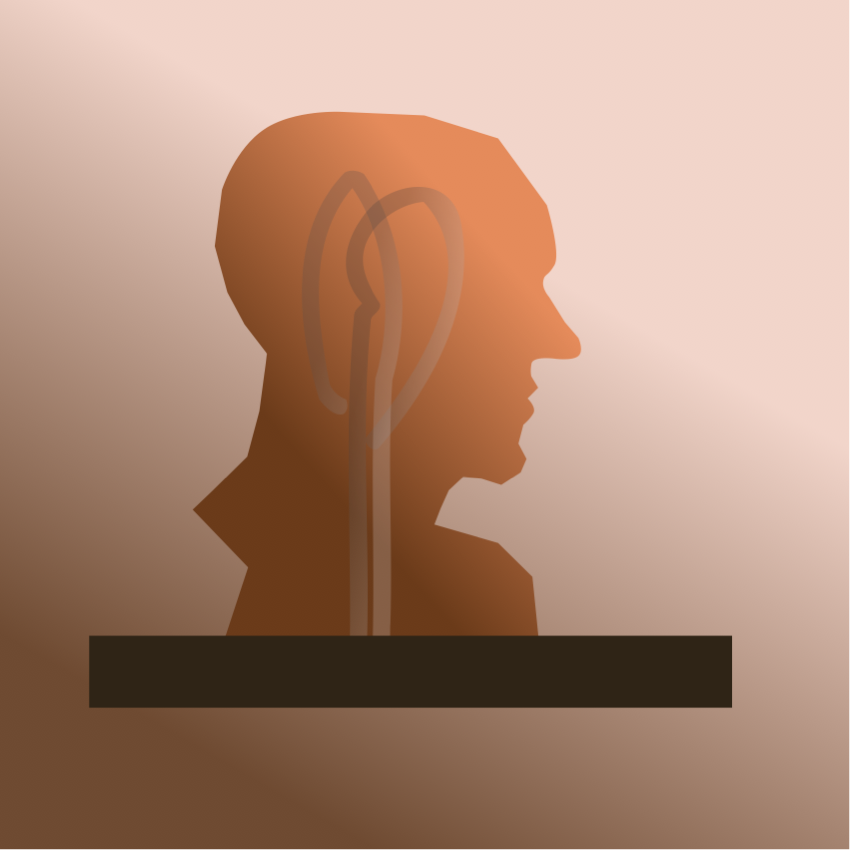
1 The Armature
The clay sculpt requires a support frame to suit its form. This is often made from steel or aluminium rods and wires connected to a suitable base. The armature must be robust enough to support the process of the sculpt and support that weight plus the weight of the moulding process without sagging or moving.
2 The Clay Sculpt
Working from model, sketches or direct from the imagination, clay is built up over the armature to develop the rough form of the sculpt. Traditionally water based clay (your pottery variety) is used for this and the clay needs to be wetted regularly to keep it moist and prevent cracking.
In my work I prefer to use a sculptor’s plastelina (or just plasticine) which is available from various manufacturers in a variety of grades of hardness. Plastelina is softened by heat not water and needs to be warmed sometimes from room temperature for quick application.

3 The Finished Sculpt
The sculpture is finished completely to what the sculptor wants to produce in bronze. The clay can be smooth or rough as the sculptor determines. For larger works the sculpt is often carefully cut into pieces, such as removing arms and legs to allow these to be carefully moulded and cast separately. The finished bronze pieces are then welded together and finished as described later on.
Now begins the process of moulding the sculpt, usually in multiple parts which can be removed from the sculpt and reassembled.

4 The First Coat of Silicone Rubber
The first thin coat of flexible, durable silicone rubber is the most important. This is often applied by hand and compressed air used to make sure there are no bubbles and the finished sculpt is completely coated. There are quite a few ways of doing this, but this is the simplest and easiest to understand and illustrate. Quality silicones typically don’t stick to anything but silicone so the various layers and buildups bond to each other.

5 The 2nd Coat of Silicone Rubber
My illustration shows this view in section as if it was cut in half to make it a bit clearer. If the first coat is done well the second coat can be more liberally applied to build up a durable thickness of rubber and fill around overhangs and undercuts. At this stage additional keys and registration shapes can be added to the silicone to ensure the mould only goes together one way and the silicone is fixed in position and can’t move in further stages.

6 The Mother Mould
Because the silicone is flexible, it needs to be supported when the sculpt is removed to ensure the shape of the sculpt can be accurately recreated. To support the silicone, a ‘mother mould’ of rigid fibreglass or reinforced plaster is built around the silicone layers in a way that allows it all to be removed in interlocking sections. Again, there are various ways to do this, but we are keeping this simple and just focusing on the general principle.

7 Stripping out the Sculpt
This part is rarely tender on the original sculpt. The mould sections are carefully moved apart together with the associated silicone layers beneath. Eventually the clay sculpt is freed and removed completely.

8 Cleaning up the Mould
Now the original sculpt is completely removed. Little bits of the sculpt inevitably get torn off and need to be cleaned out from the completed silicone mould sections. Because the silicone is robust, it is fairly easy to clean this all up and reassemble all the parts ready for the next stage. The mother mould sections are bolted or clamped together to prevent movement in the next stage. Remember, the illustration still shows this in section so it is a bit clearer to see.

9 The Wax Shell
The first thin layer of wax is often hand painted onto the silicone mould sections before the mould parts are reassembled. The assembled mould is then filled with wax and left to cool briefly until the solidified wax shell is the thickness of the metal required for the finished casting. The rest of the wax is poured out and the wax left to cool.

10 Preparing the Wax
Bronze casts are rarely solid due to the amount of shrinkage as the metal cools, they are hollow to facilitate this and to save material. The wax is now a replica of the sculpt but as a hollow wax shell around 4mm thick. It has to be thicker as the structural requirement for larger sculptures dictate. There can be little bubbles in the surface of the wax which need to be filled by hand. Seam lines from the mould also need to be removed and the wax prepared to match the sculptor’s final vision in metal.

11 Adding Wax Sprues and Pouring Cup
Next the sprues and pouring cup are added to the wax shell. Once invested in the mould material, these become the channels which feed the molten bronze to all parts of the casting so that the mould is completely filled with excess metal provided in the cup for the cast to ‘draw down’ as the cooling metal shrinks. Without this excess metal to draw from the cast can crack.

12 Dipping the Wax to Create the Ceramic Shell
This stage is called ‘investment’. Ceramic shell casting is one of the most significant modern refinements to the bronze casting process. Historically, mass moulds were made using combinations of sand, clay and plaster. This made them extremely heavy, subject to cracking and also required additional ‘risers’ for the air to be pushed out of the mould by the molten metal. Ceramic shell casting uses only a thin but porous ceramic shell which permit air in the cast to be pushed out through the shell itself. This greatly simplifies the investment process.
The wax is dipped in a ceramic slurry and then dusted with various refractories to build up a ceramic shell about 5 or 6mm thick. The wax is coated inside and out.

13 Burn out and Firing the Ceramic Shell
The ceramic shell coated wax is placed in a kiln and heated to melt out the majority of the wax, and then fired to a ceramic bisque temperature of around 1,000°C. This completely removes all traces of the wax and leaves a hollow ceramic shell which is to receive the molten bronze. It is essential that all traces of wax and even soot are removed from the mould as these will combust explosively if contacted by bronze at that high a temperature.

14 The Best Part - Pouring the Bronze
The bronze formulation is the other major development in the modern foundry process. Silicon (the metal not the stuff in the tube) bronze is now used instead of the traditional bronze alloy. The melting point of Silicon Bronze is around 1,000°C also. At the foundry the burn out kiln is usually adjacent the furnace for the crucible so the molten metal can be efficiently poured into the hot ceramic shell. This is the best part for me and the culmination of the process of transformation of material from clay to bronze. The heat is unbelievable!

15 The Cooled bronze Cast
Once it has cooled, the ceramic shell must be removed. This can be done carefully with hammers and finely with a gentle sand blasting. Then the sprues and pouring cup are cut off and the pieces added to the next pour.

16 Removing the Sprues and Chasing the Cast
Once the sprues and cup are removed the cast can be inspected for defects. If the cast has multiple parts these can then be welded together. Any defect such as pitting can similarly filled. The surface is then chased to remove any evidence of the welds and make good the sculpture surface to match. If the sculpture is to be mounted on a plinth, these connections are also welded on at this point.

17 The Completed Bronze
Bronze is a very reactive metal. If not treated it will take on a coloured patina based on its environment and the chemical elements it comes in contact with. For this reason, it is always patinated to a colour in keeping the sculptor’s vision. Patinas can produce a variety of colours and can be applied or worked to let the metal show through also as required. The most durable patinas are acid based and torch applied to the heated sculpture. Patination is an art in itself and essential to ensure the sculpture maintains its finish.

18 Patination and Mounting
The patinated sculpture is then protected with coating of varnish or special wax to seal the metal from exposure to the atmosphere and random colouration. It is mounted on a plinth if required and has completed its transition from clay to bronze!
So there you have it! This is of course only a very brief introduction to the process. Sculpture in bronze is a profound collaboration between artist and foundry. You may be interested to follow Perides Art Foundry www.peridesartprojects.com.au or on Instagram @peridesartprojects.
For those of you wondering about the illustration: I produced them on my iPad with the Vectornator App which is free!
Kind regards,
Cam