‘The Captain’
In late 2020 I received a commission from a great couple for a painted portrait for the husband’s 60th birthday coming up in 2021. They then purchased a beachside house with magnificent views and limited wall space for a painted portrait so we decided to change the commission to a bronze bust. This blog is about the process of the production of the sculpt through to the finished bronze bust. It will help if you also have a look at my blog ‘From Clay to Bronze’ which illustrates this process in its various stages.

1 Starting out
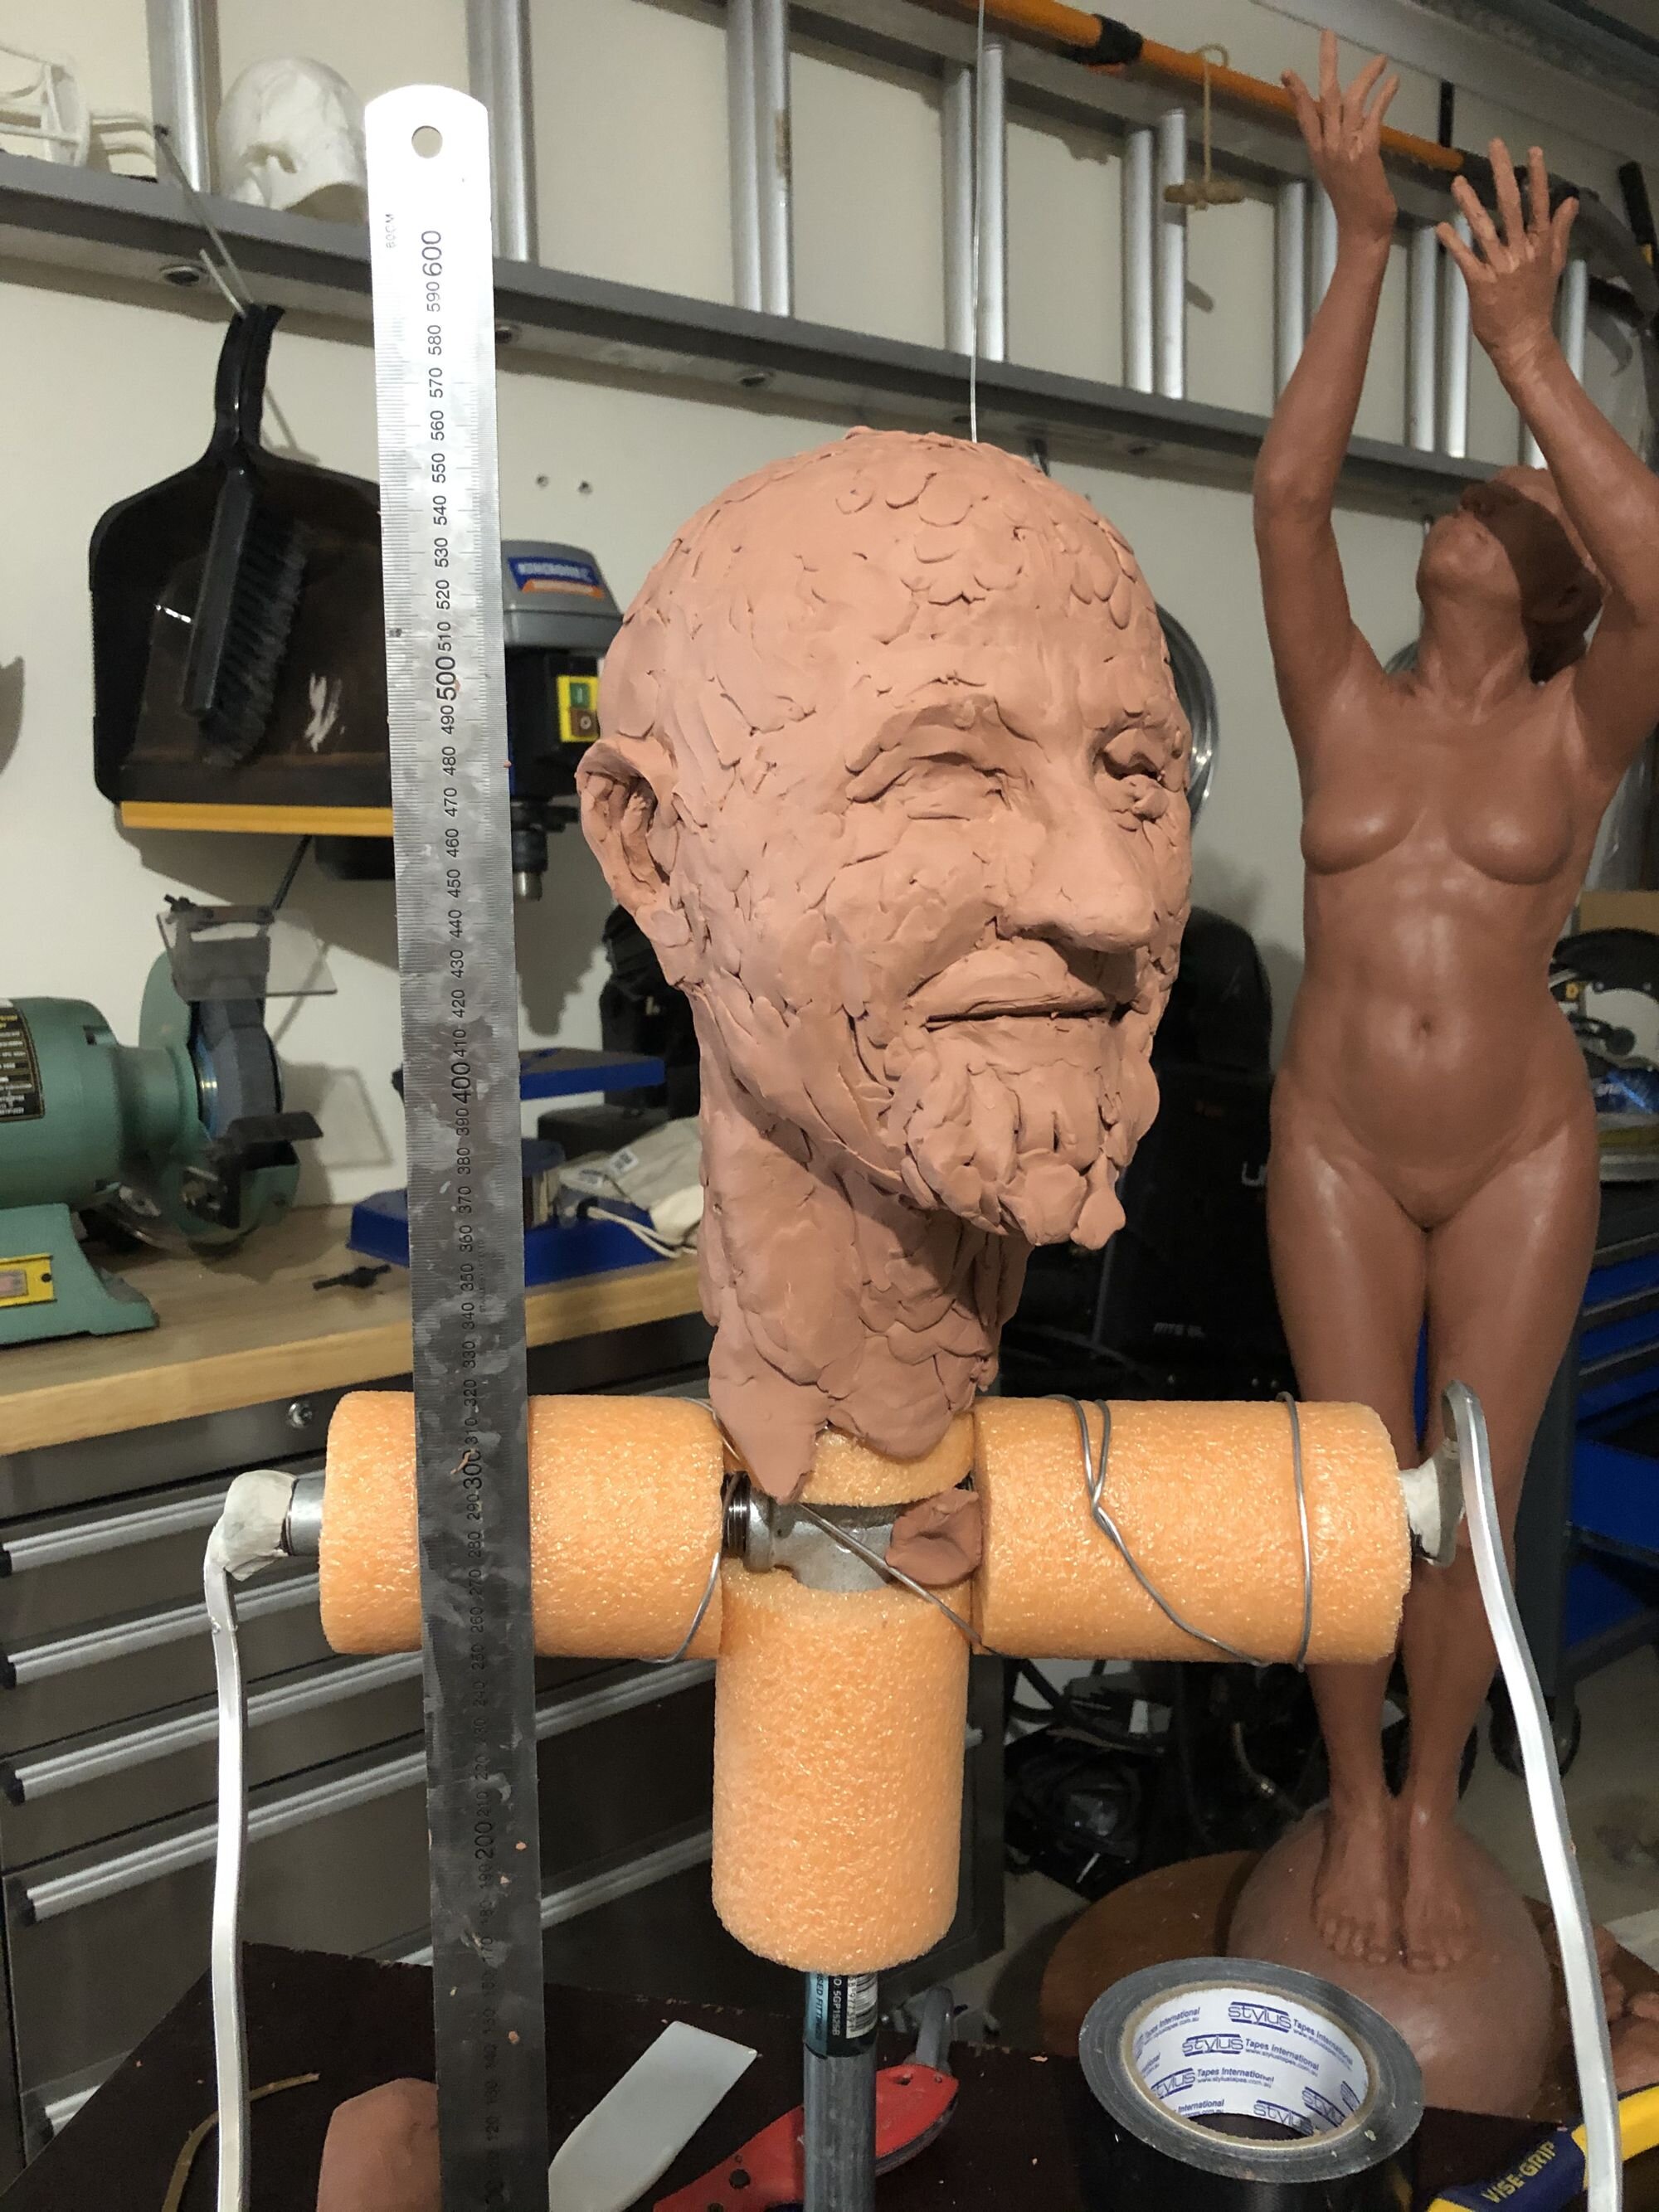
The work started with a decision on the overall size of the finished bronze sculpt. I saw the piece as being around 500mm high from the underside of the folded forearms. This meant the sculpt would have to be a bit less than life size or around 5/6 life size.
As with other pieces the work starts with an armature, and in this case a fairly strong one fabricated from pipe sections and 5mm square aluminium wire. Pool noodles make great mass fill as they don’t compress too much.
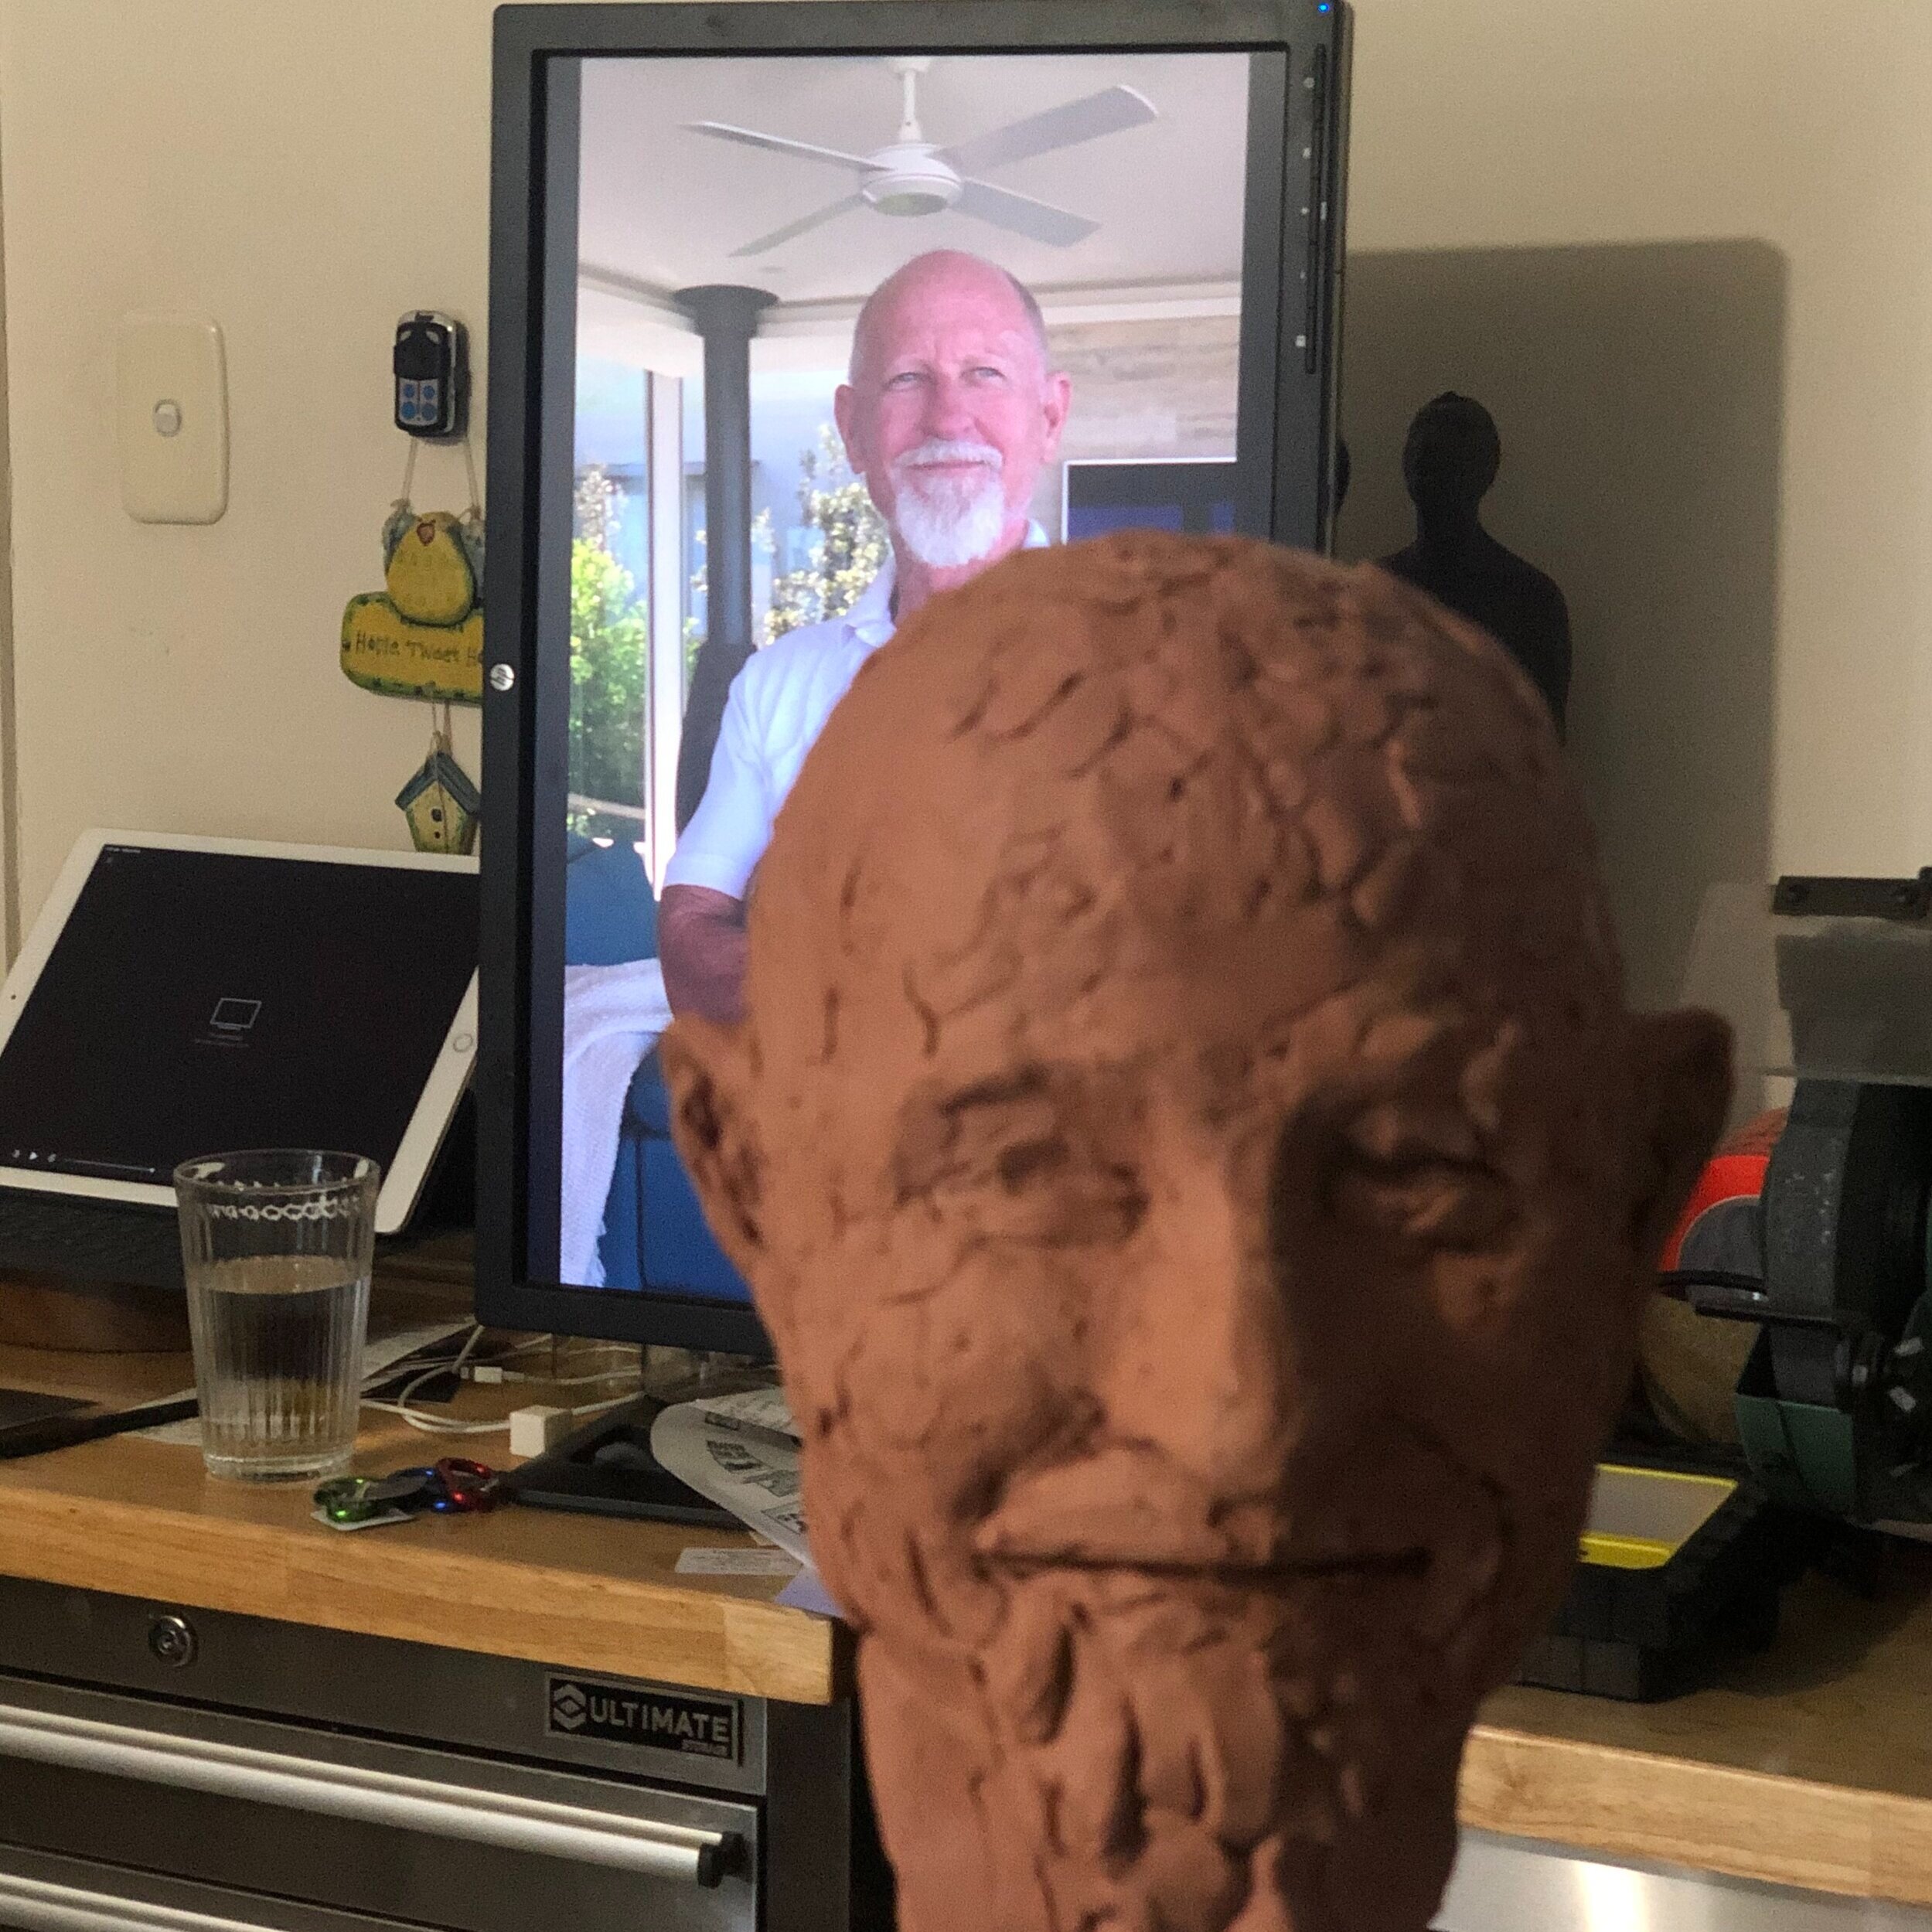
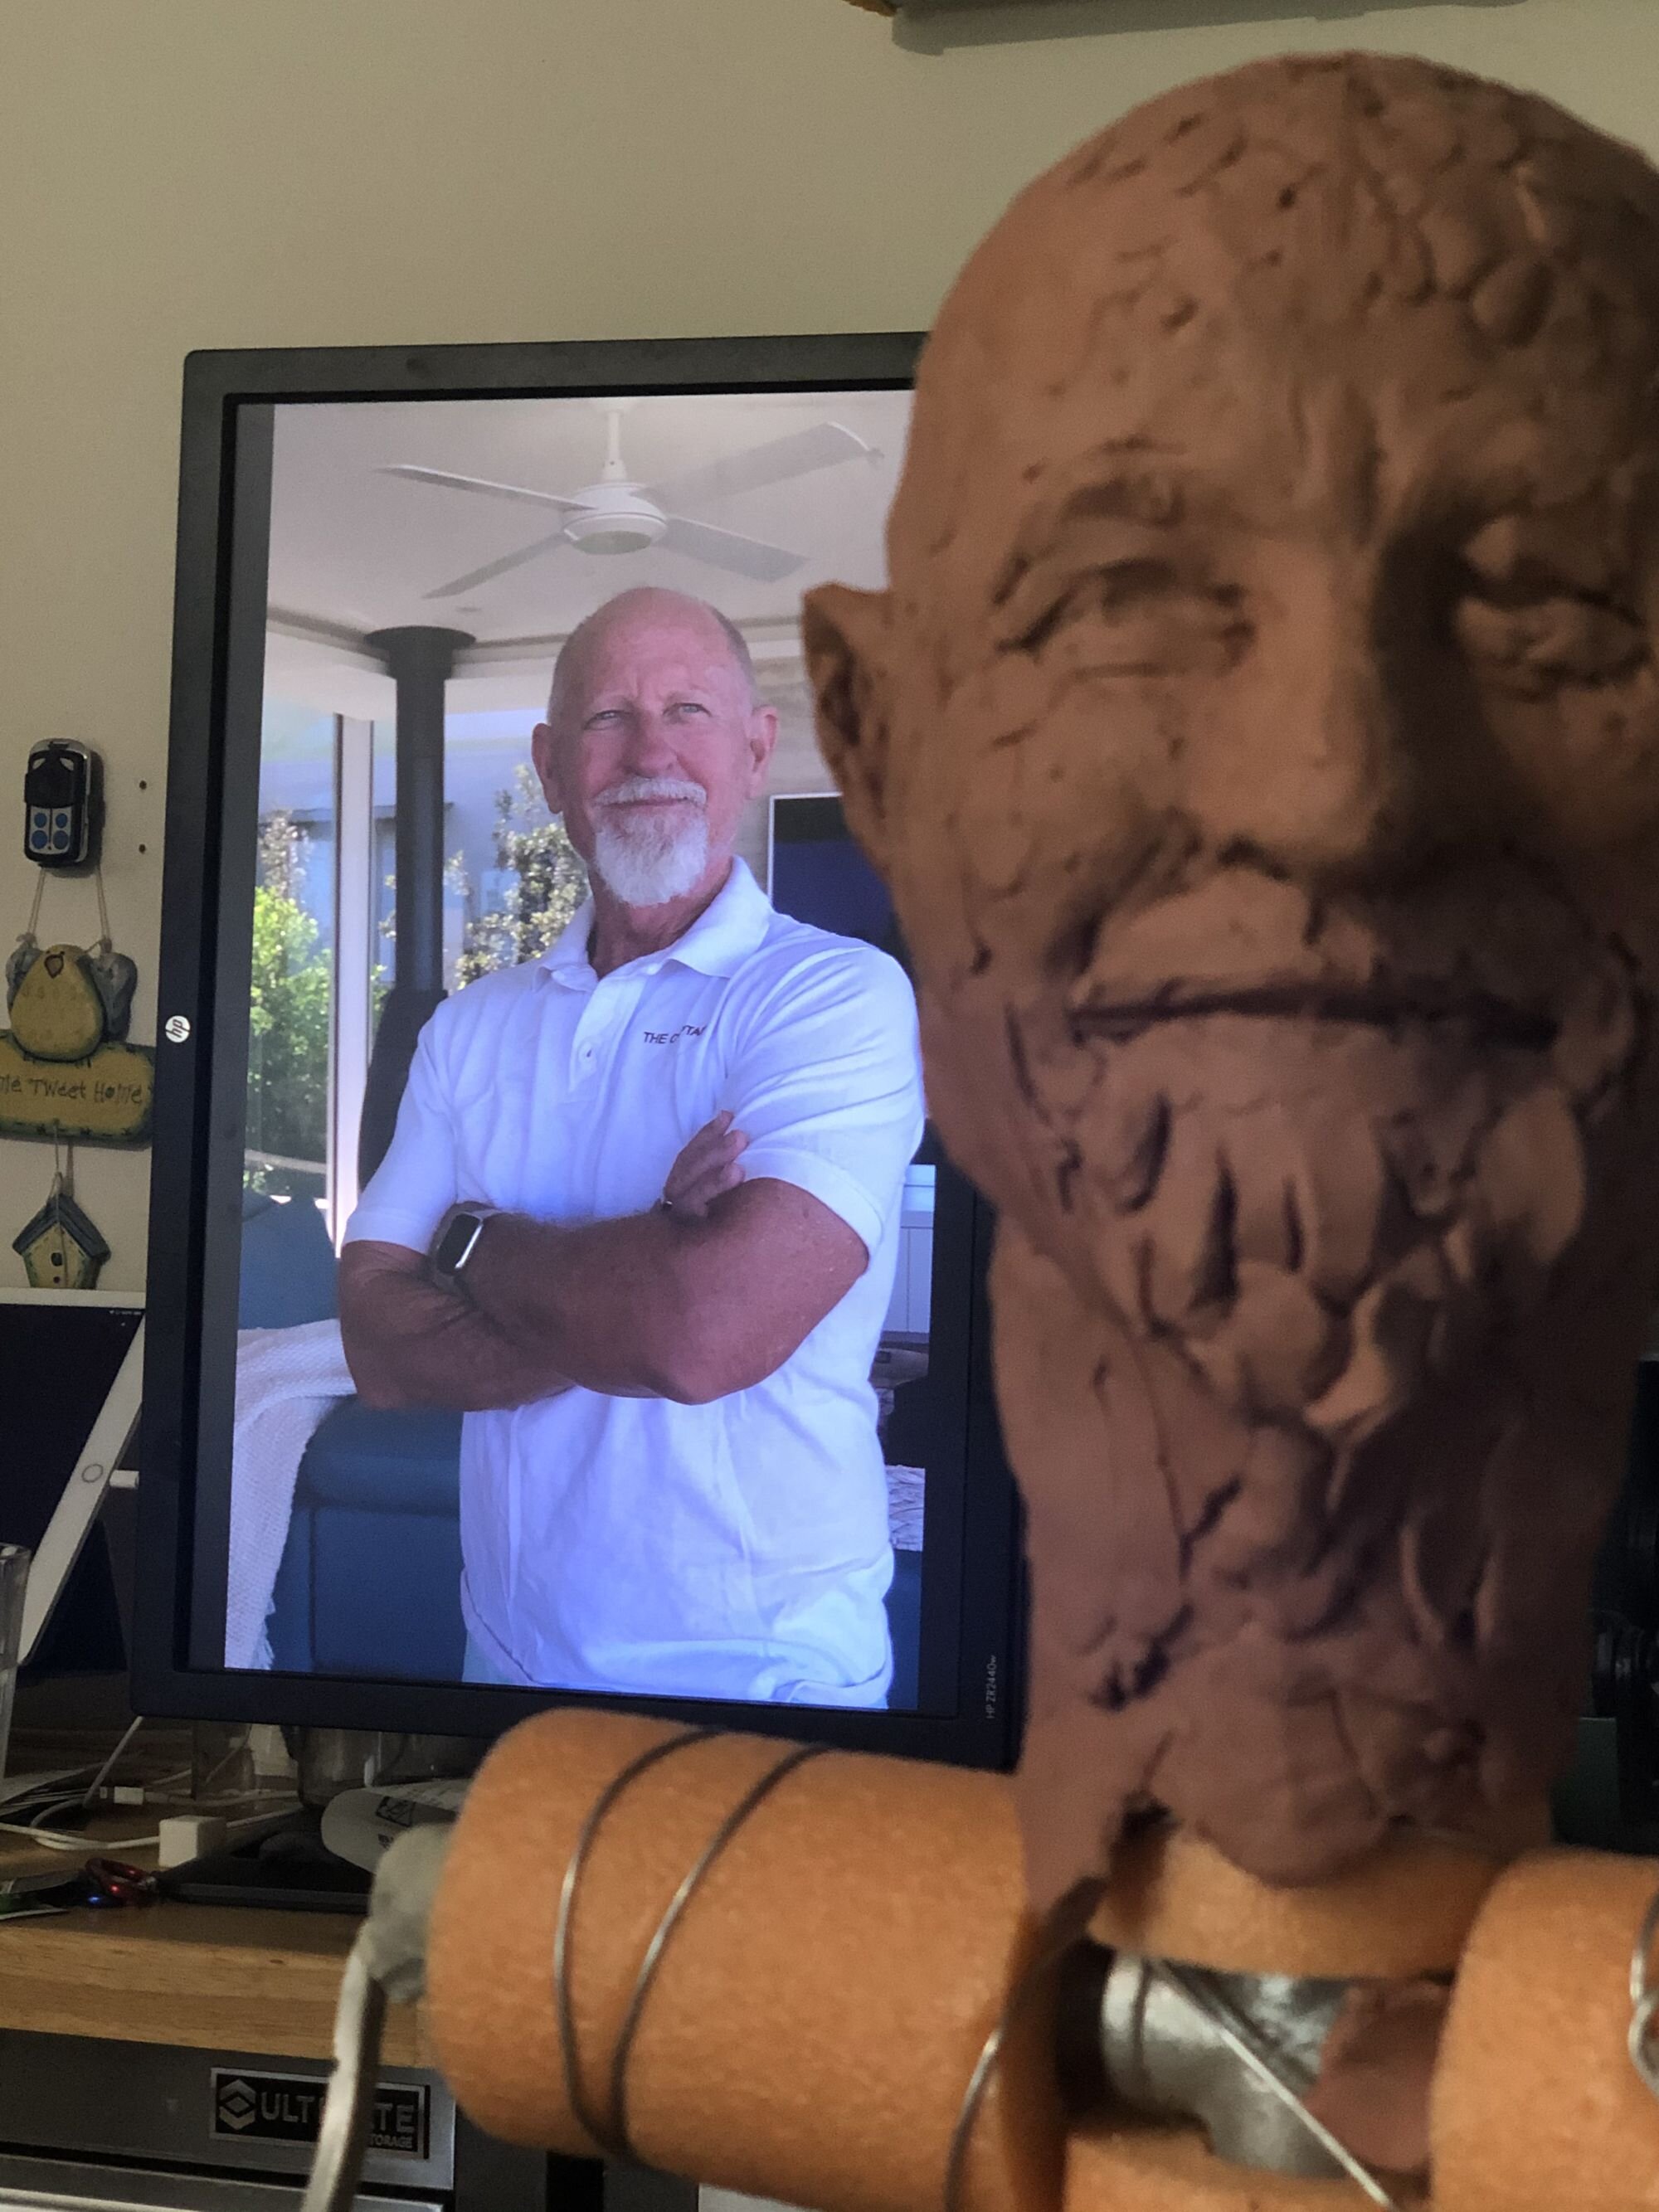
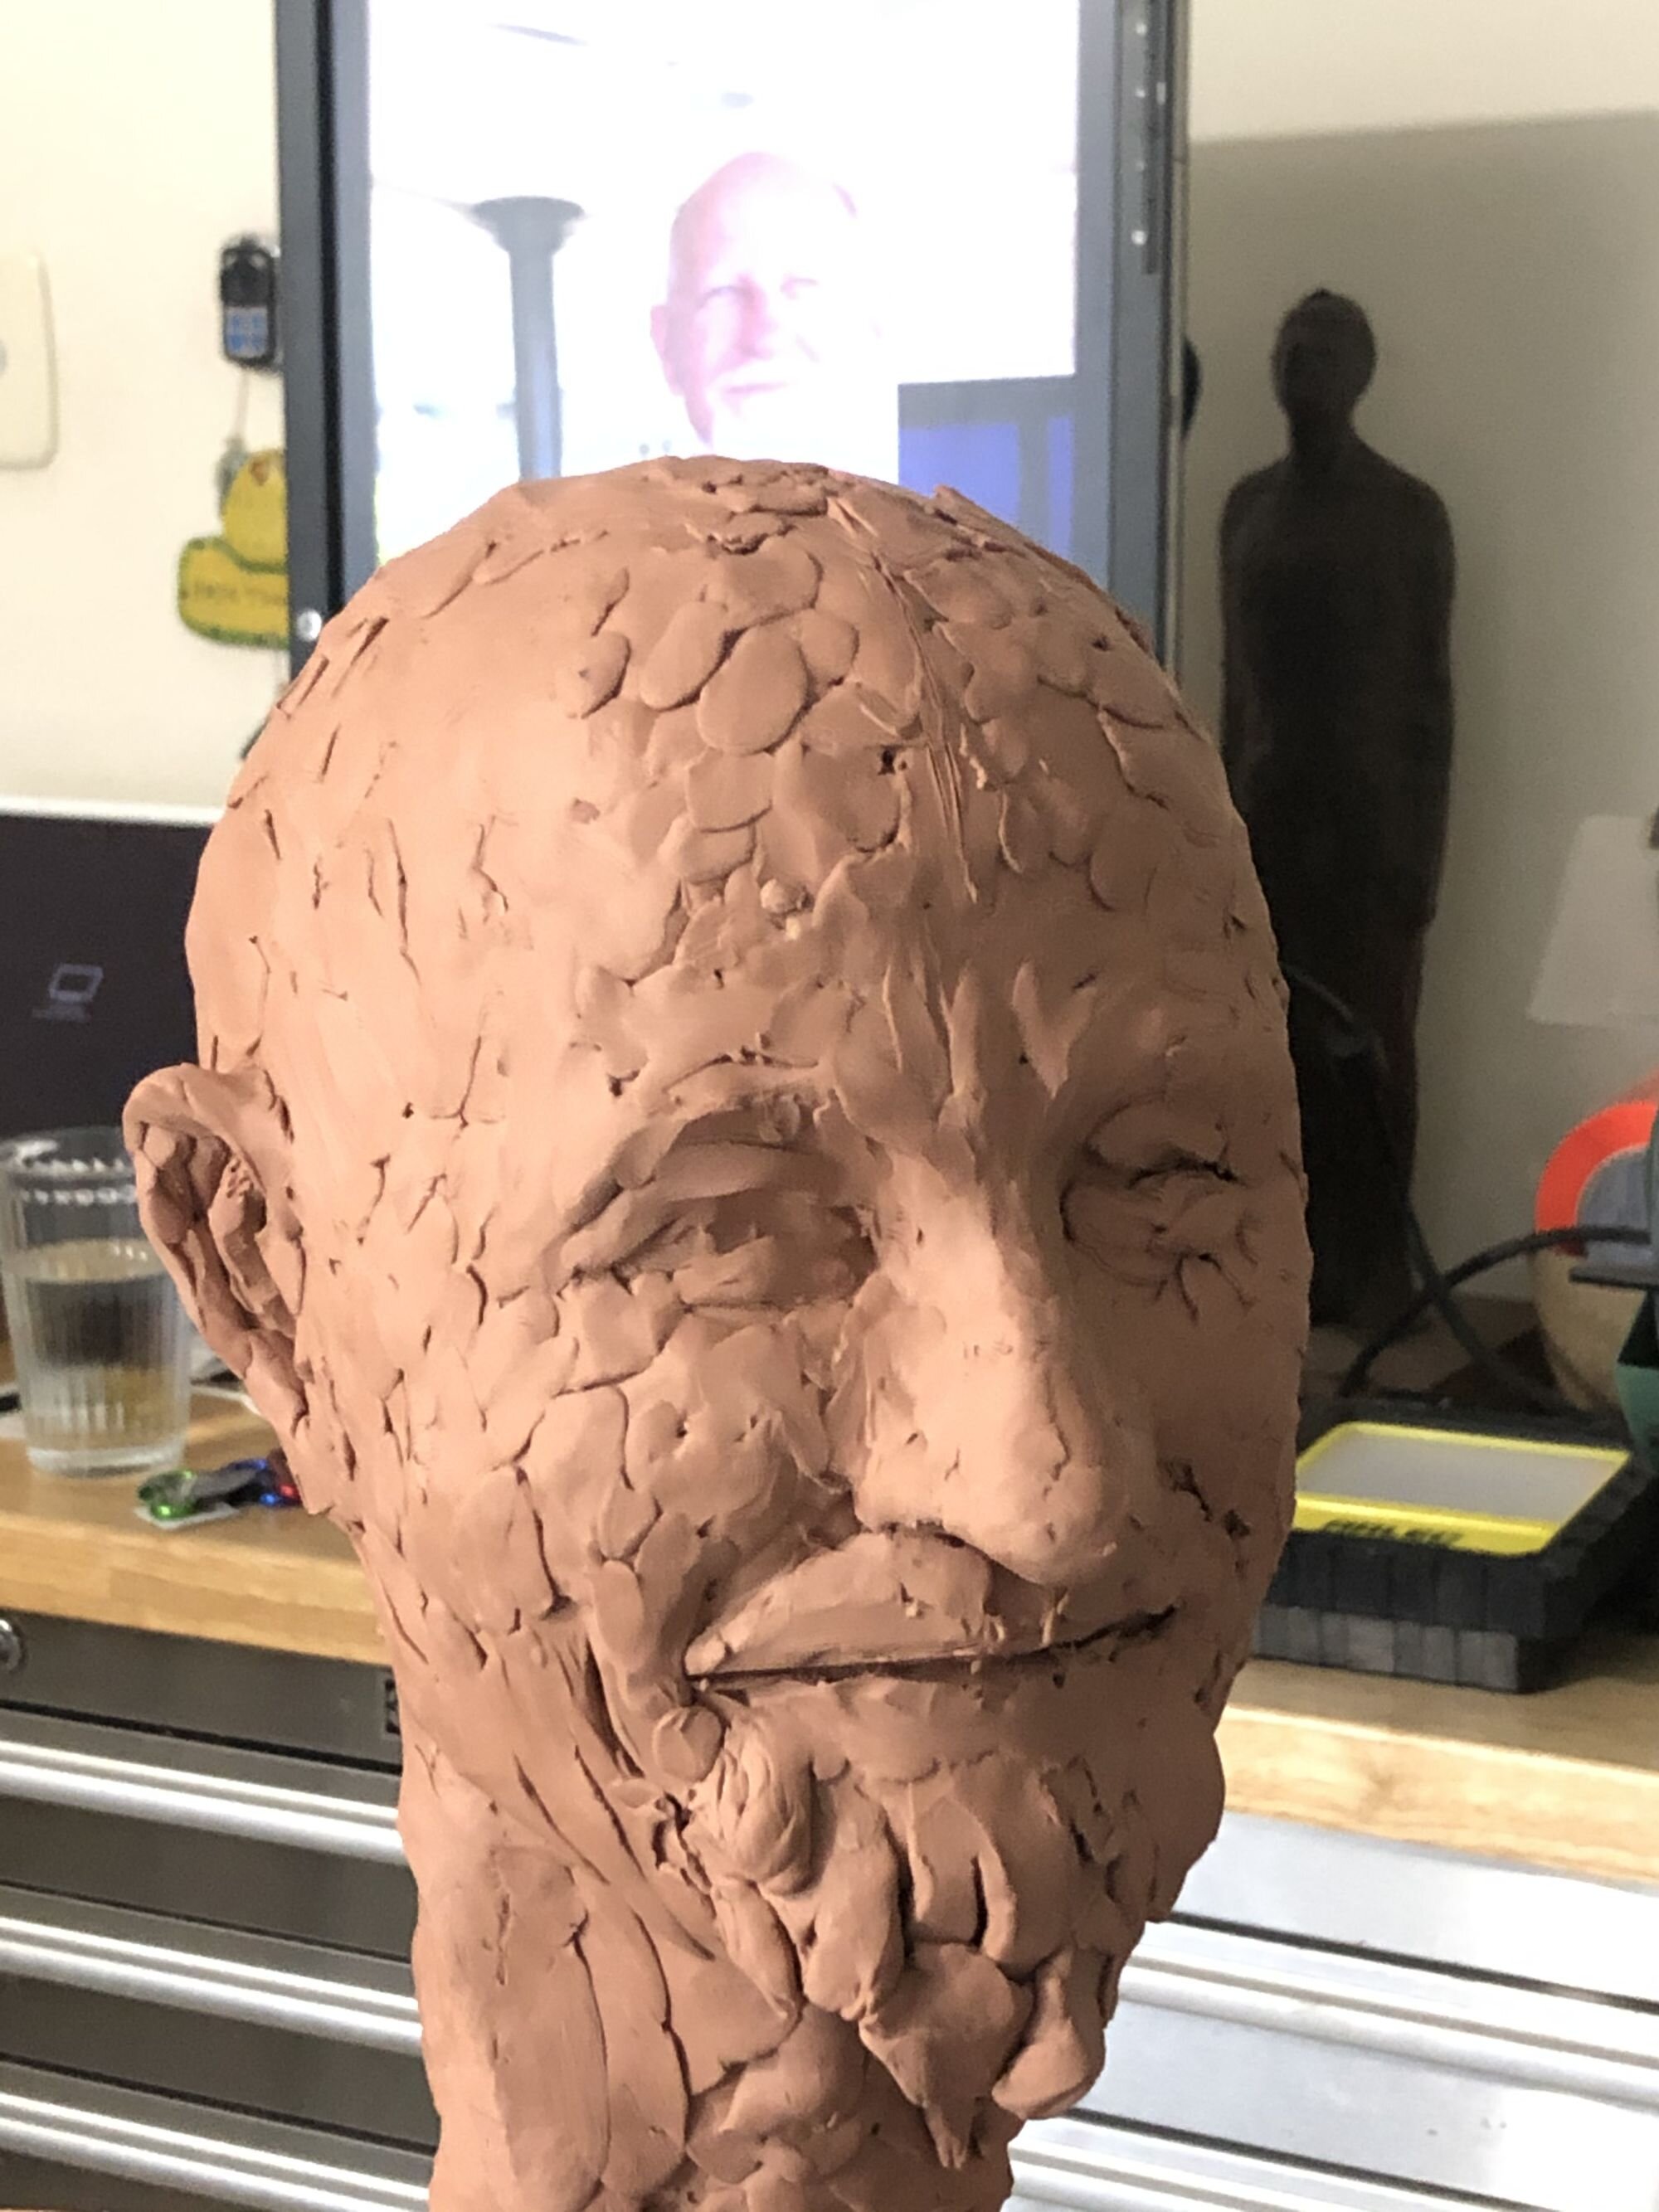
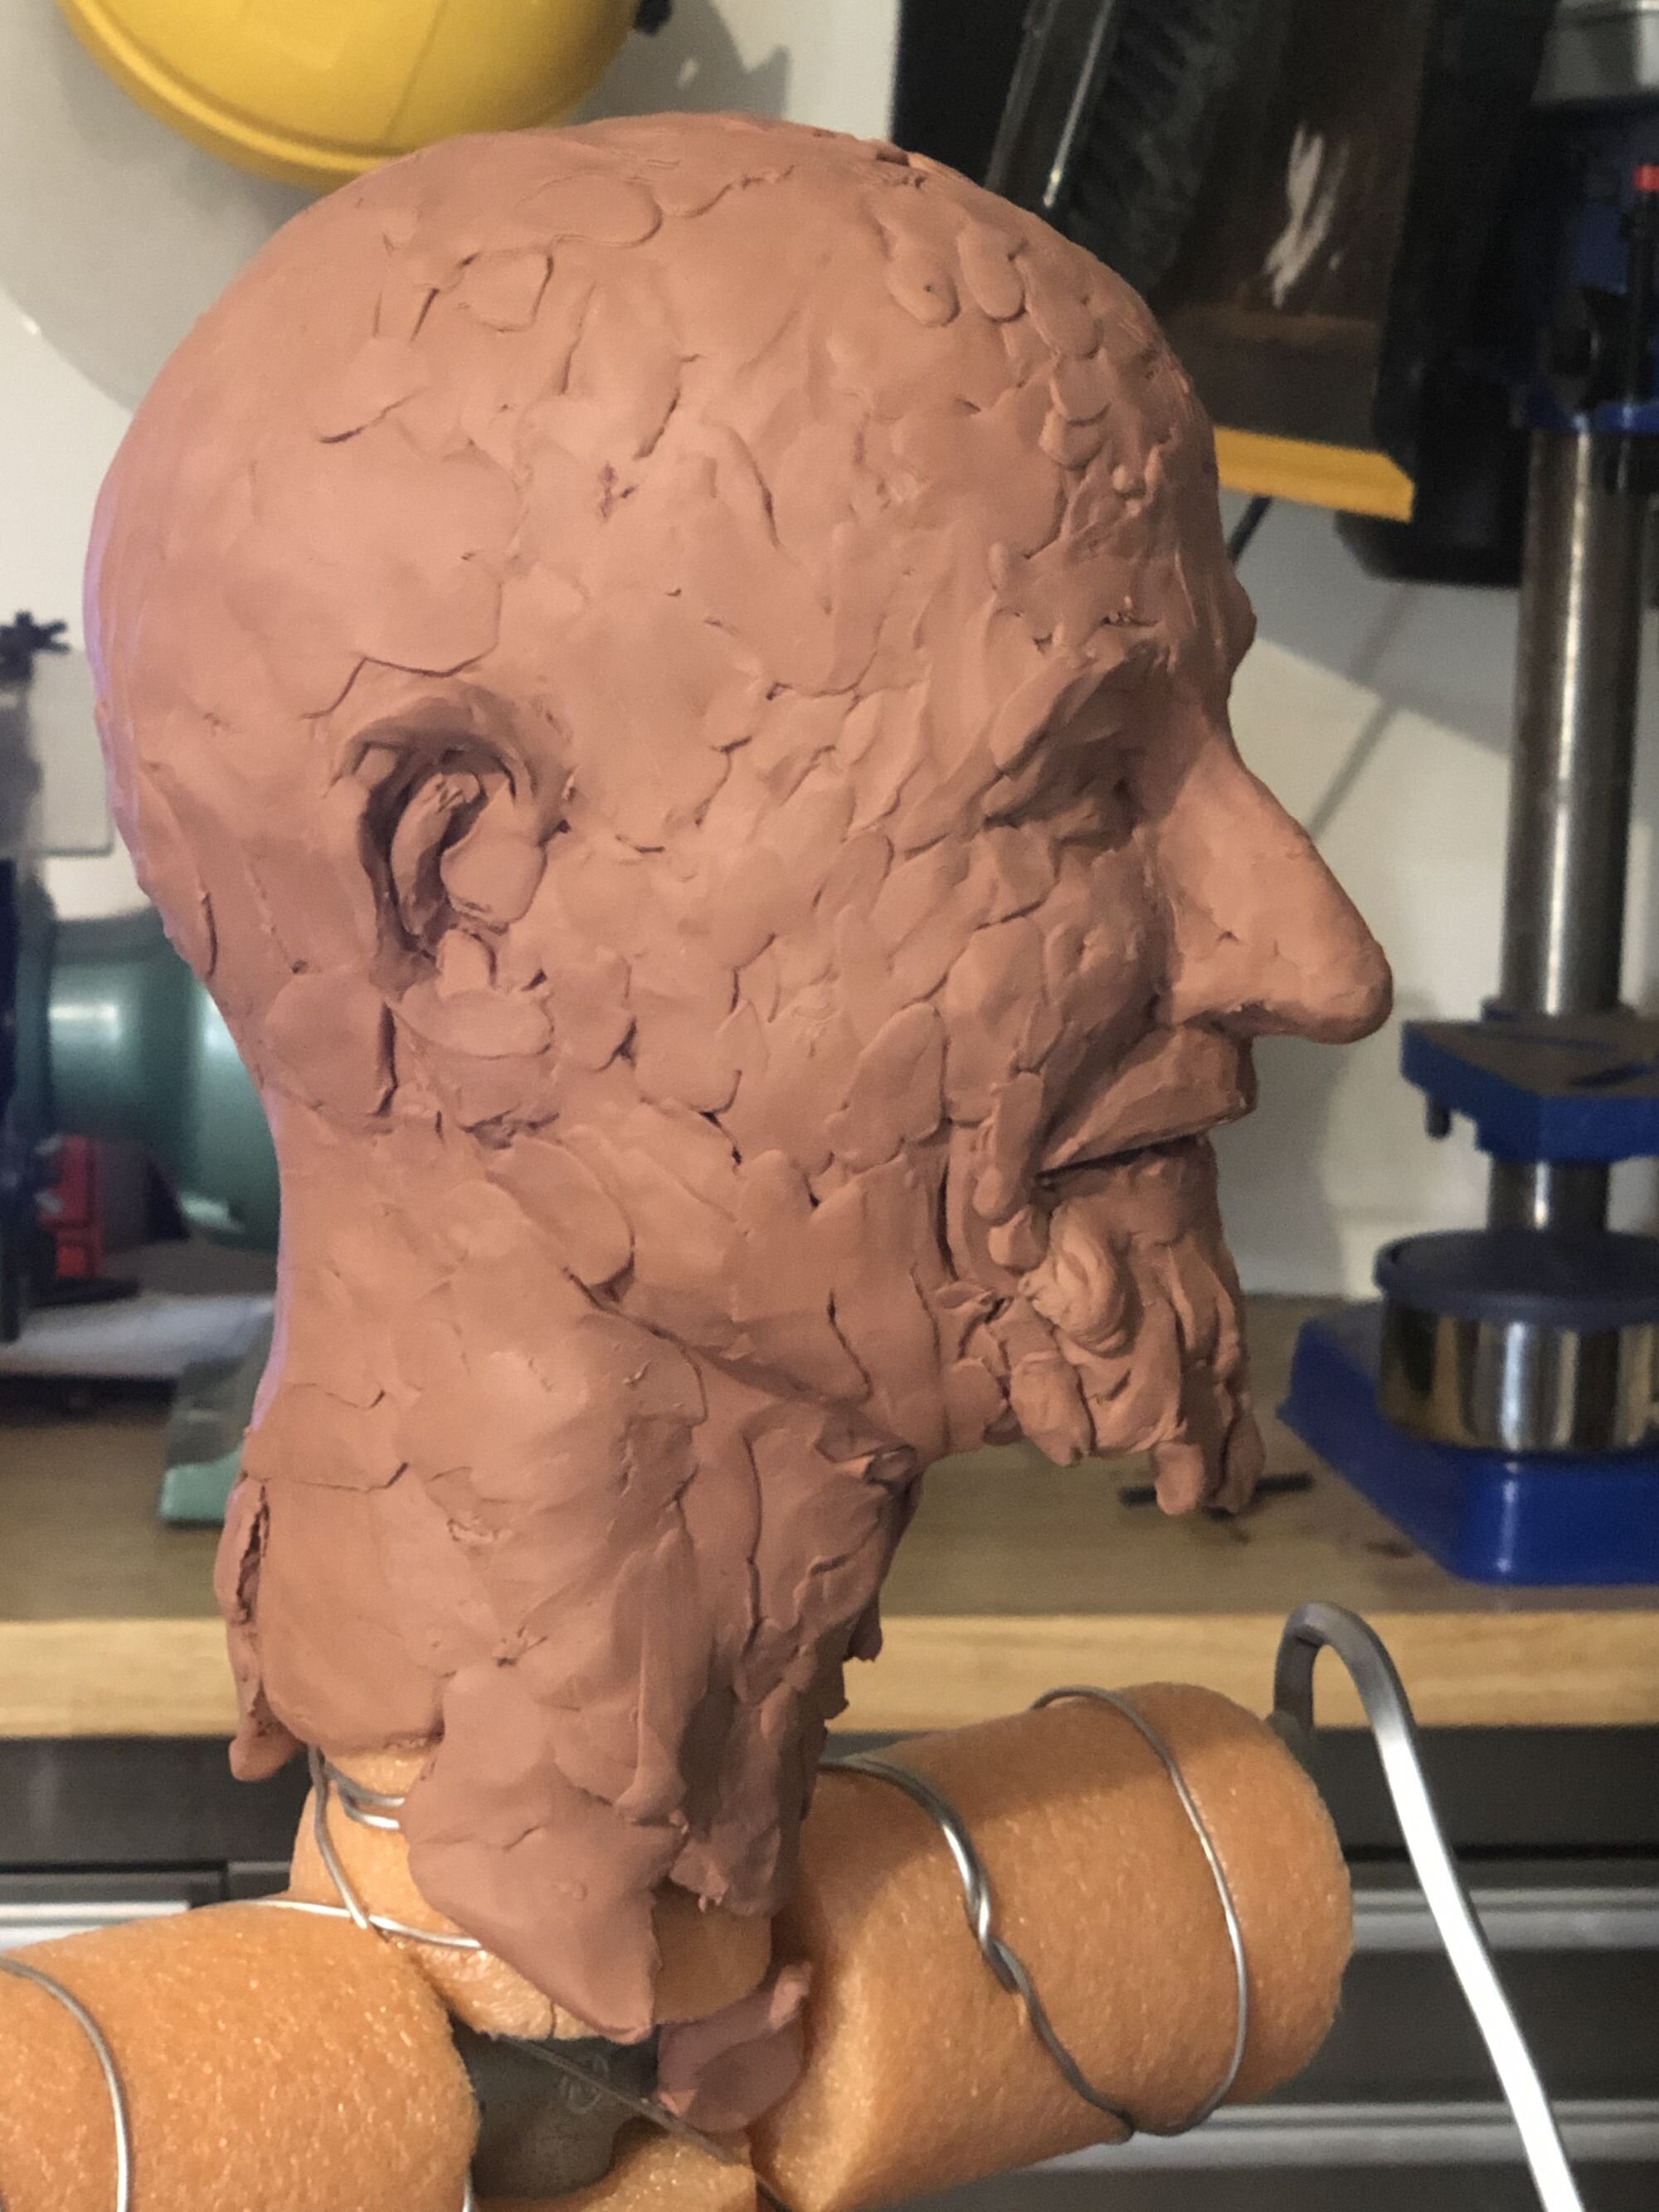
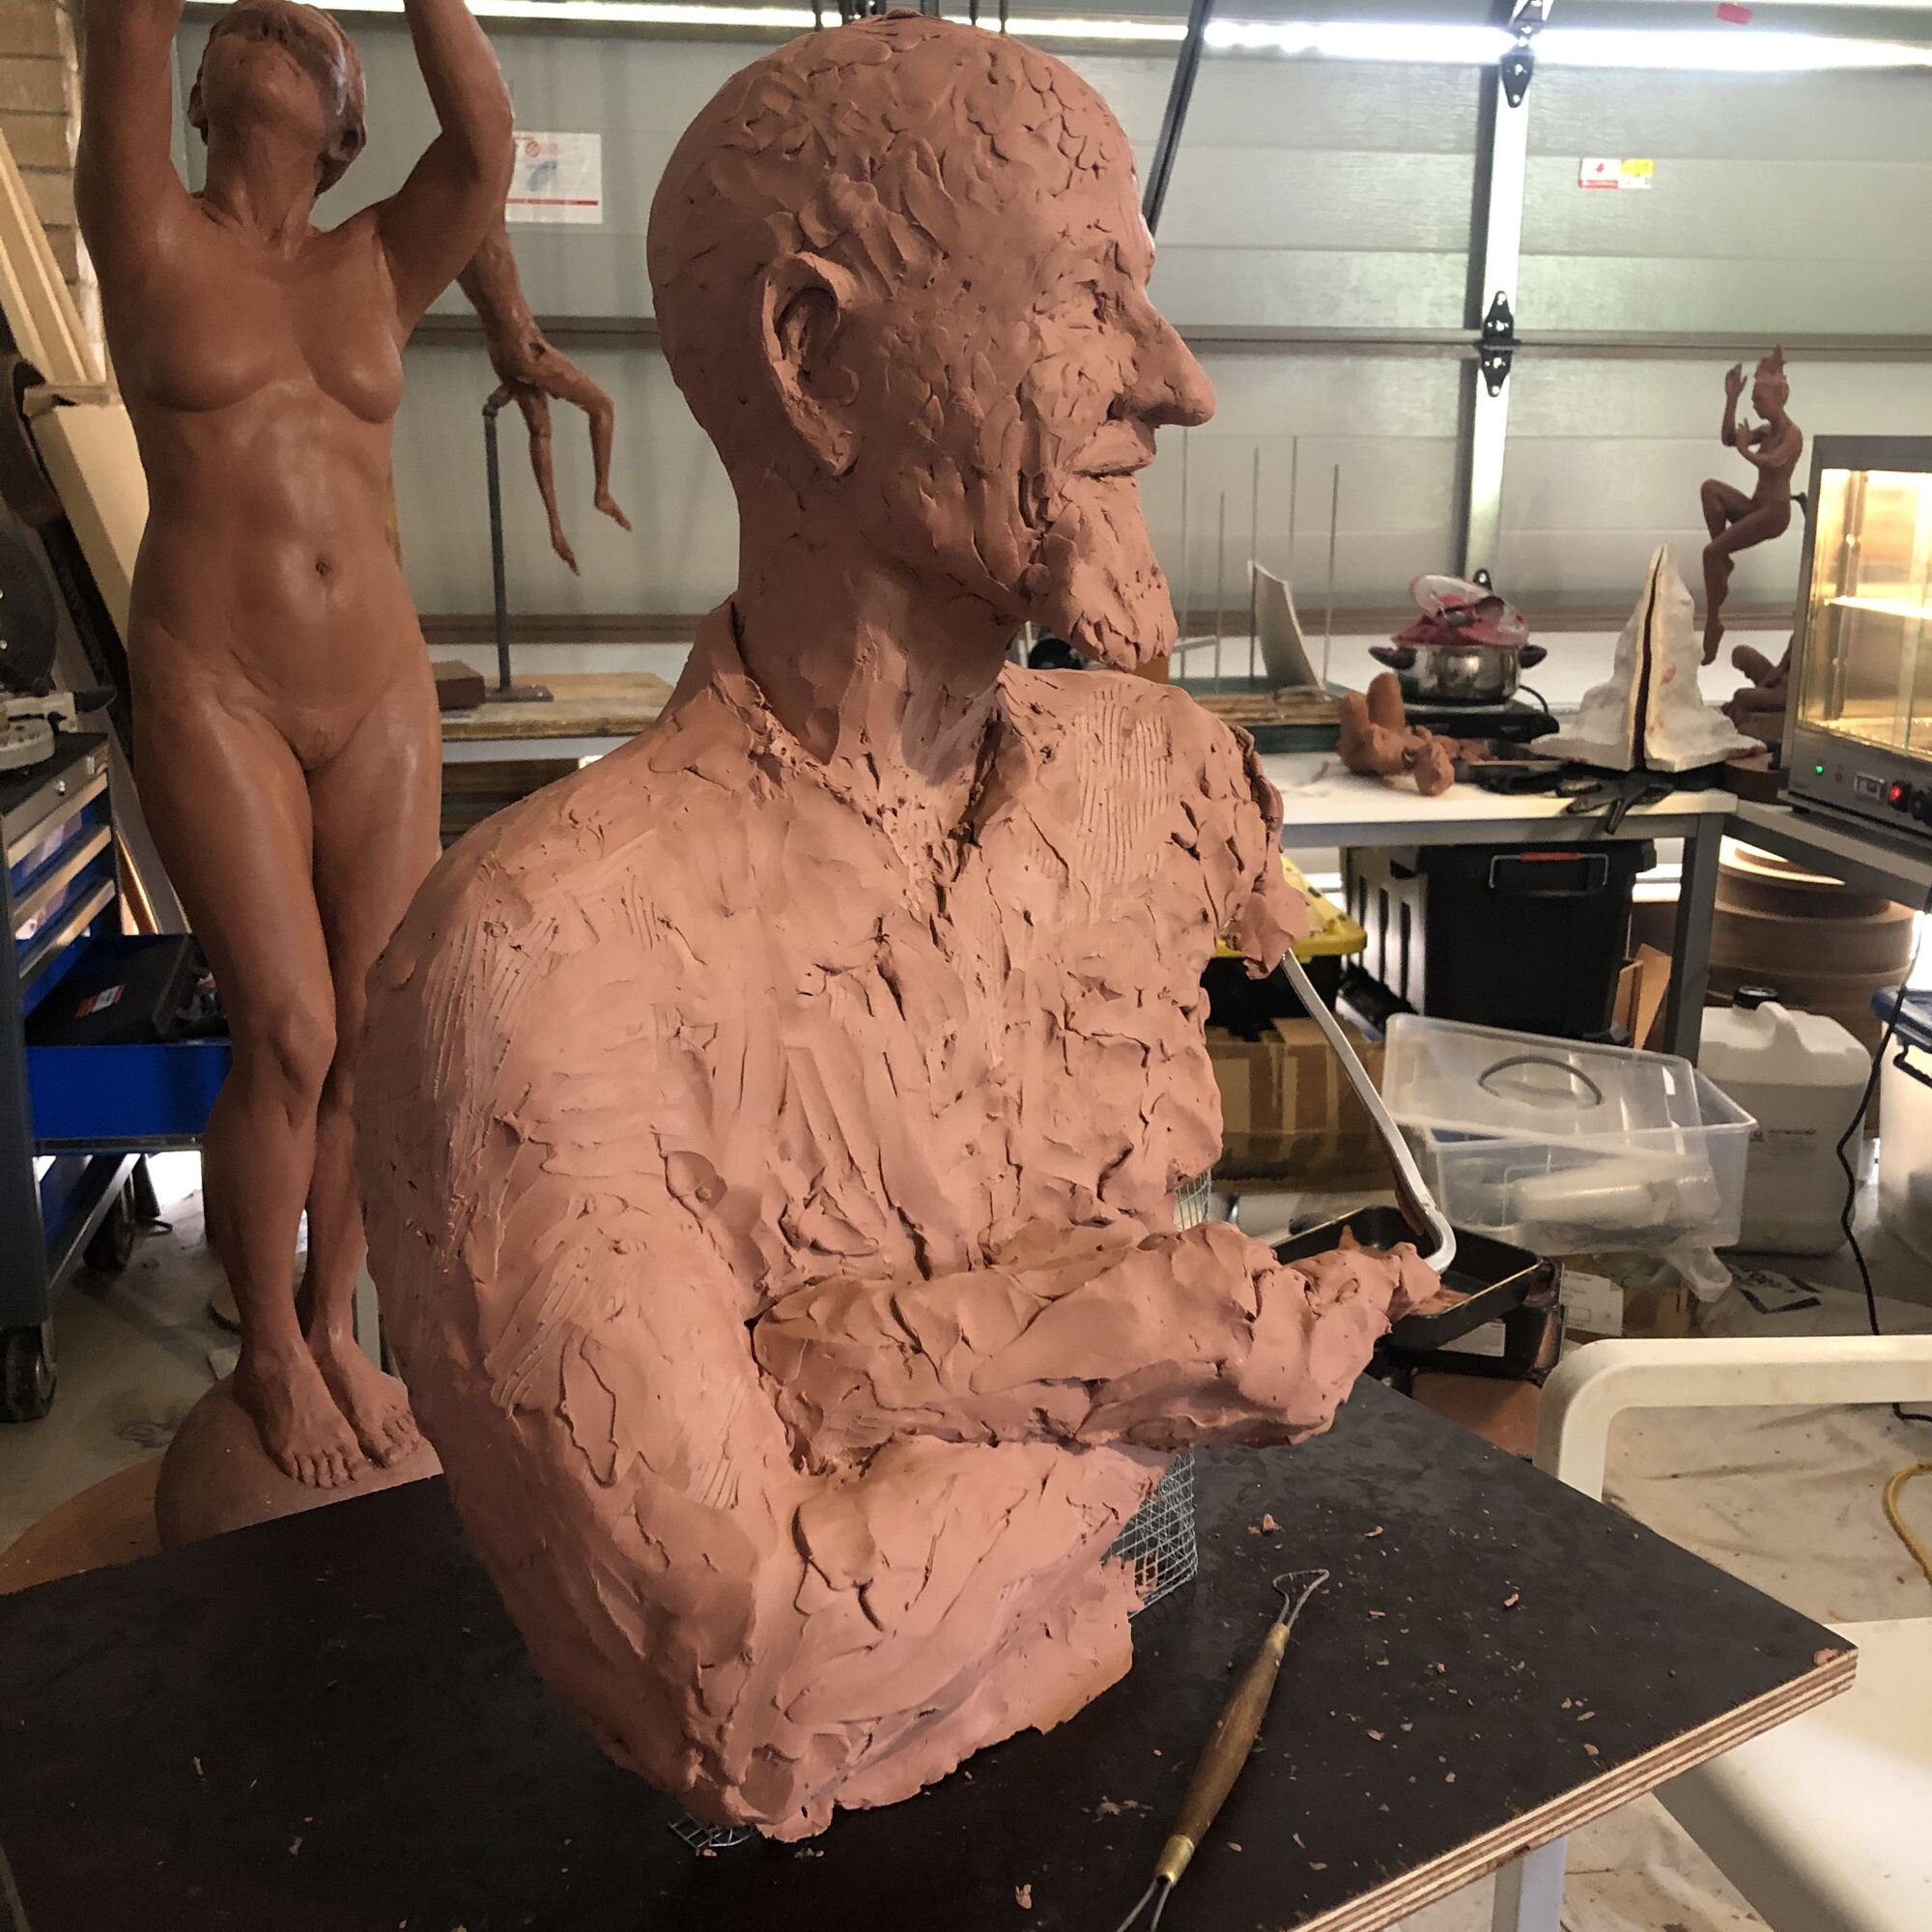
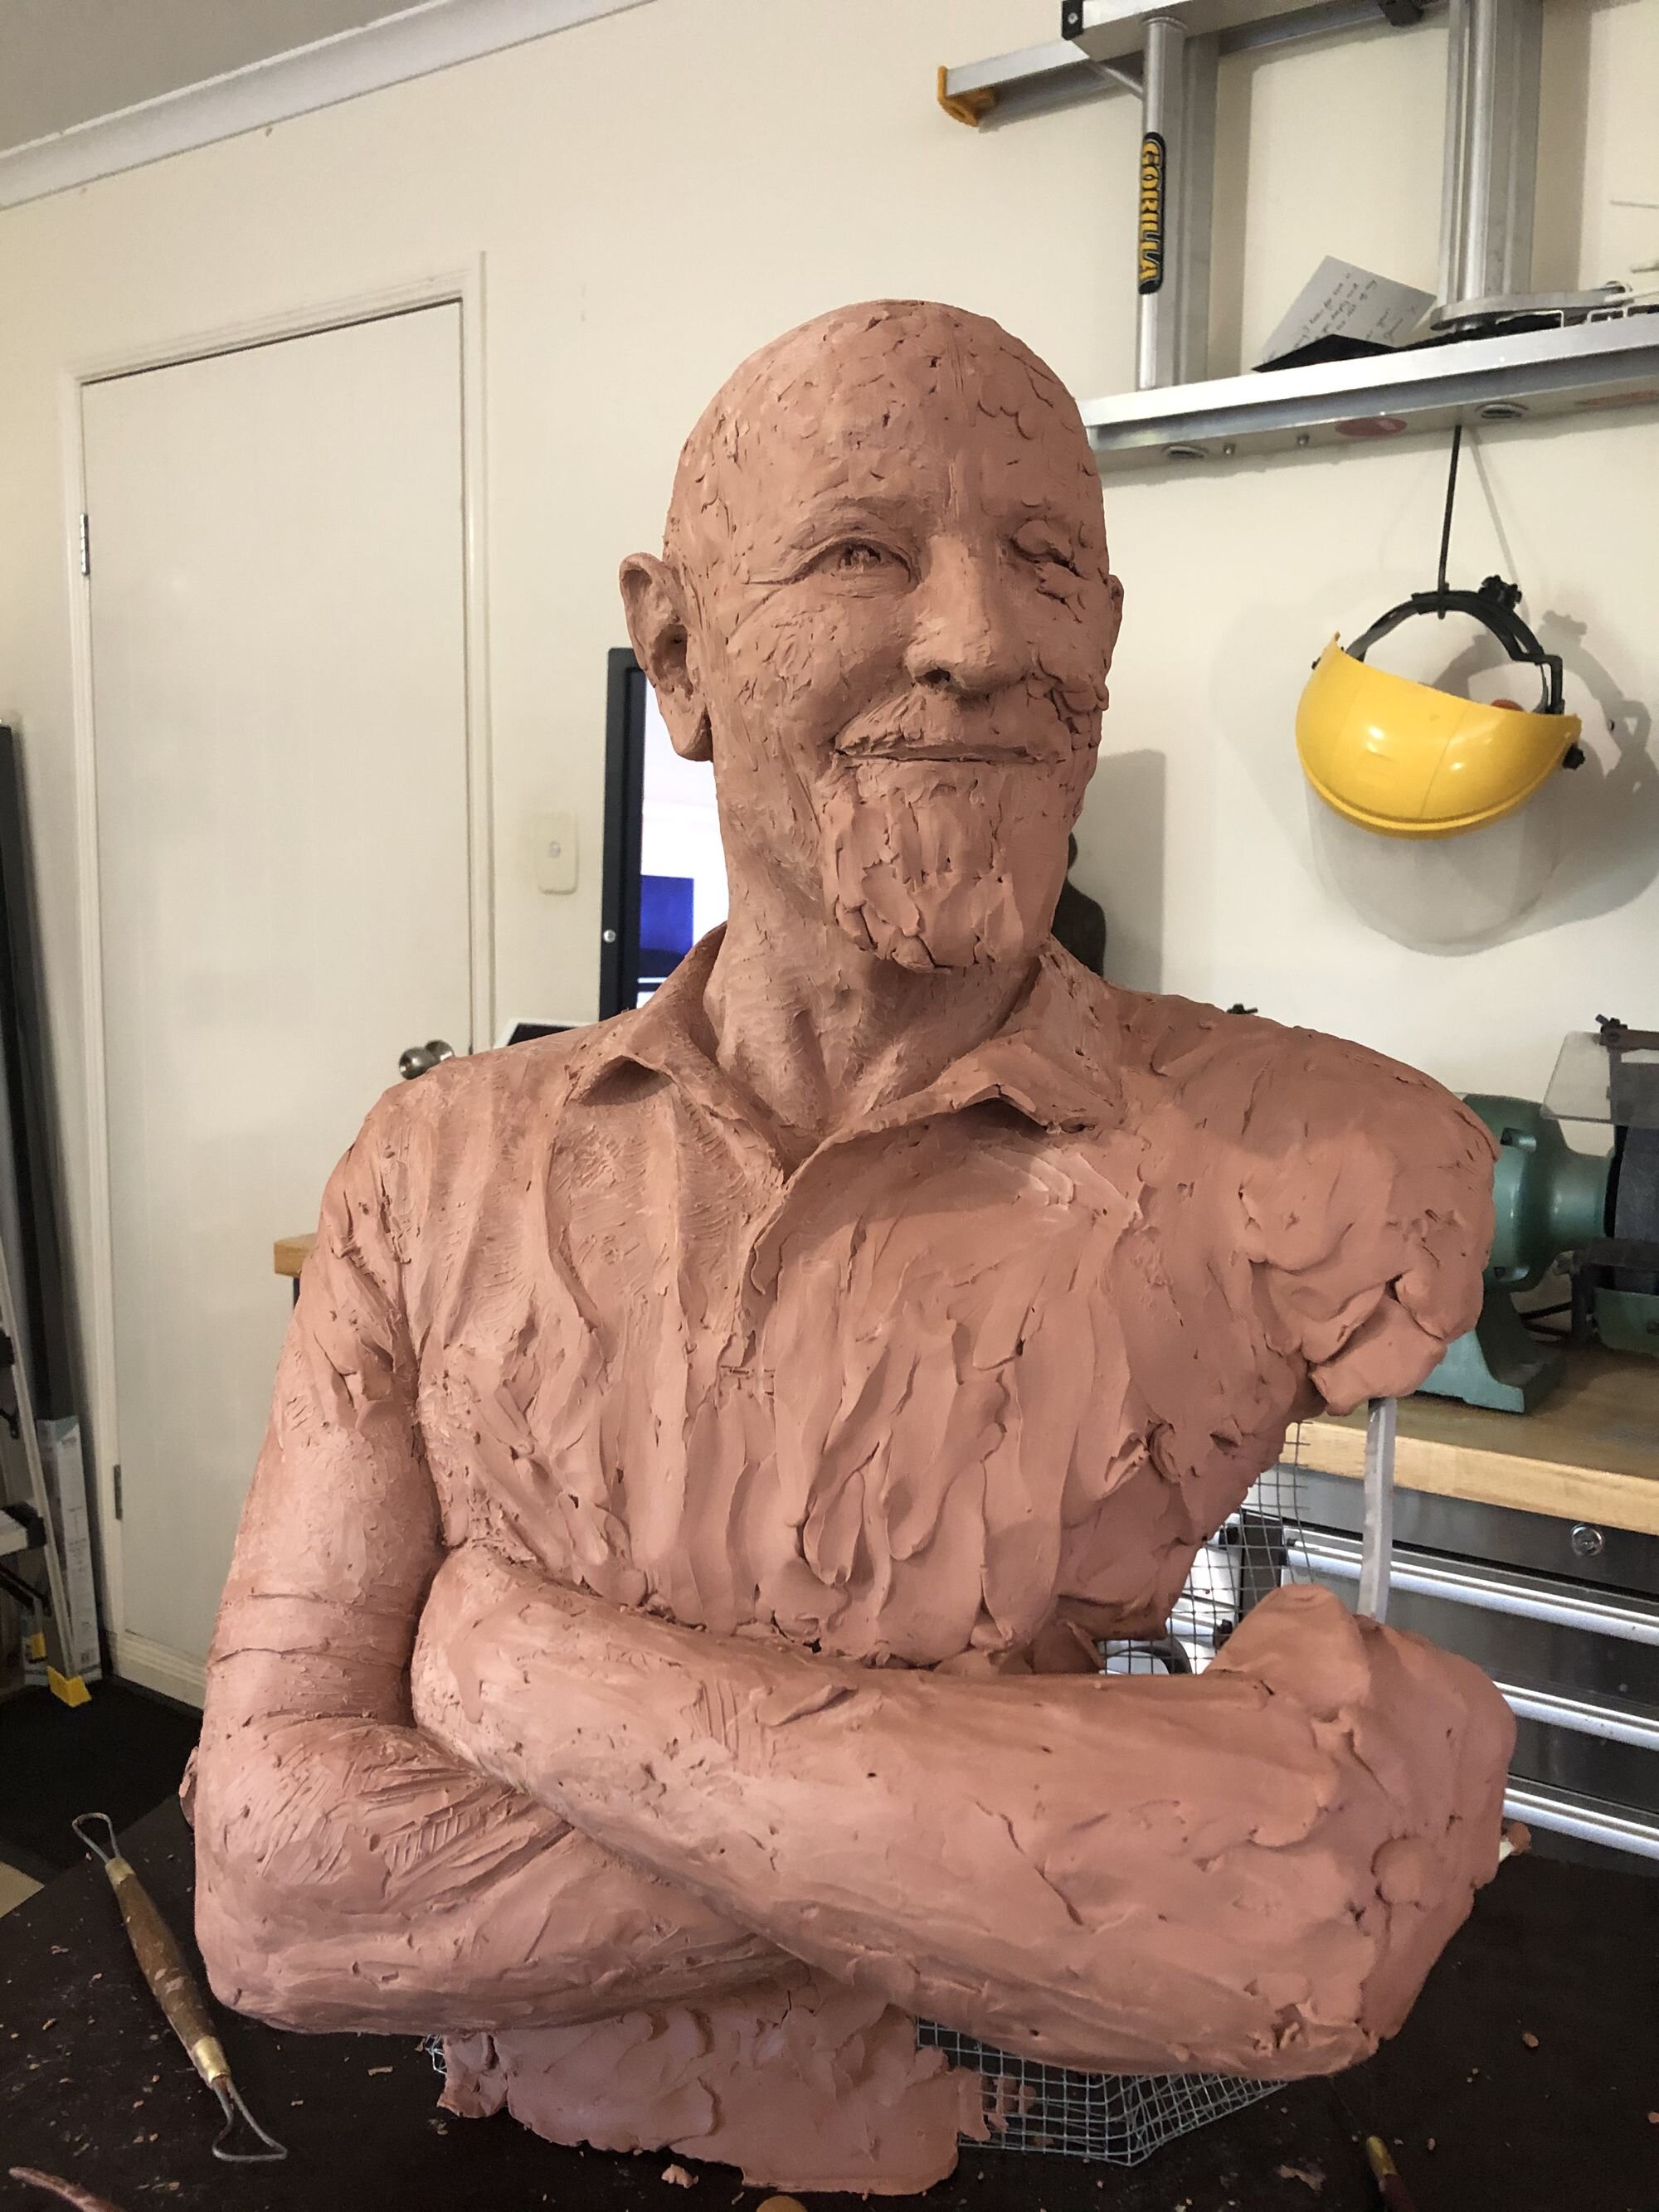
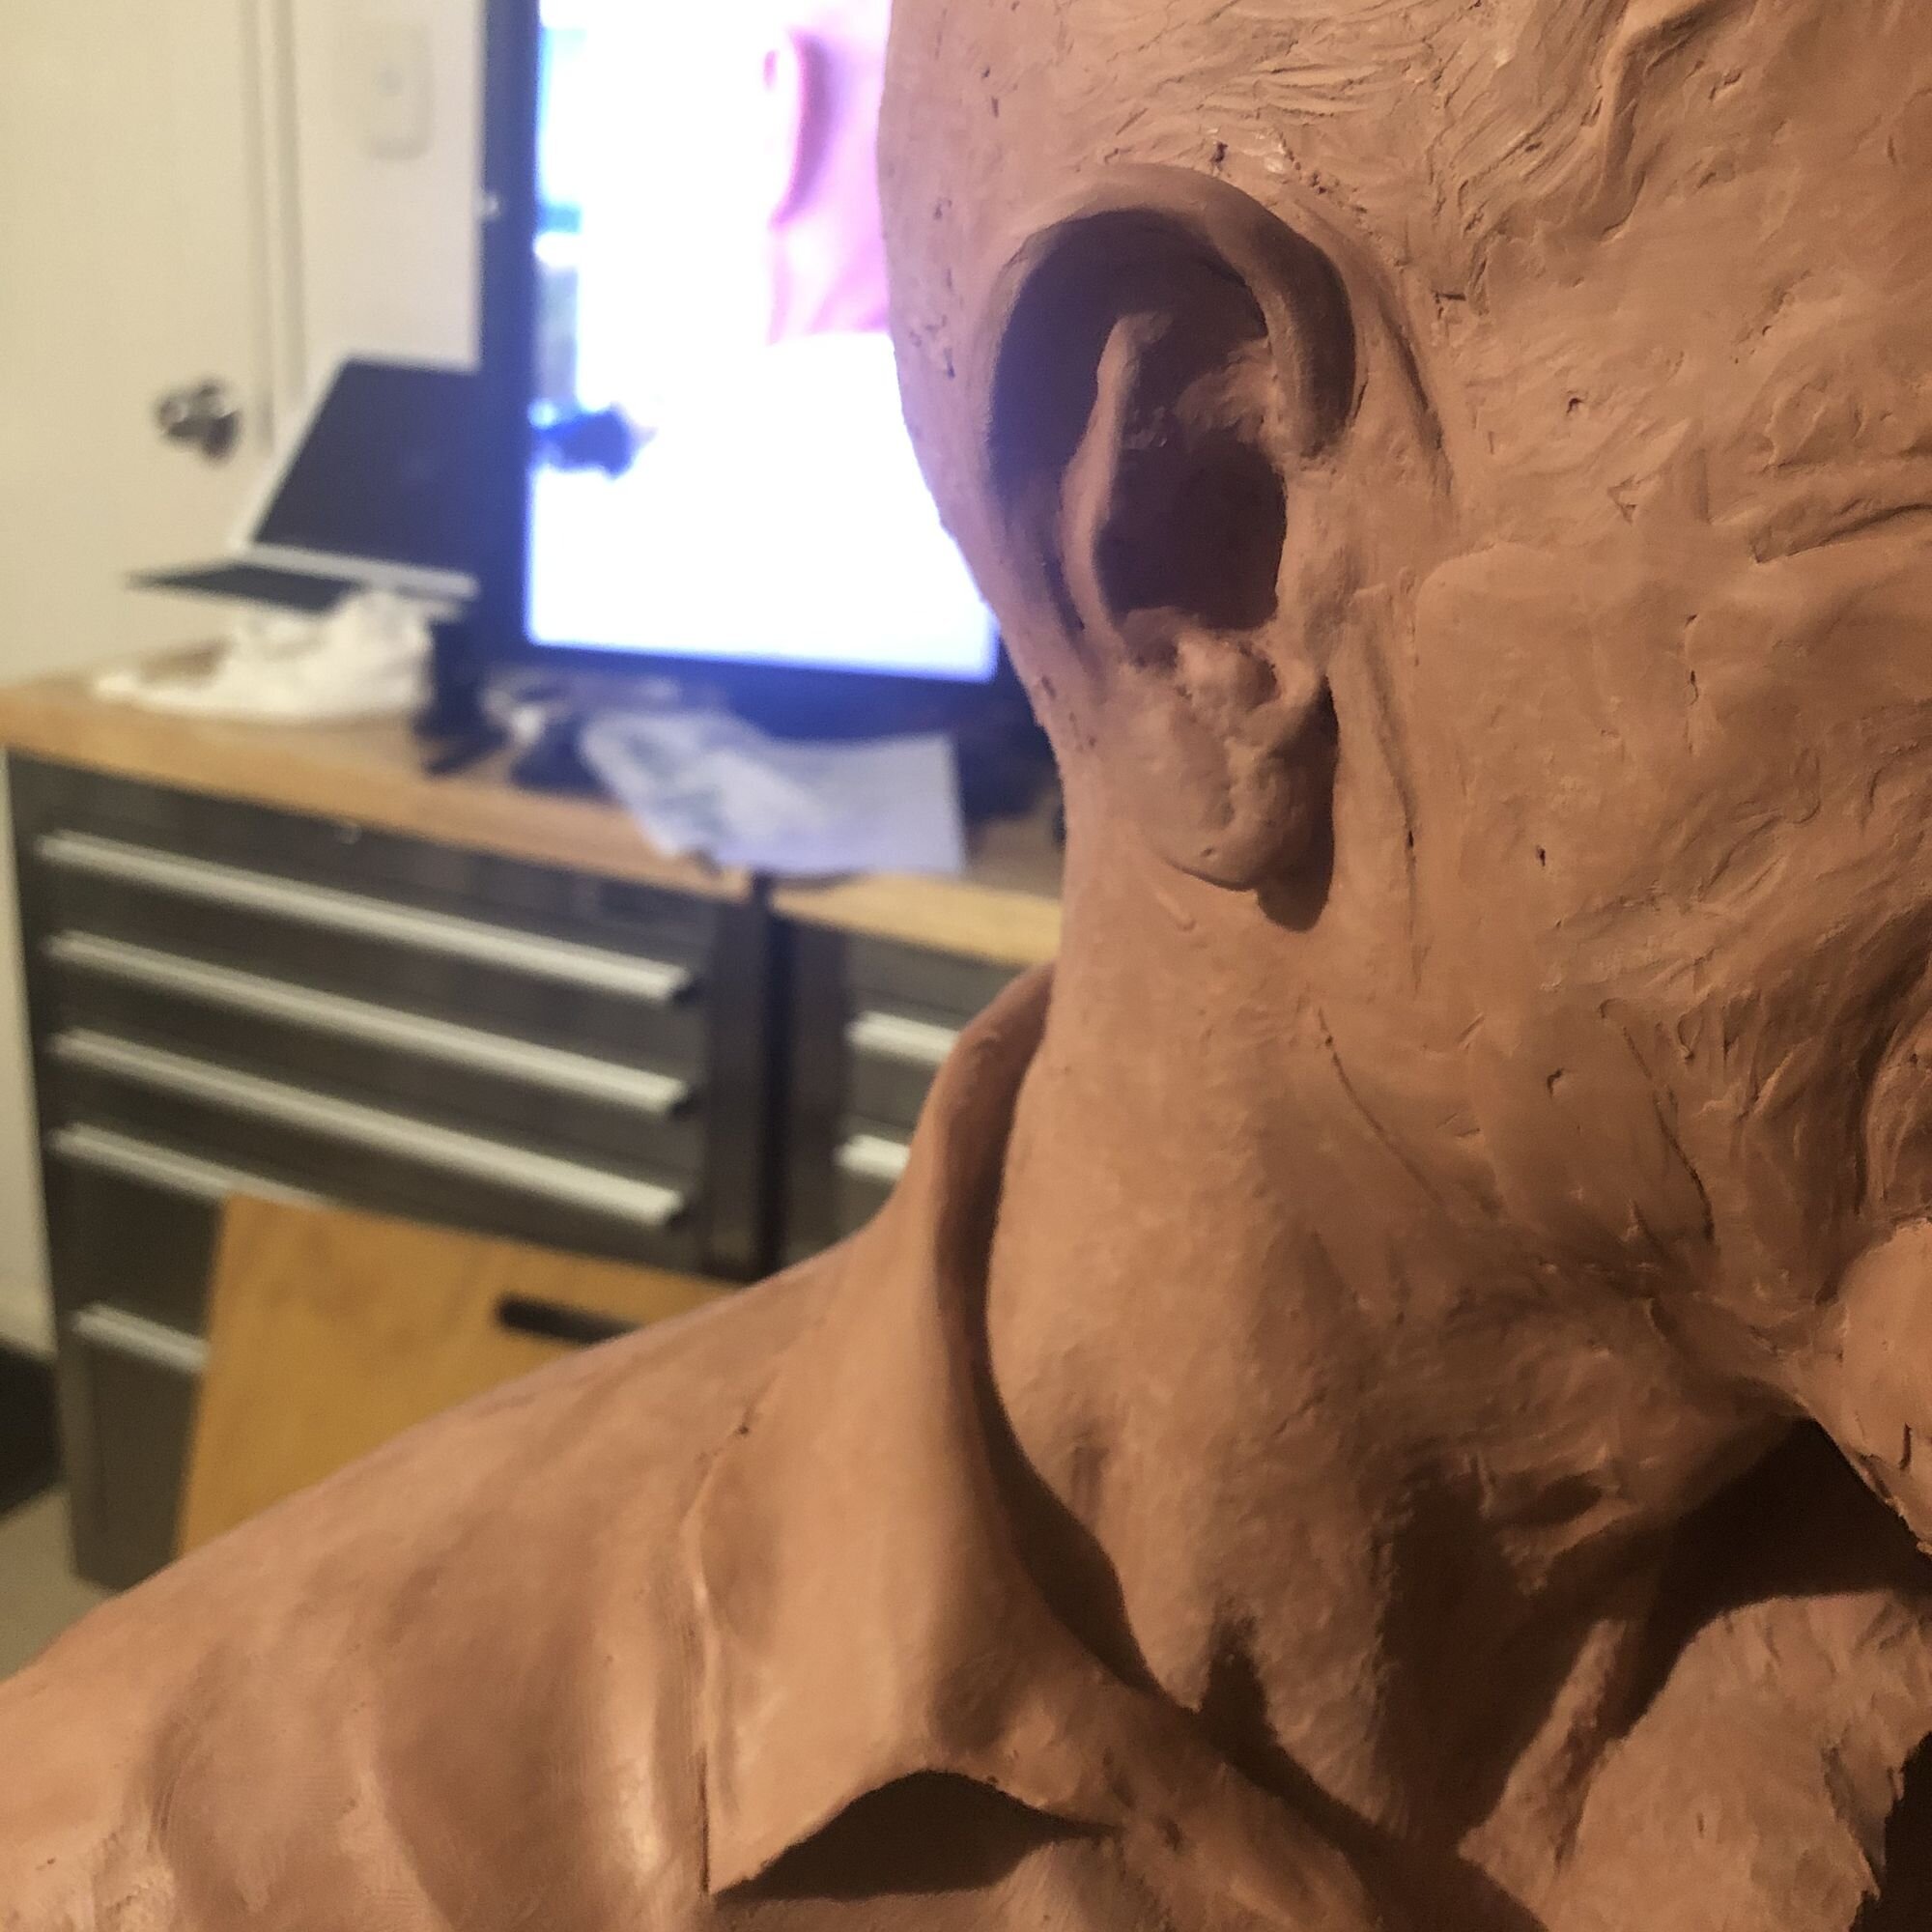
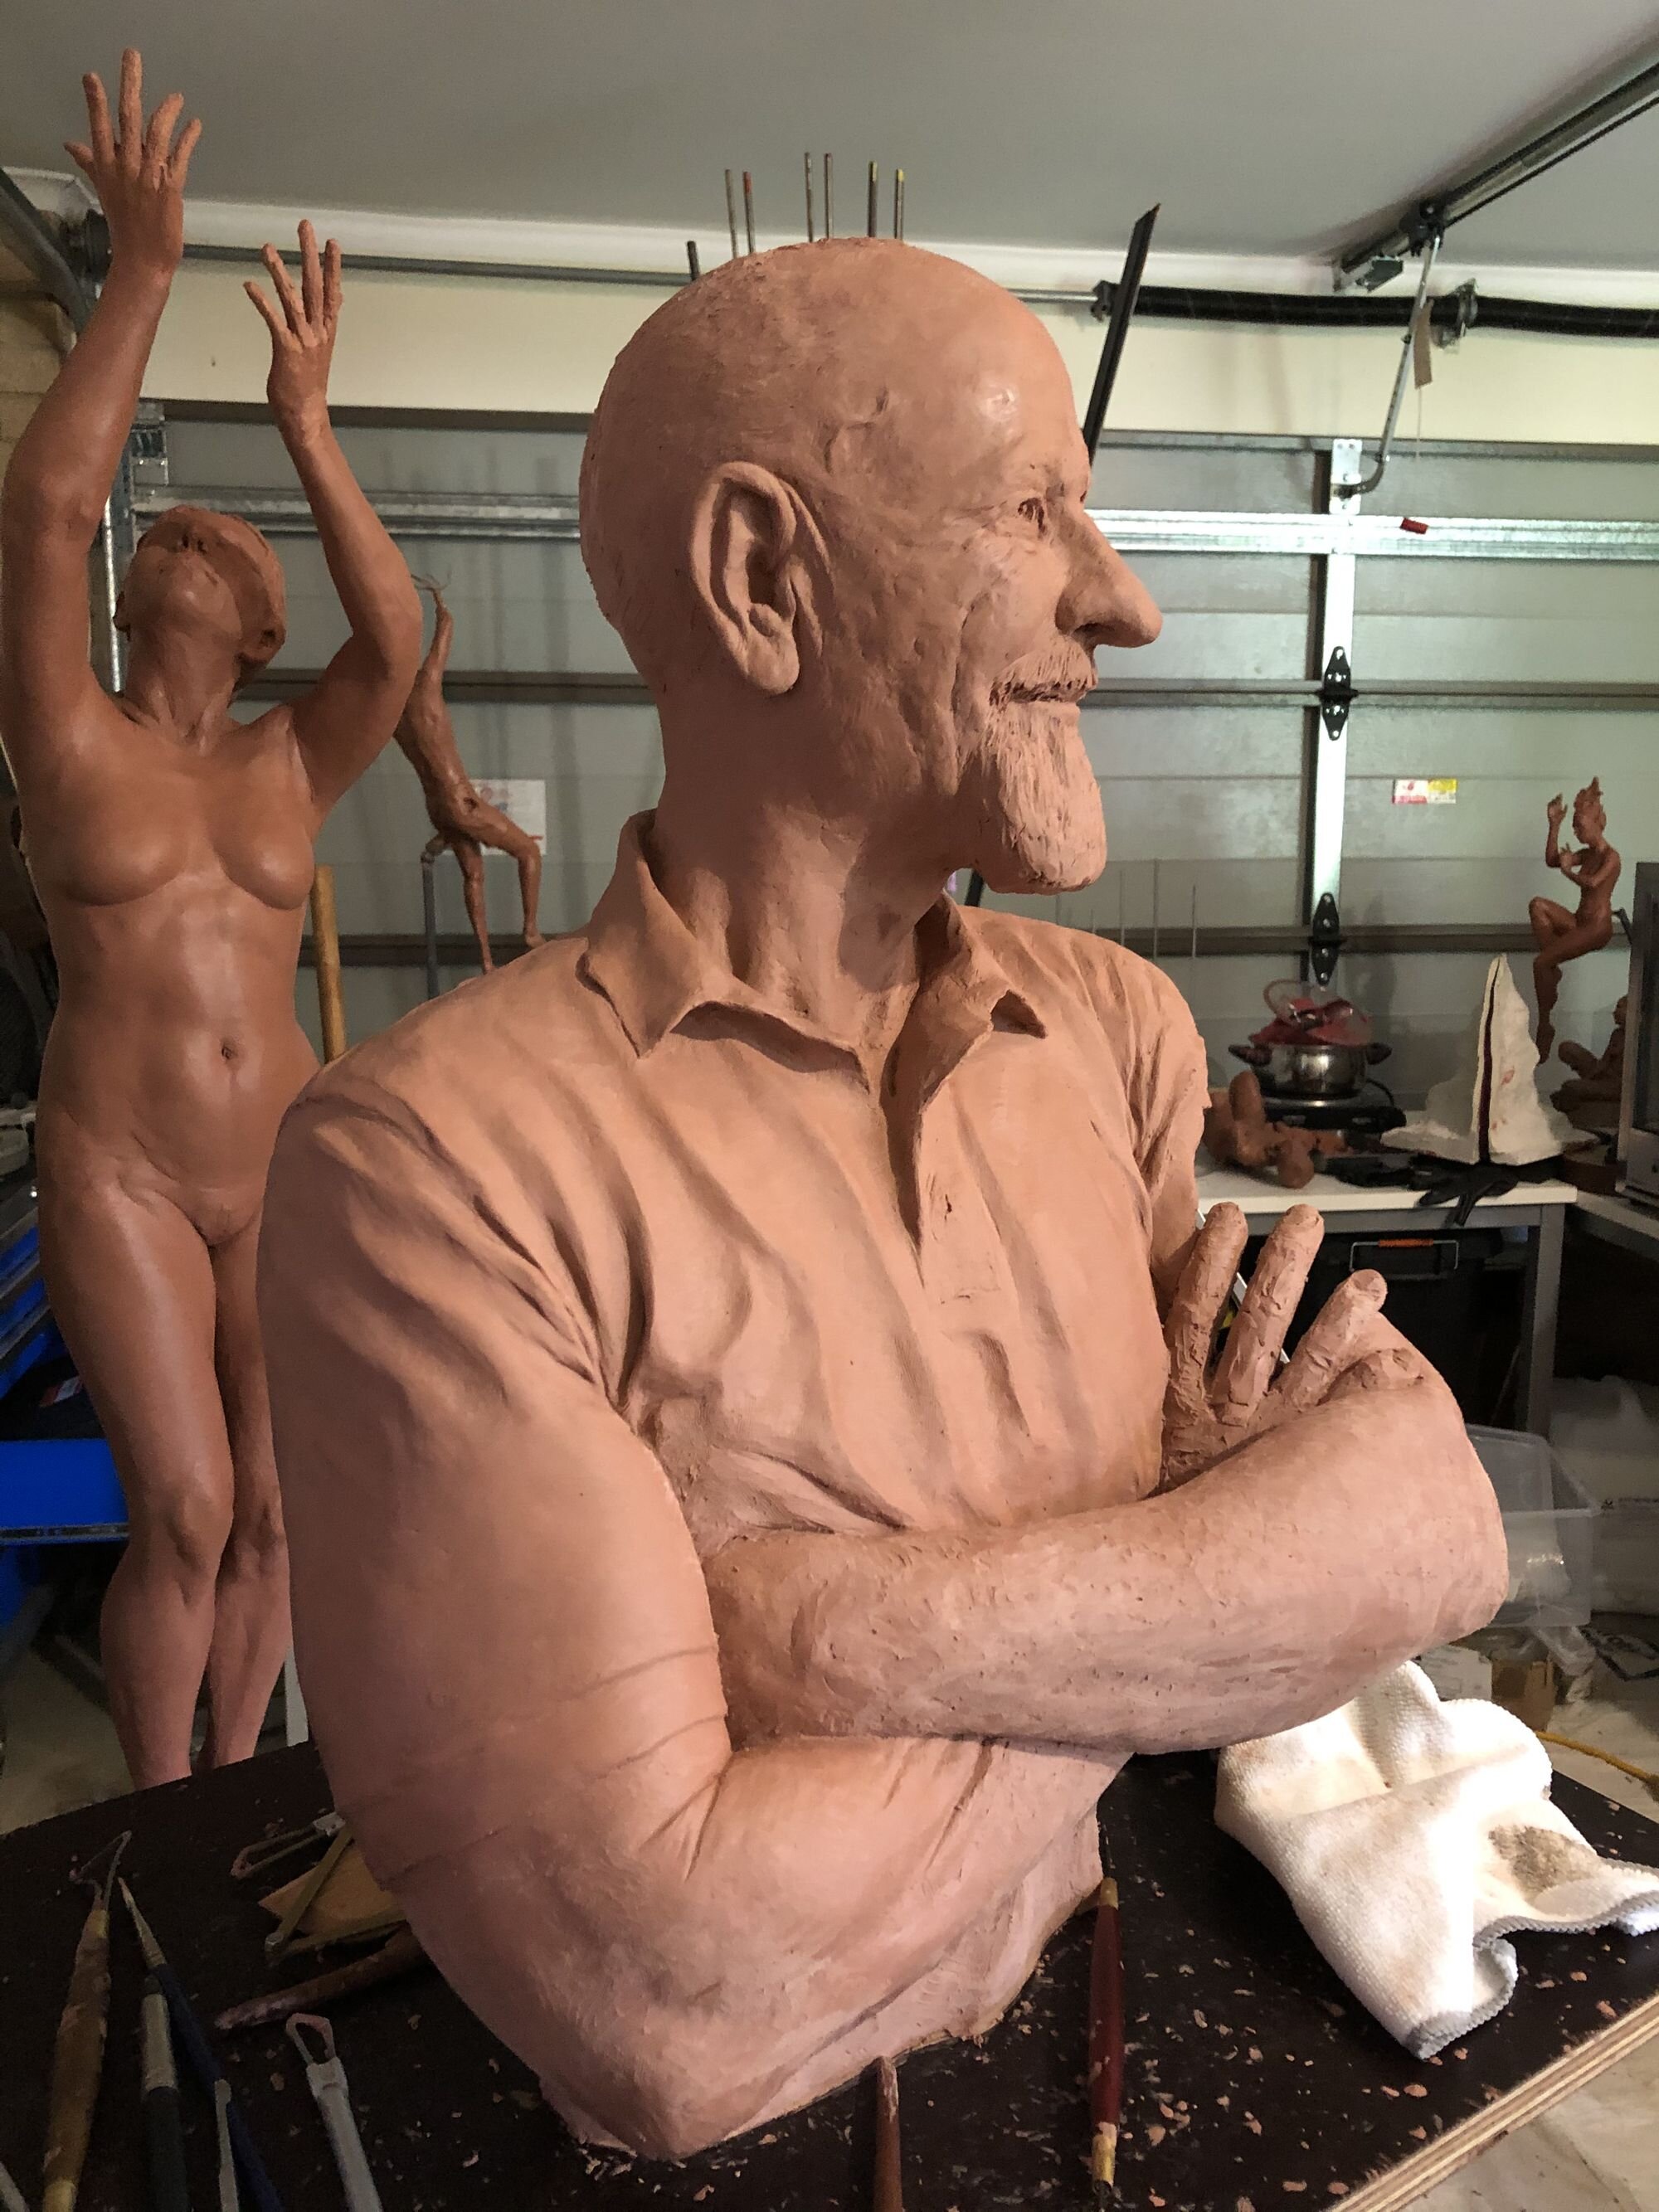
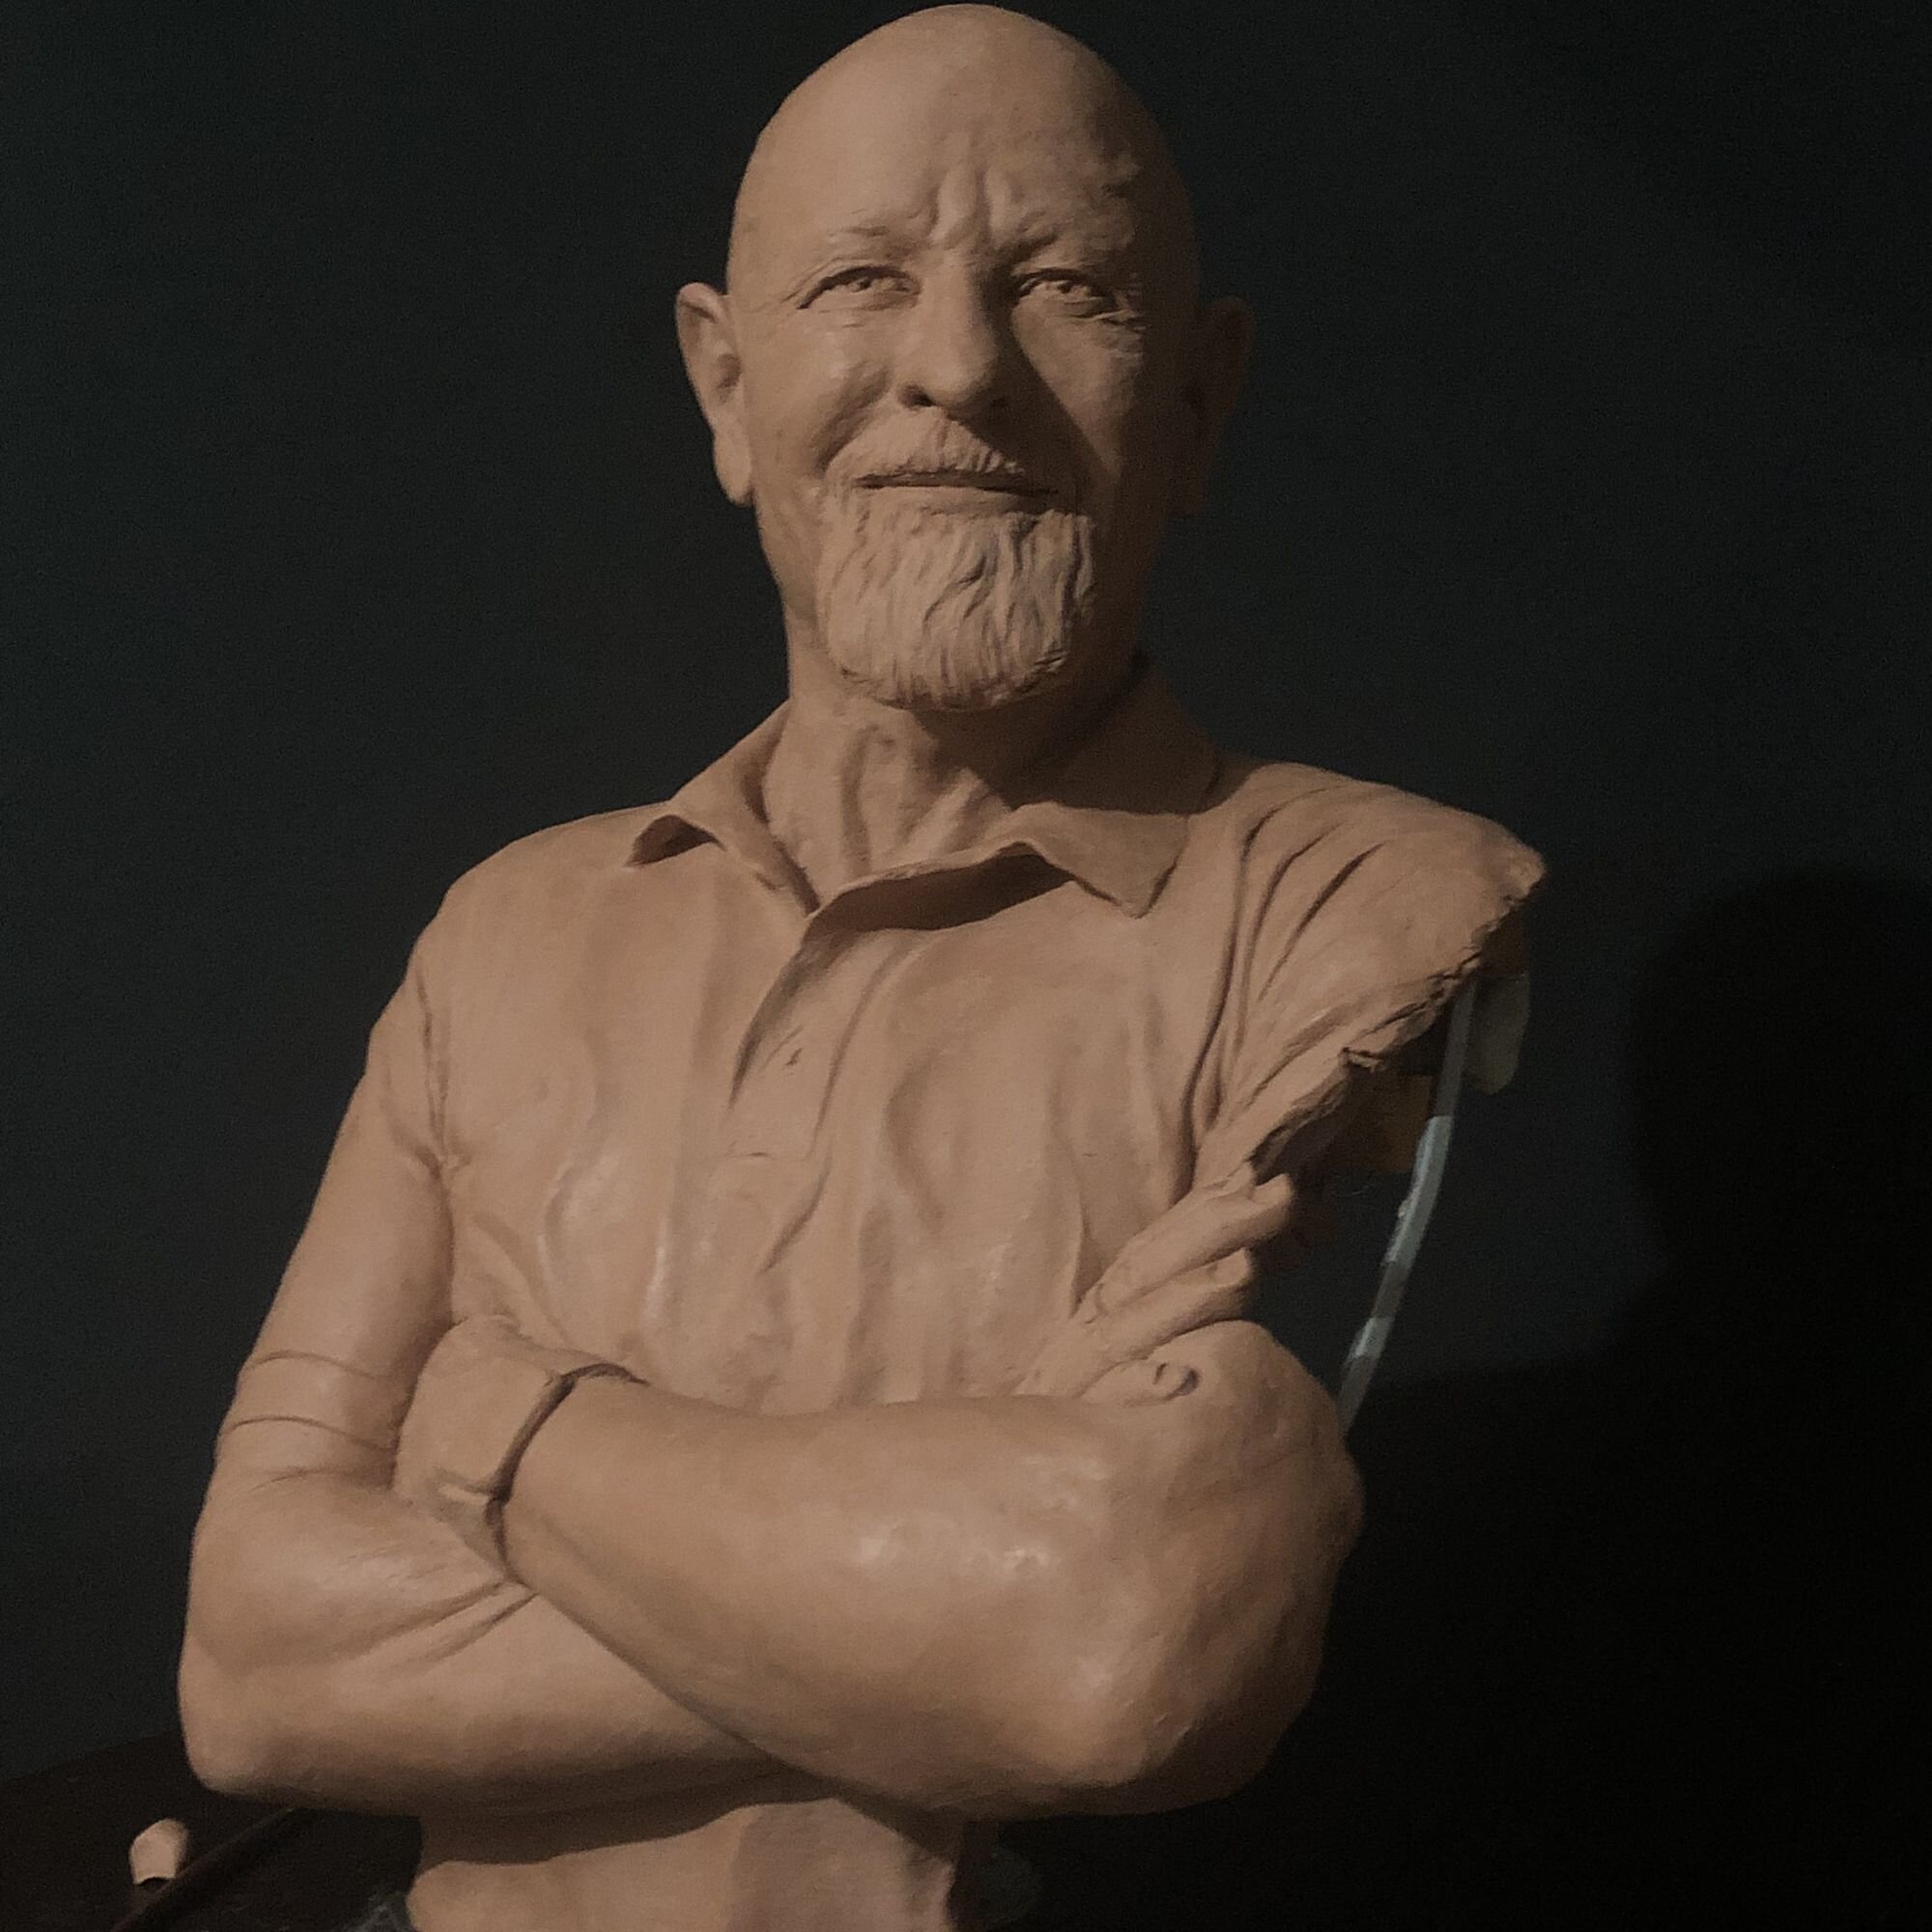
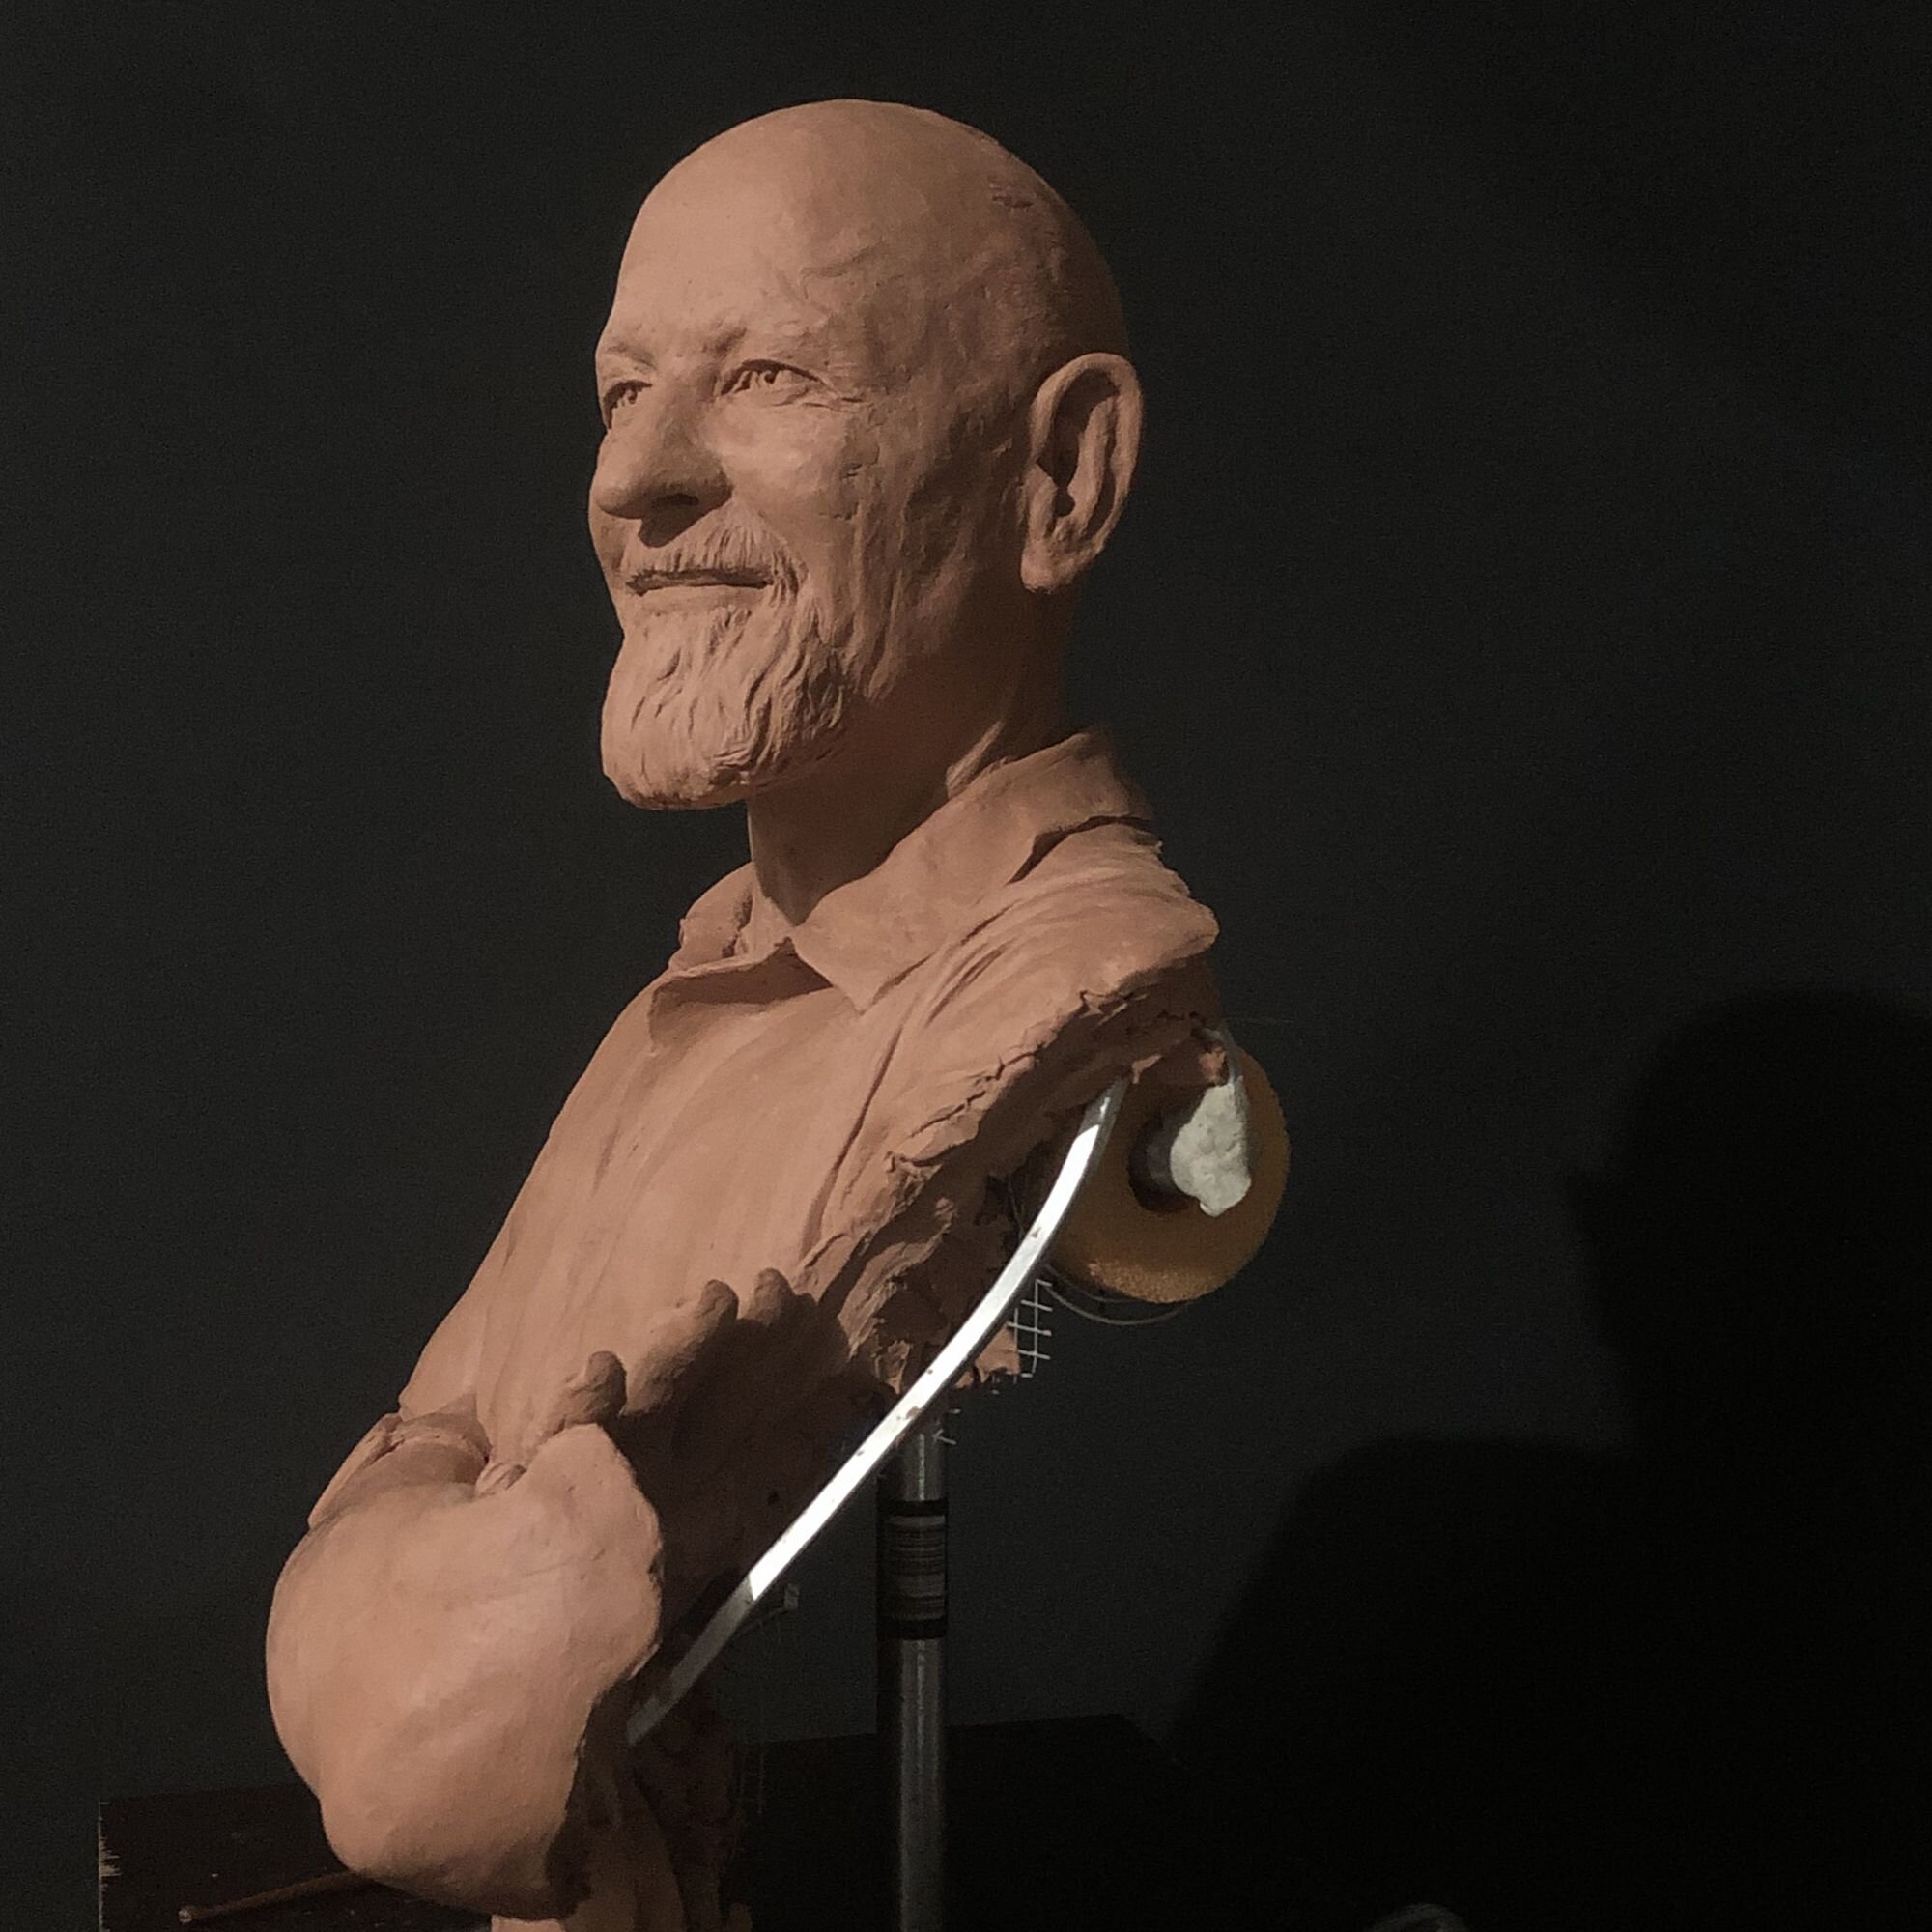
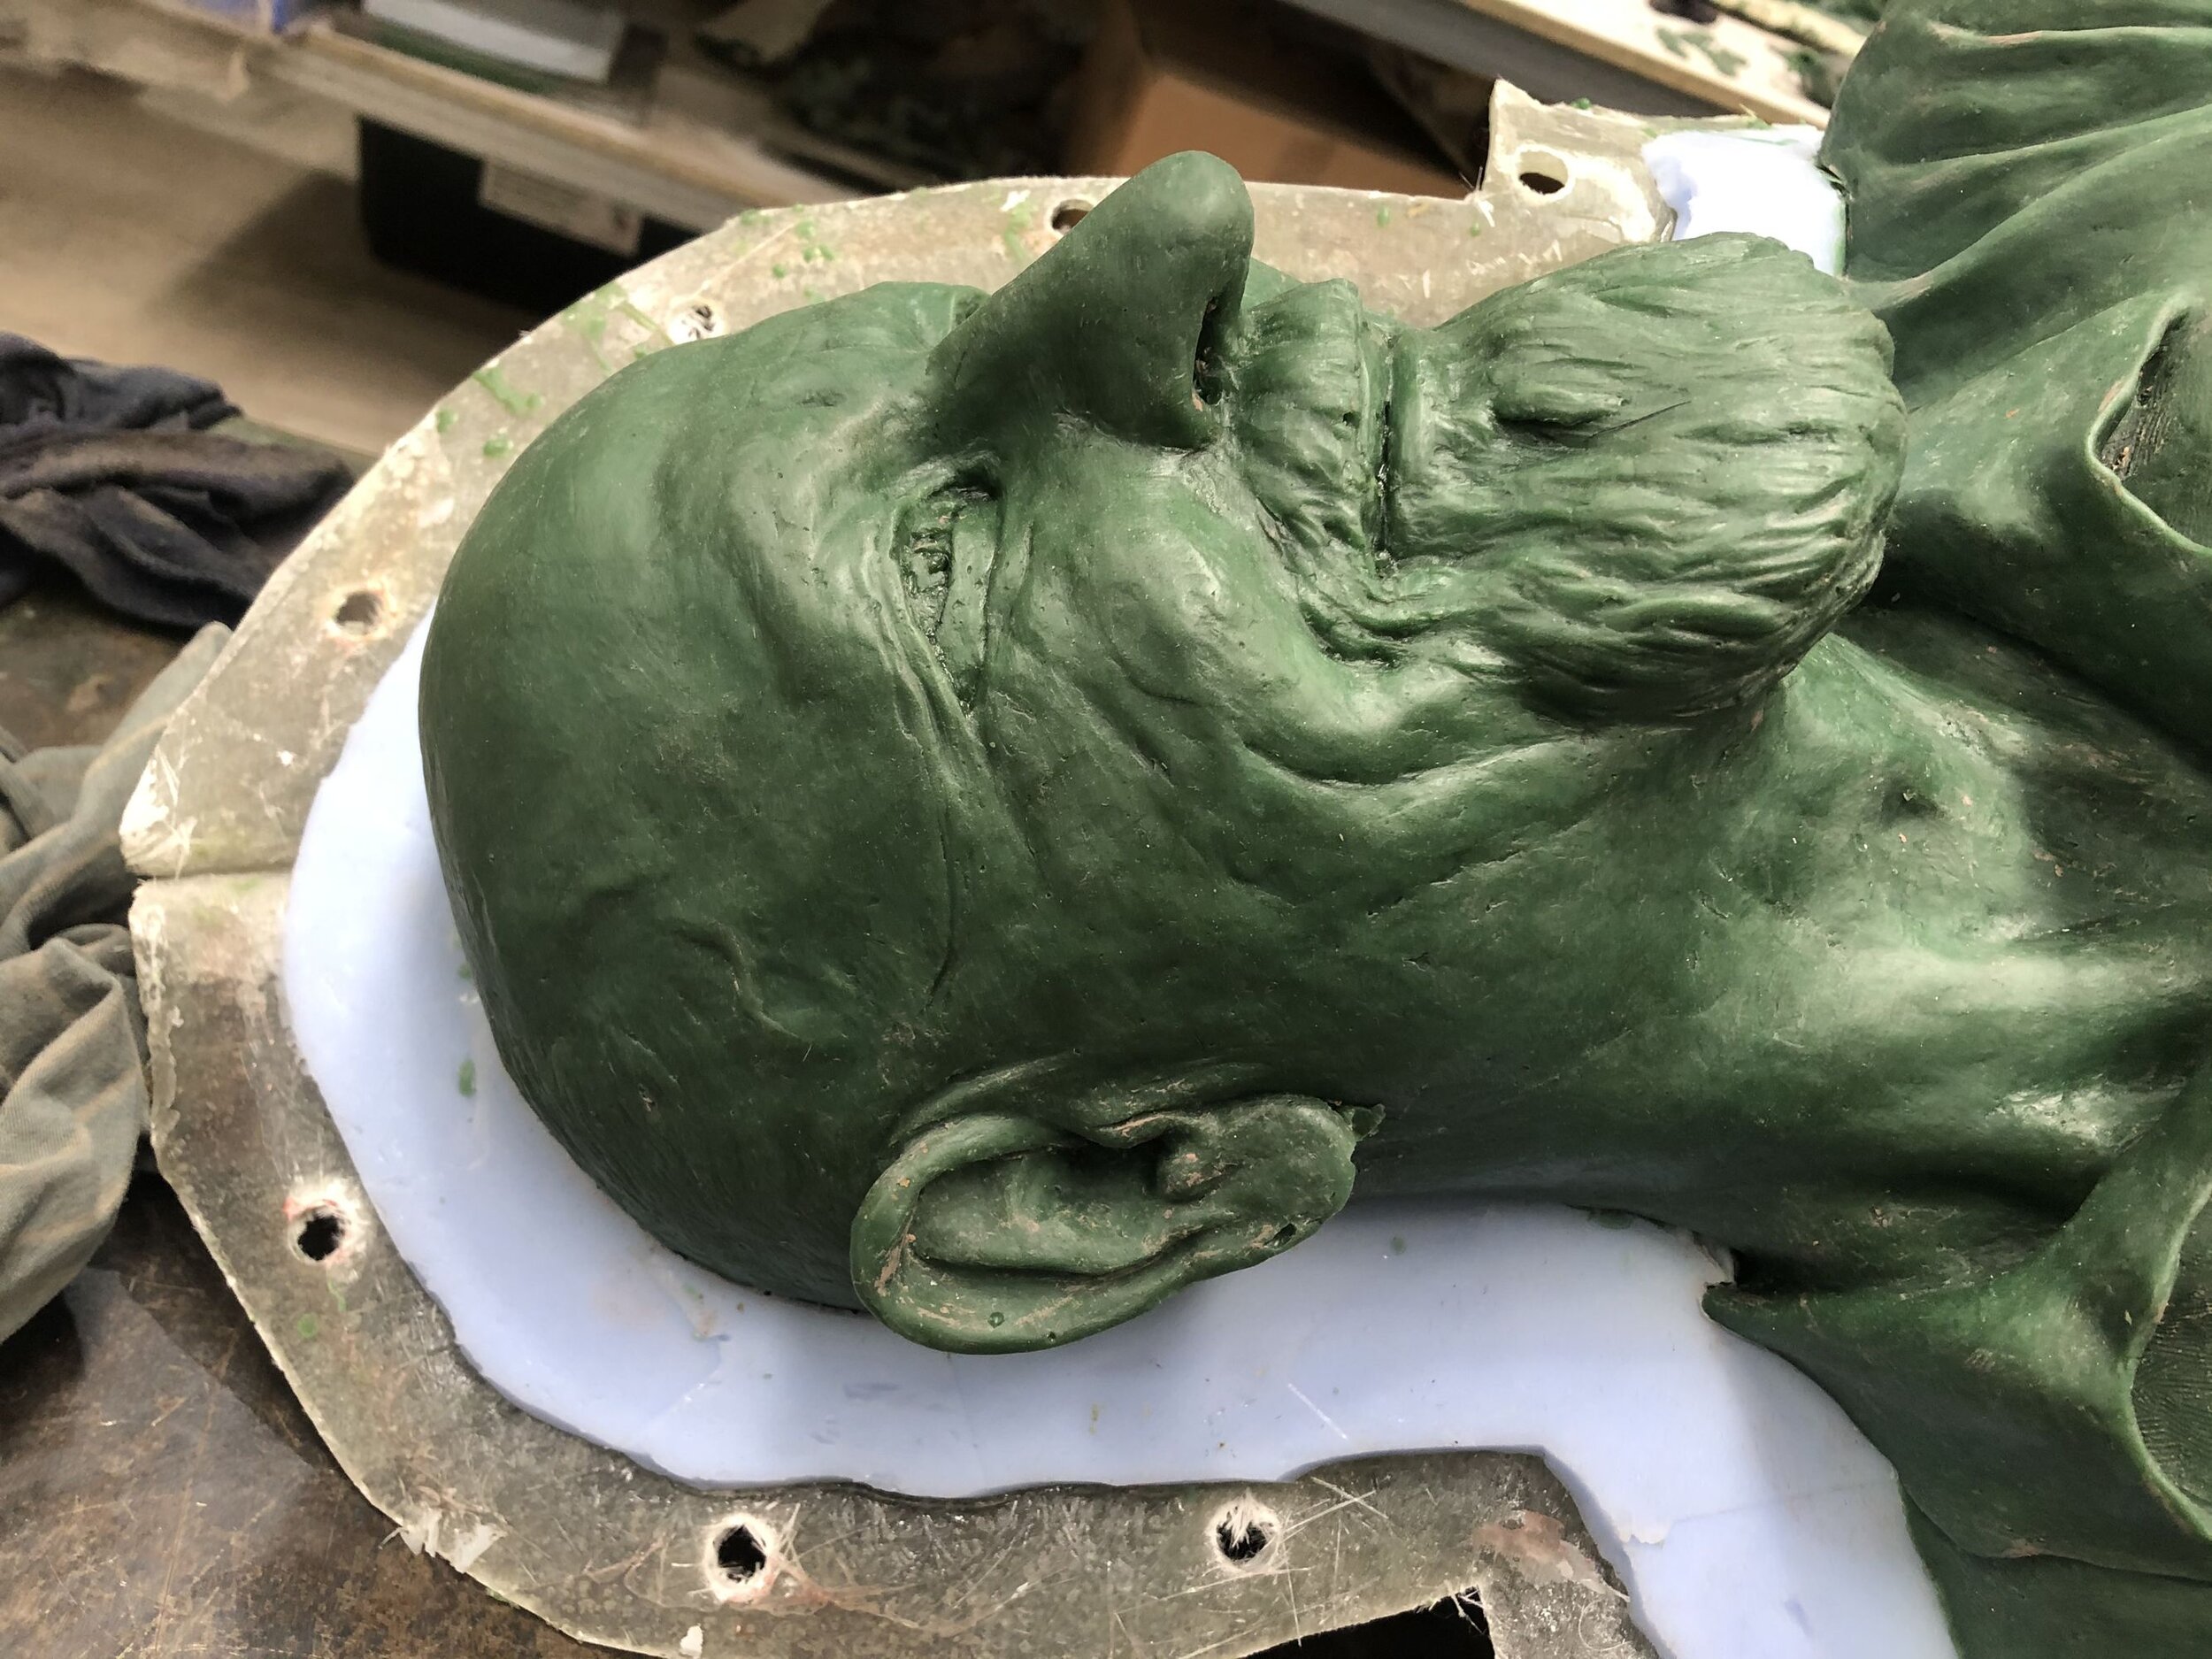
2 The Sculpting Process
To advance the sculpt I worked from a sketch, some dimensions and a video I took of our subject after a very good lunch. Working from the video works for me as I am a reasonable 3D thinker and visualiser. As a tool, scrolling backwards and forwards on a screen works fine for me to develop an accurate sense of the subject. For this piece I was looking for a good likeness from the outset. You can see from the photos that the clay was built up fairly quickly starting from the head and moving through the neck to the shoulders, chest, arms and finally the hand. Detail evolves once the massing and accuracy of the major forms has been established. The last detail was his Apple watch. I imagine the great grandchildren will be wondering what that is…
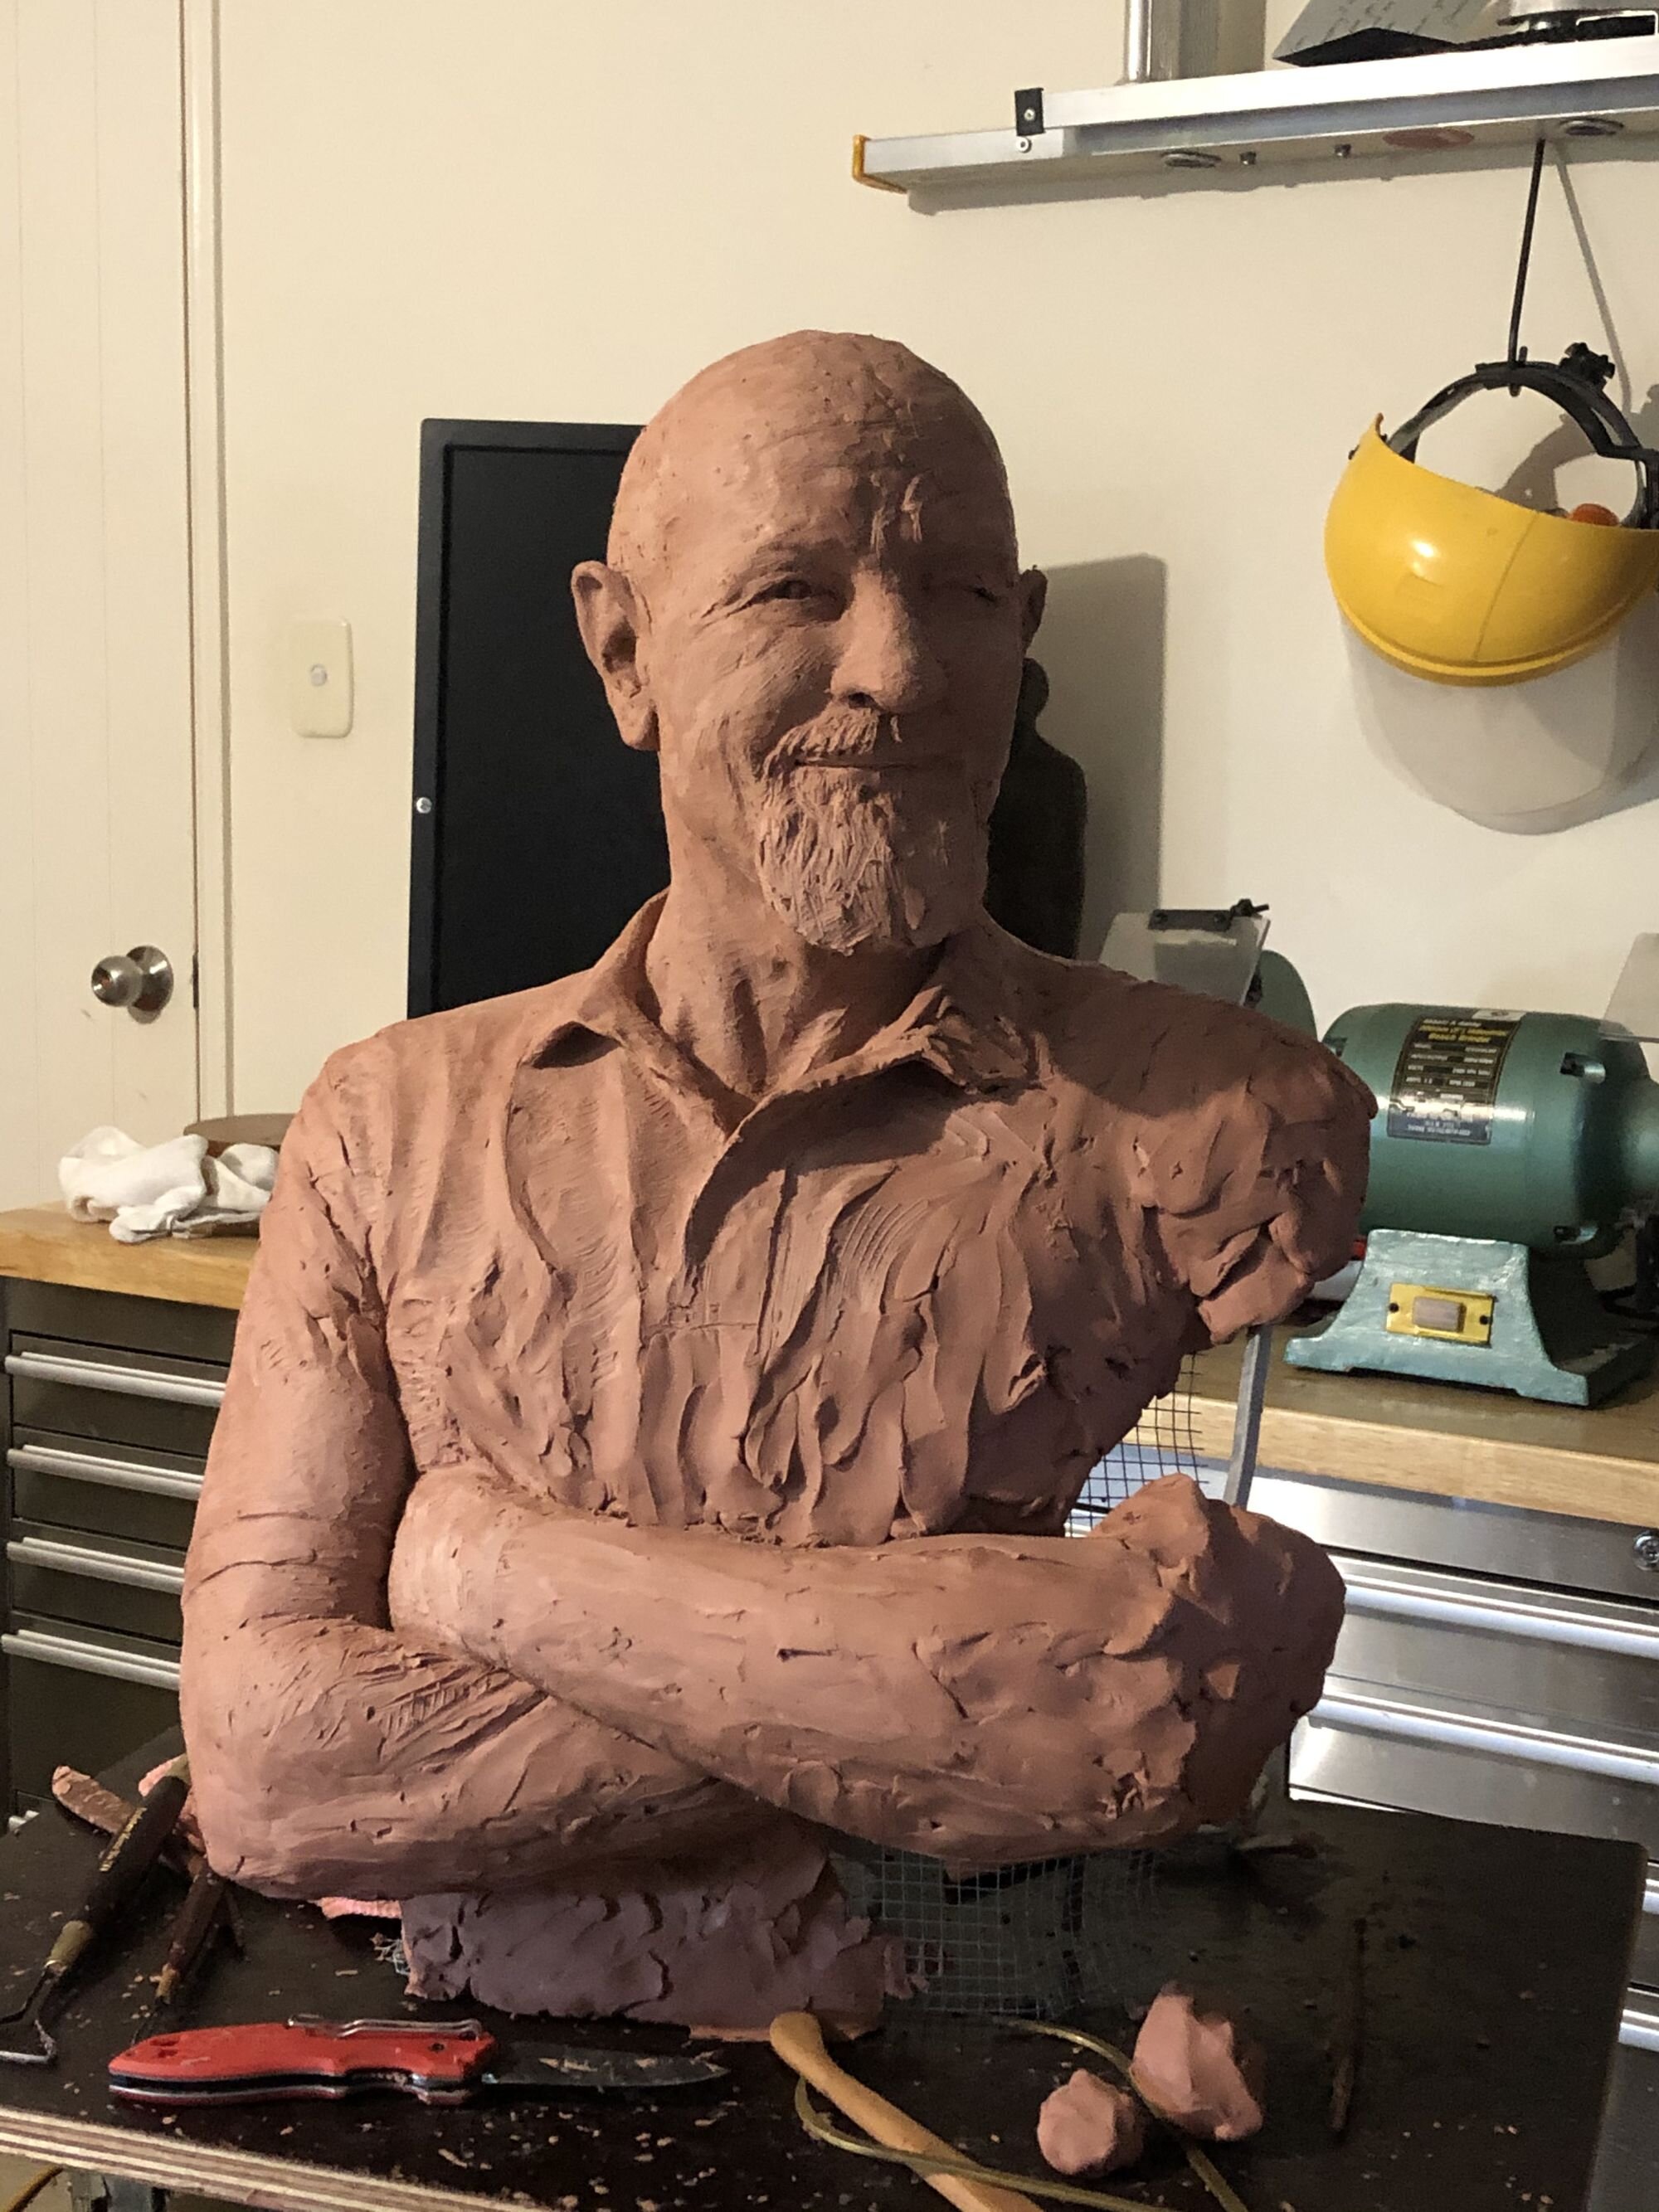


3 Client Sign-off
With such an important piece that was destined to be an heirloom far into the future, getting the client’s approval before we advanced to the moulding stages was critical. Fortunately the test was passed, and there were even some happy tears.

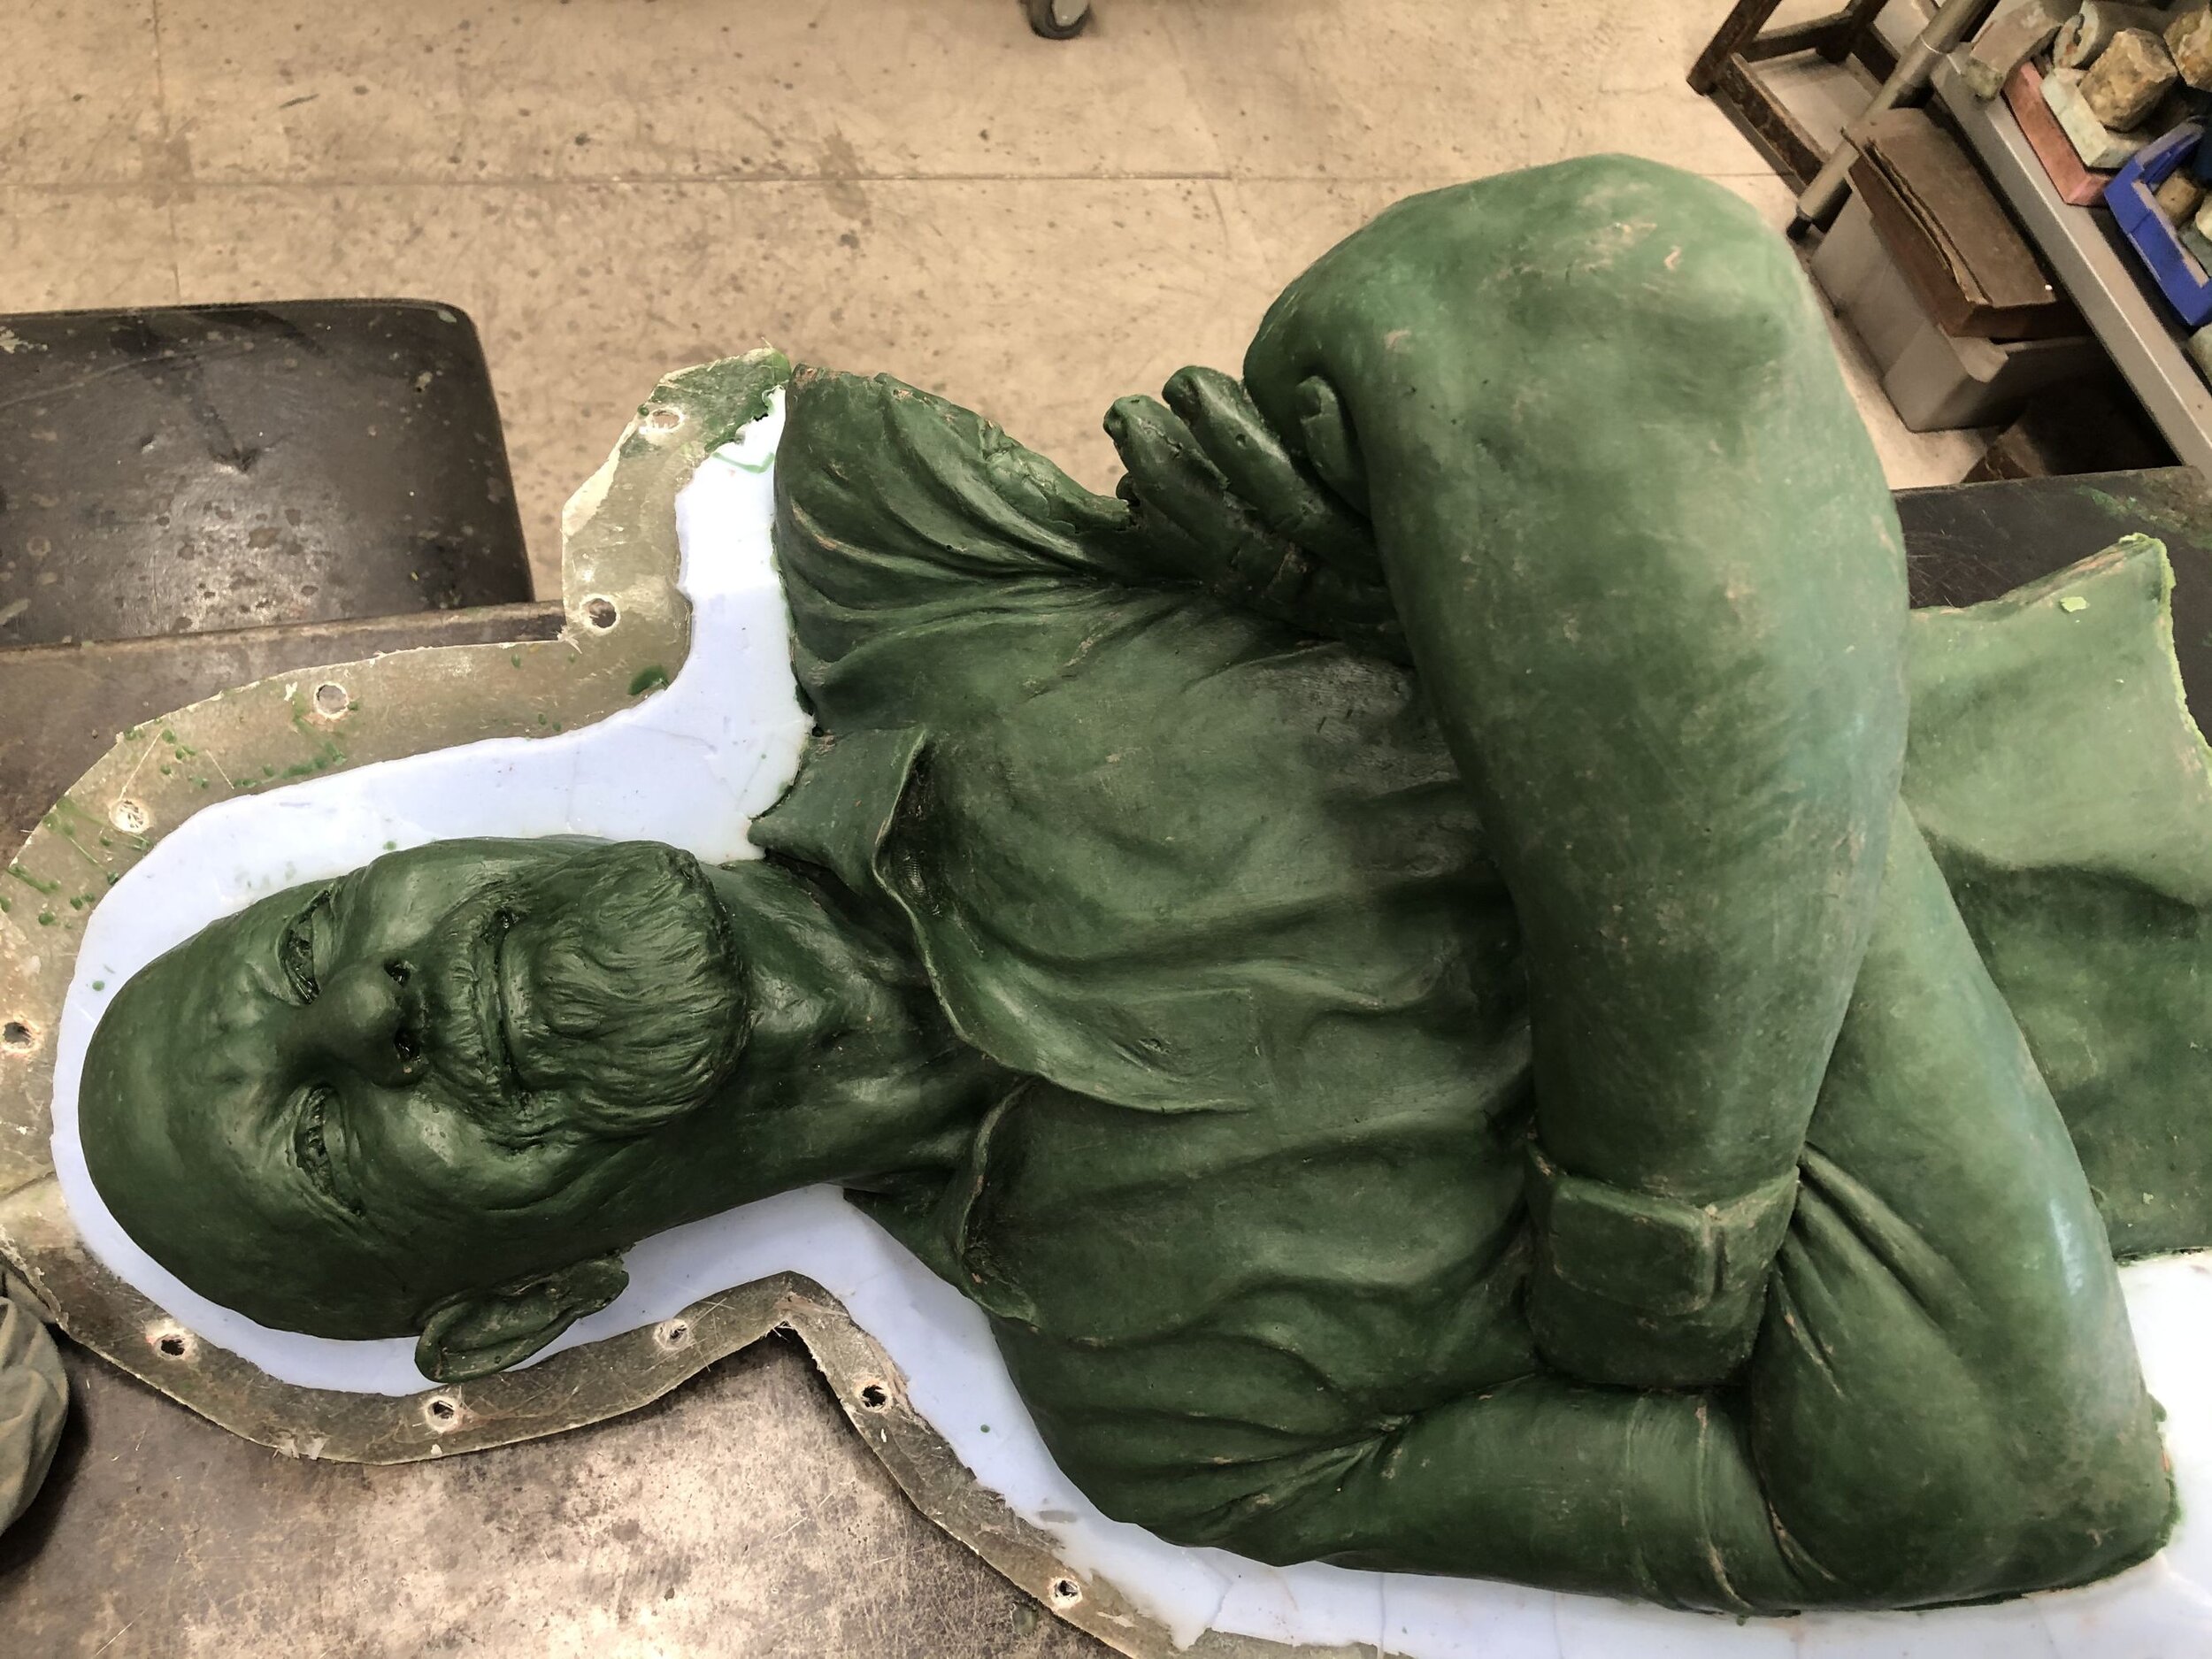
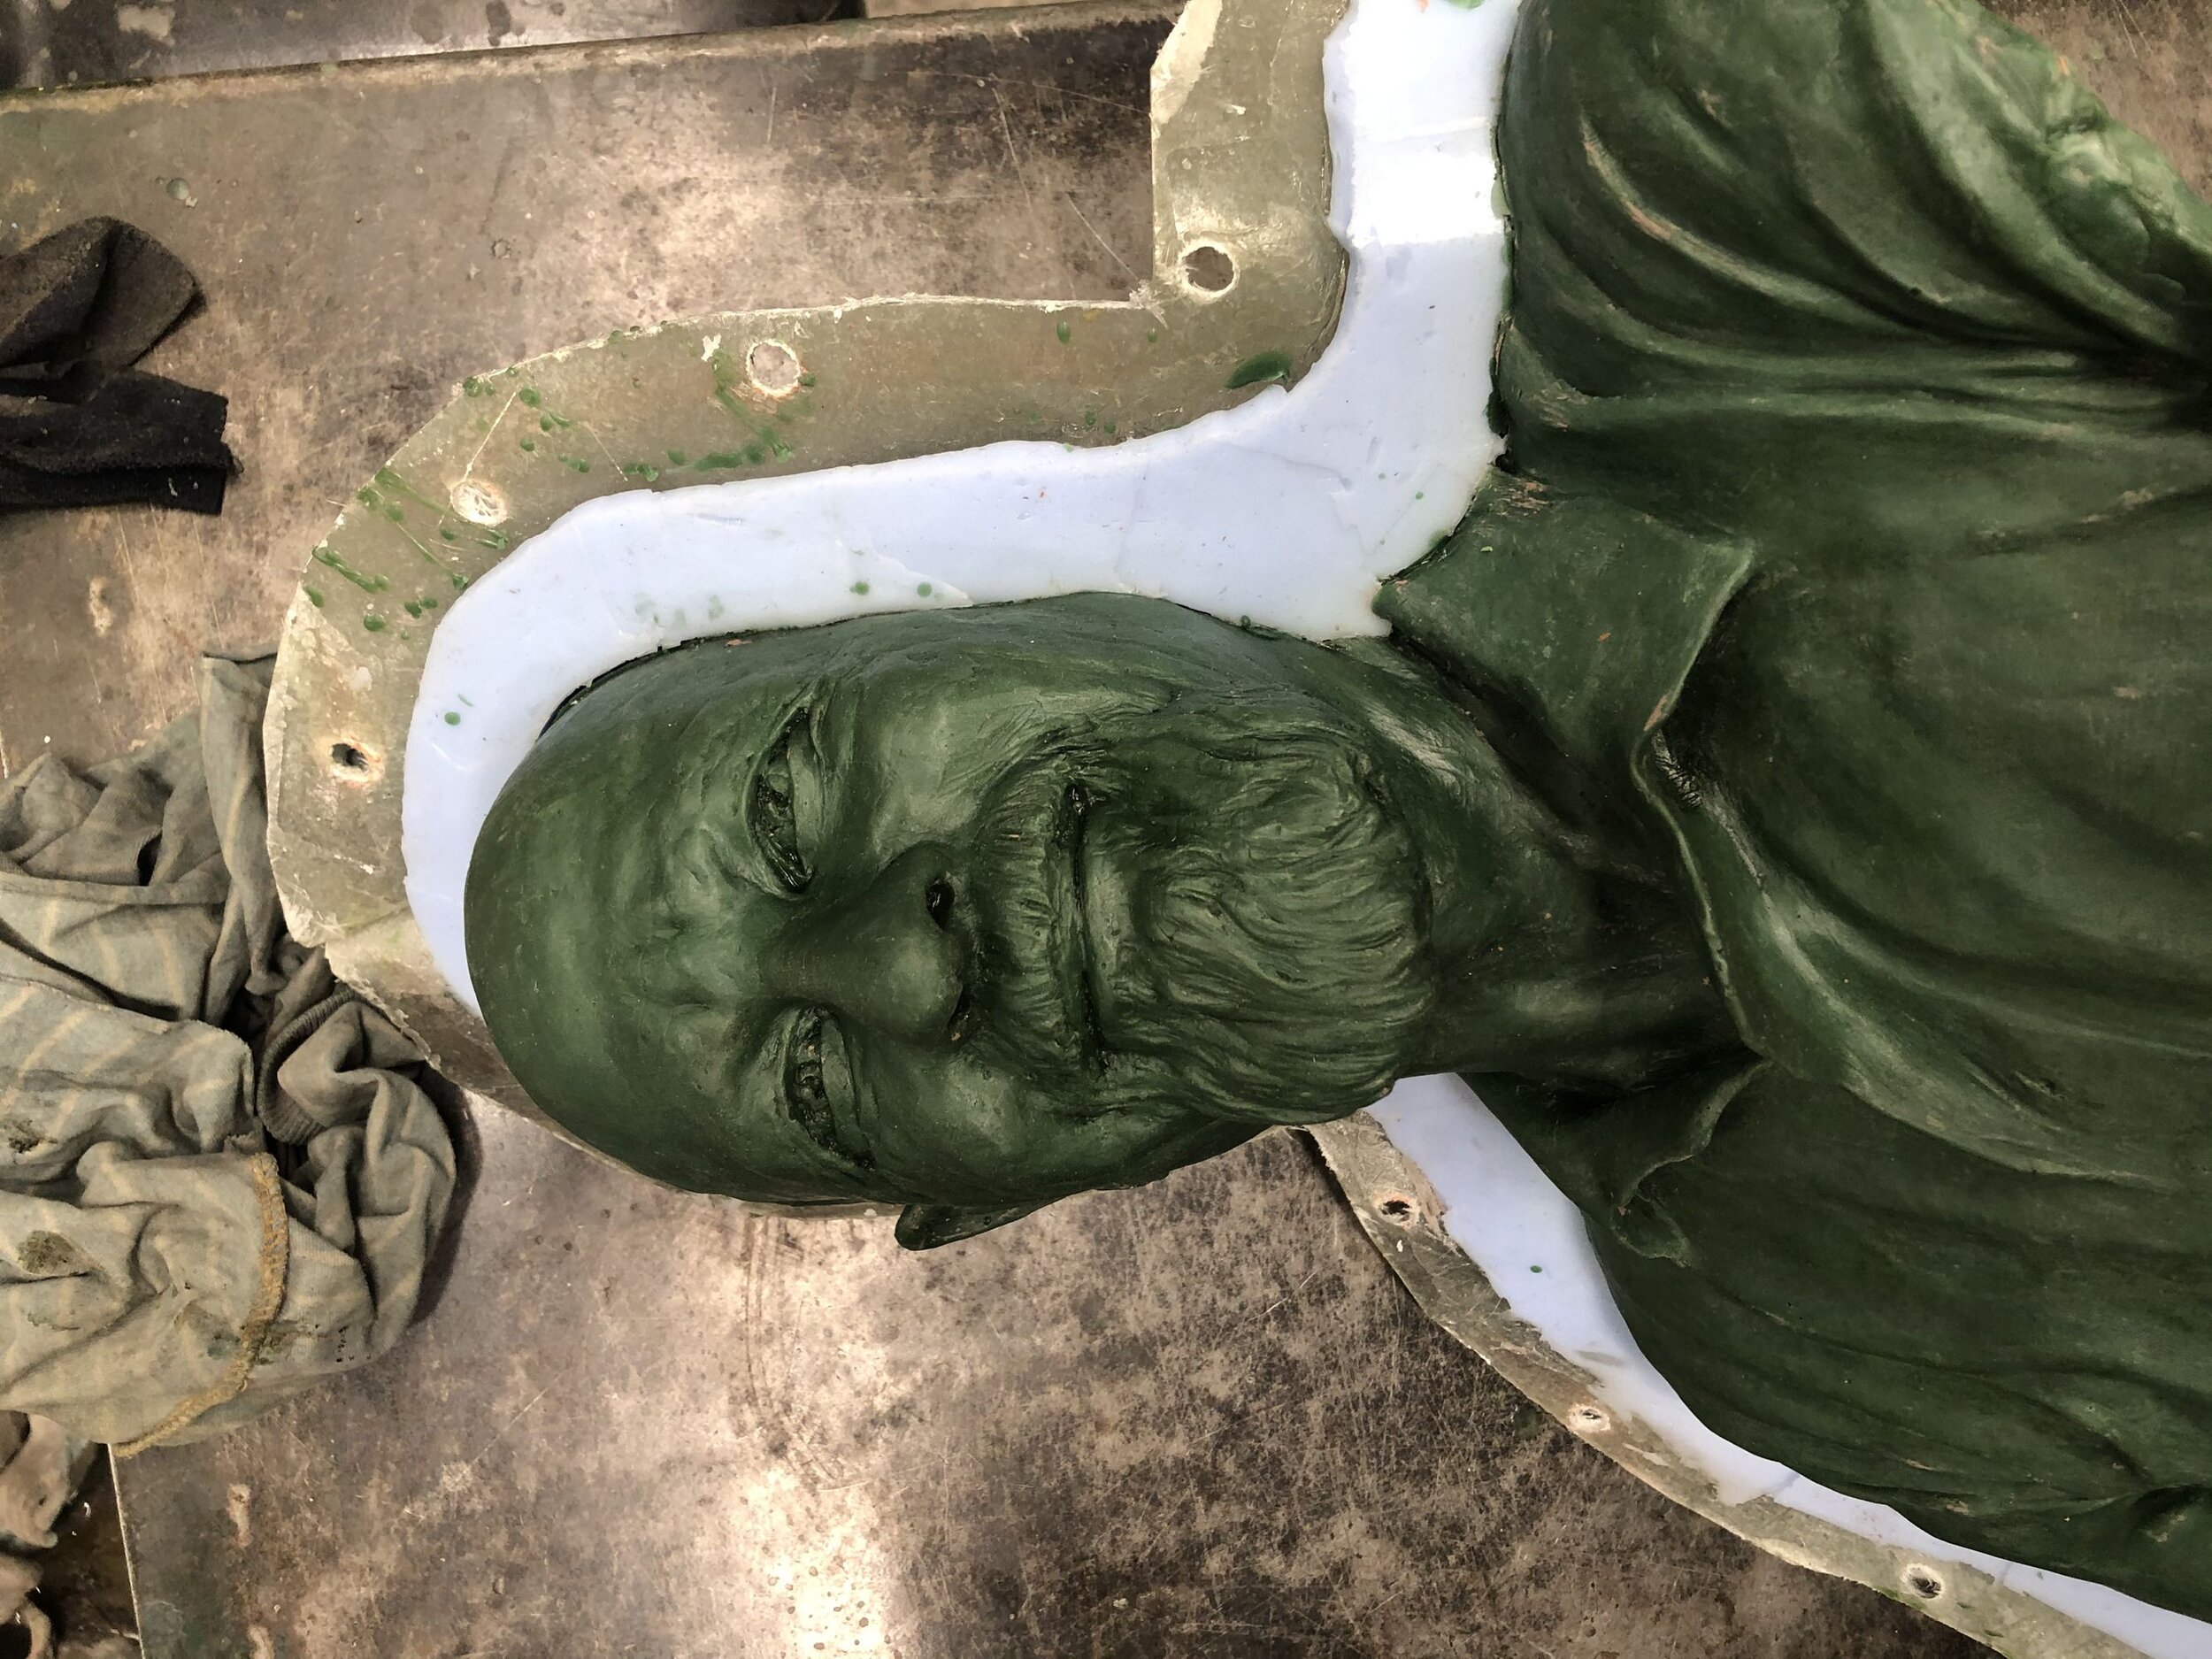
4 Moulding the Clay Sculpt and Making the Wax
With no time for mis-steps, the clay was moulded at the foundry. Few bronze sculptures are cast solid. Being a copper based alloy, bronze expands and contracts significantly when heated and cooled, so thick bronze sections are prone to shrinkage cracking. Most sculpture are cast as a shell of around 4mm thickness. This is created by using a mould of the sculpture. This is the first step in the casting process known as ‘lost wax’.
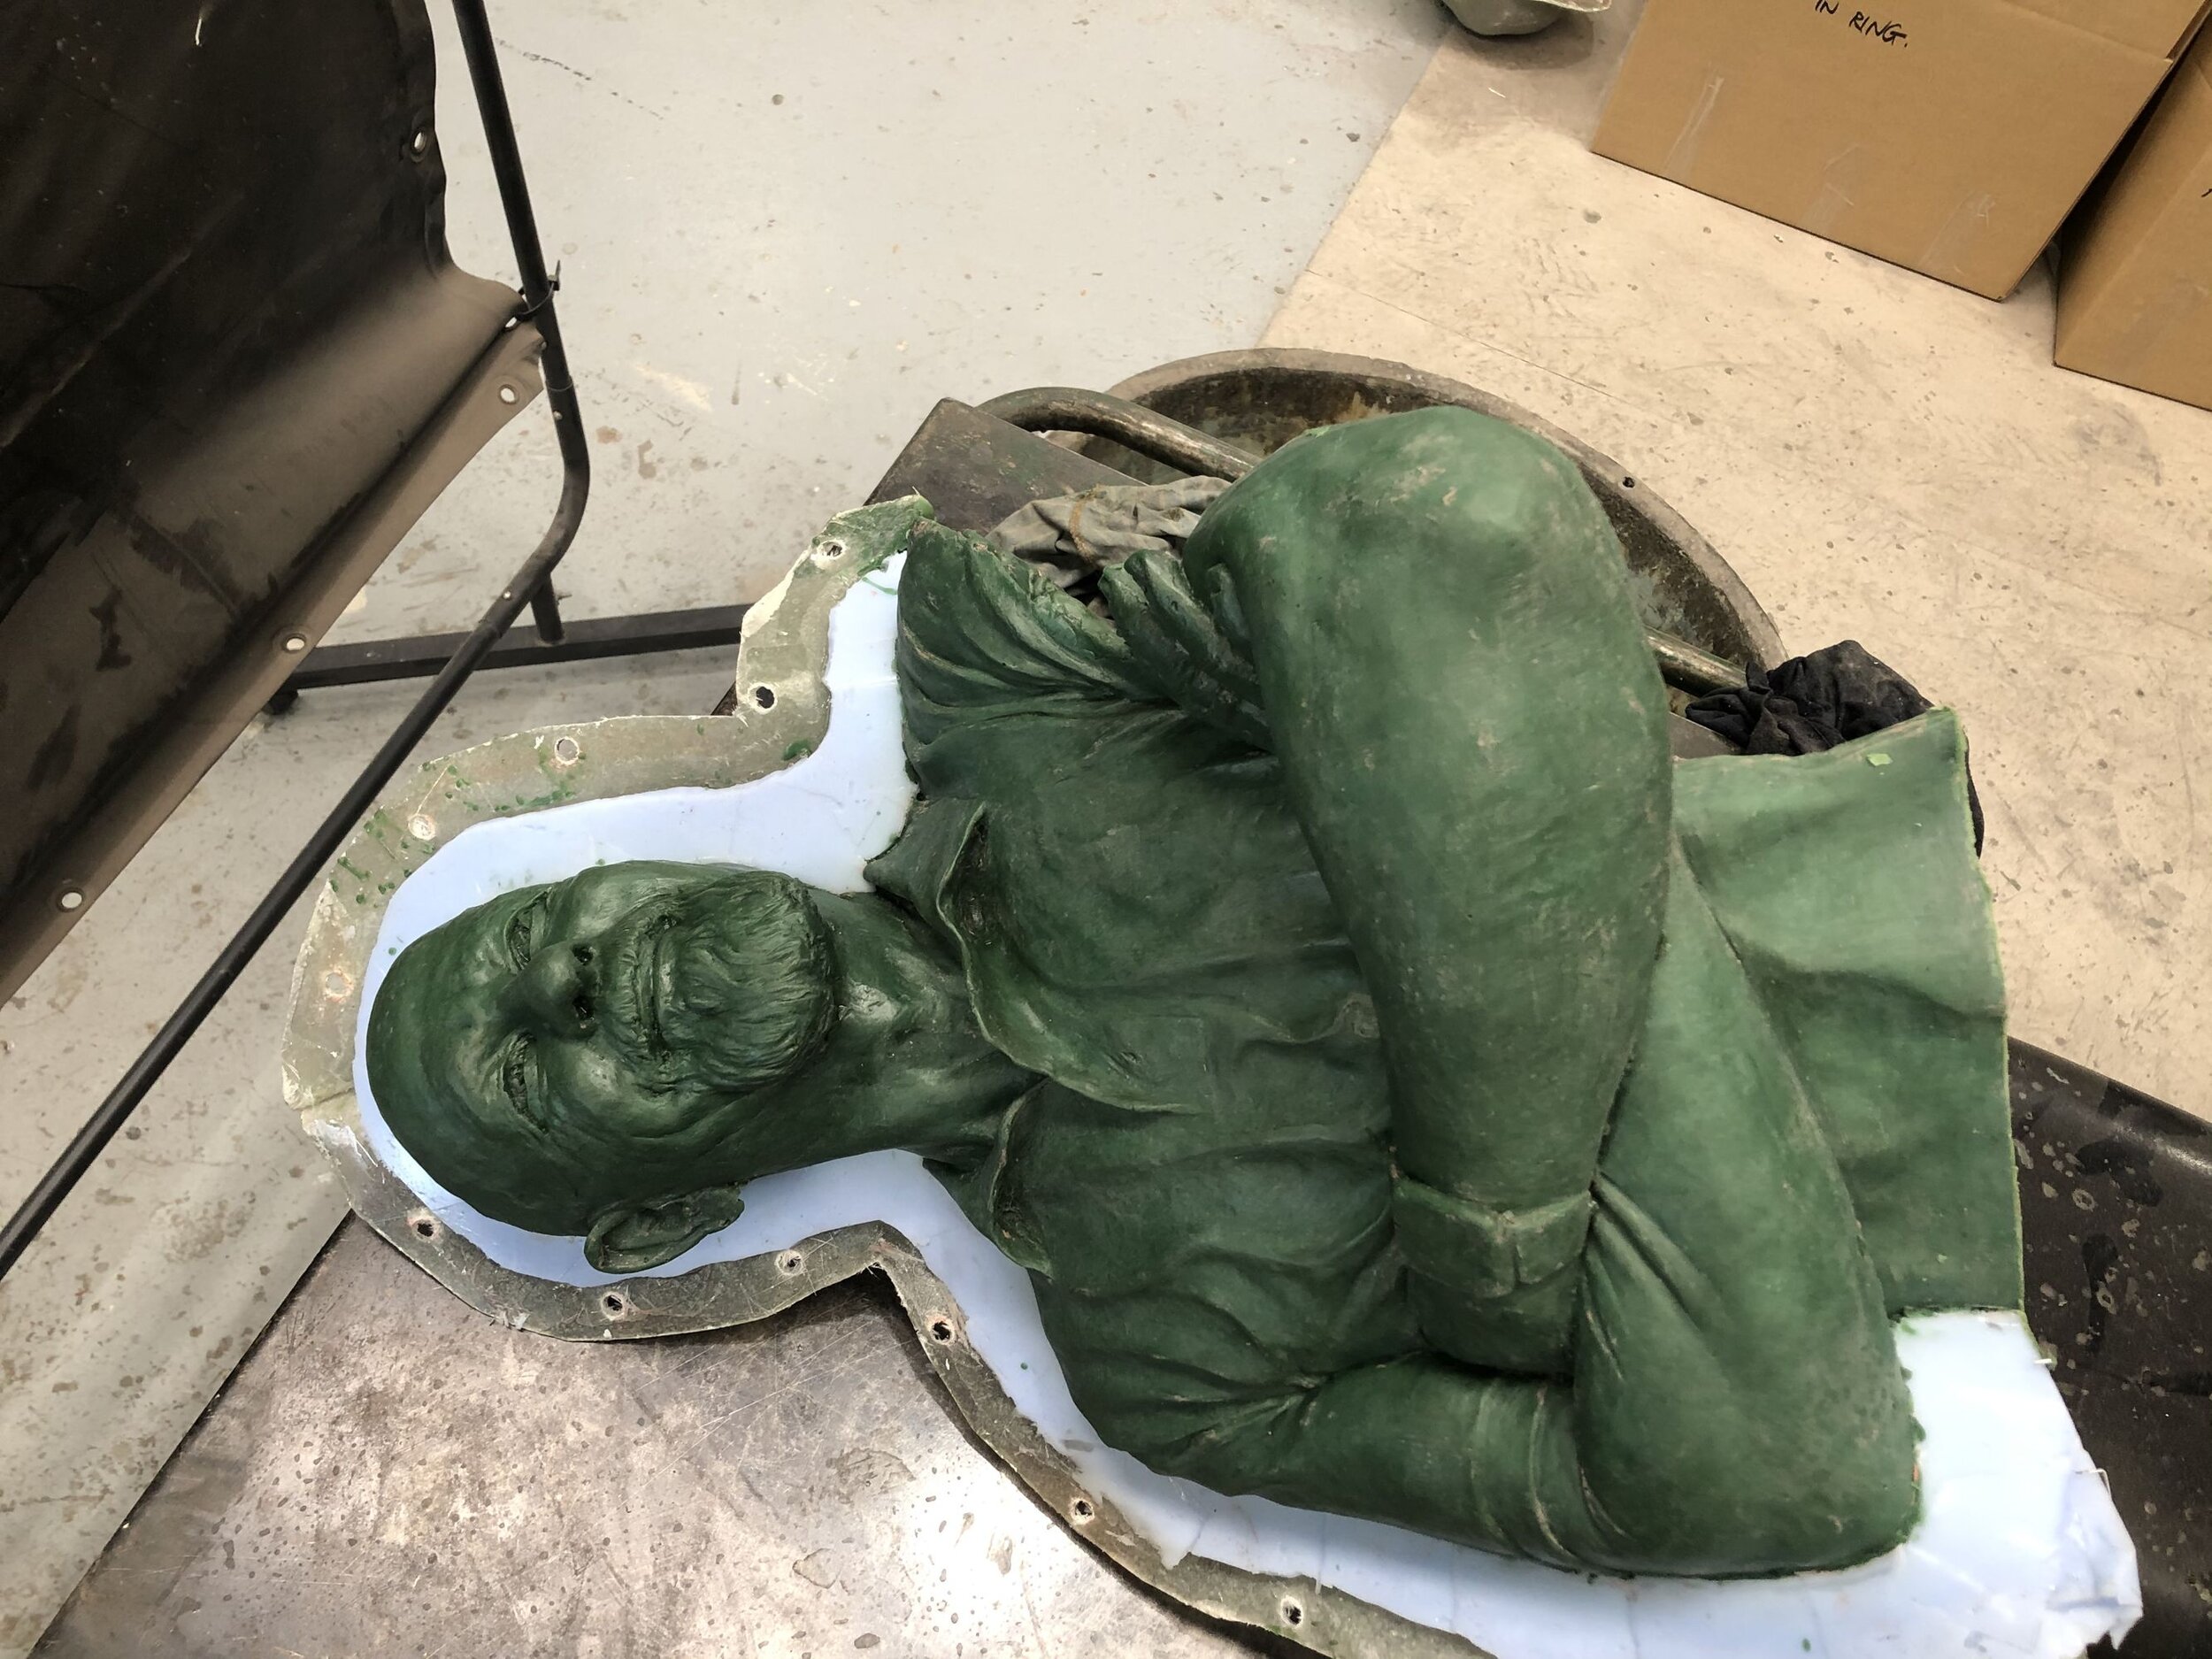
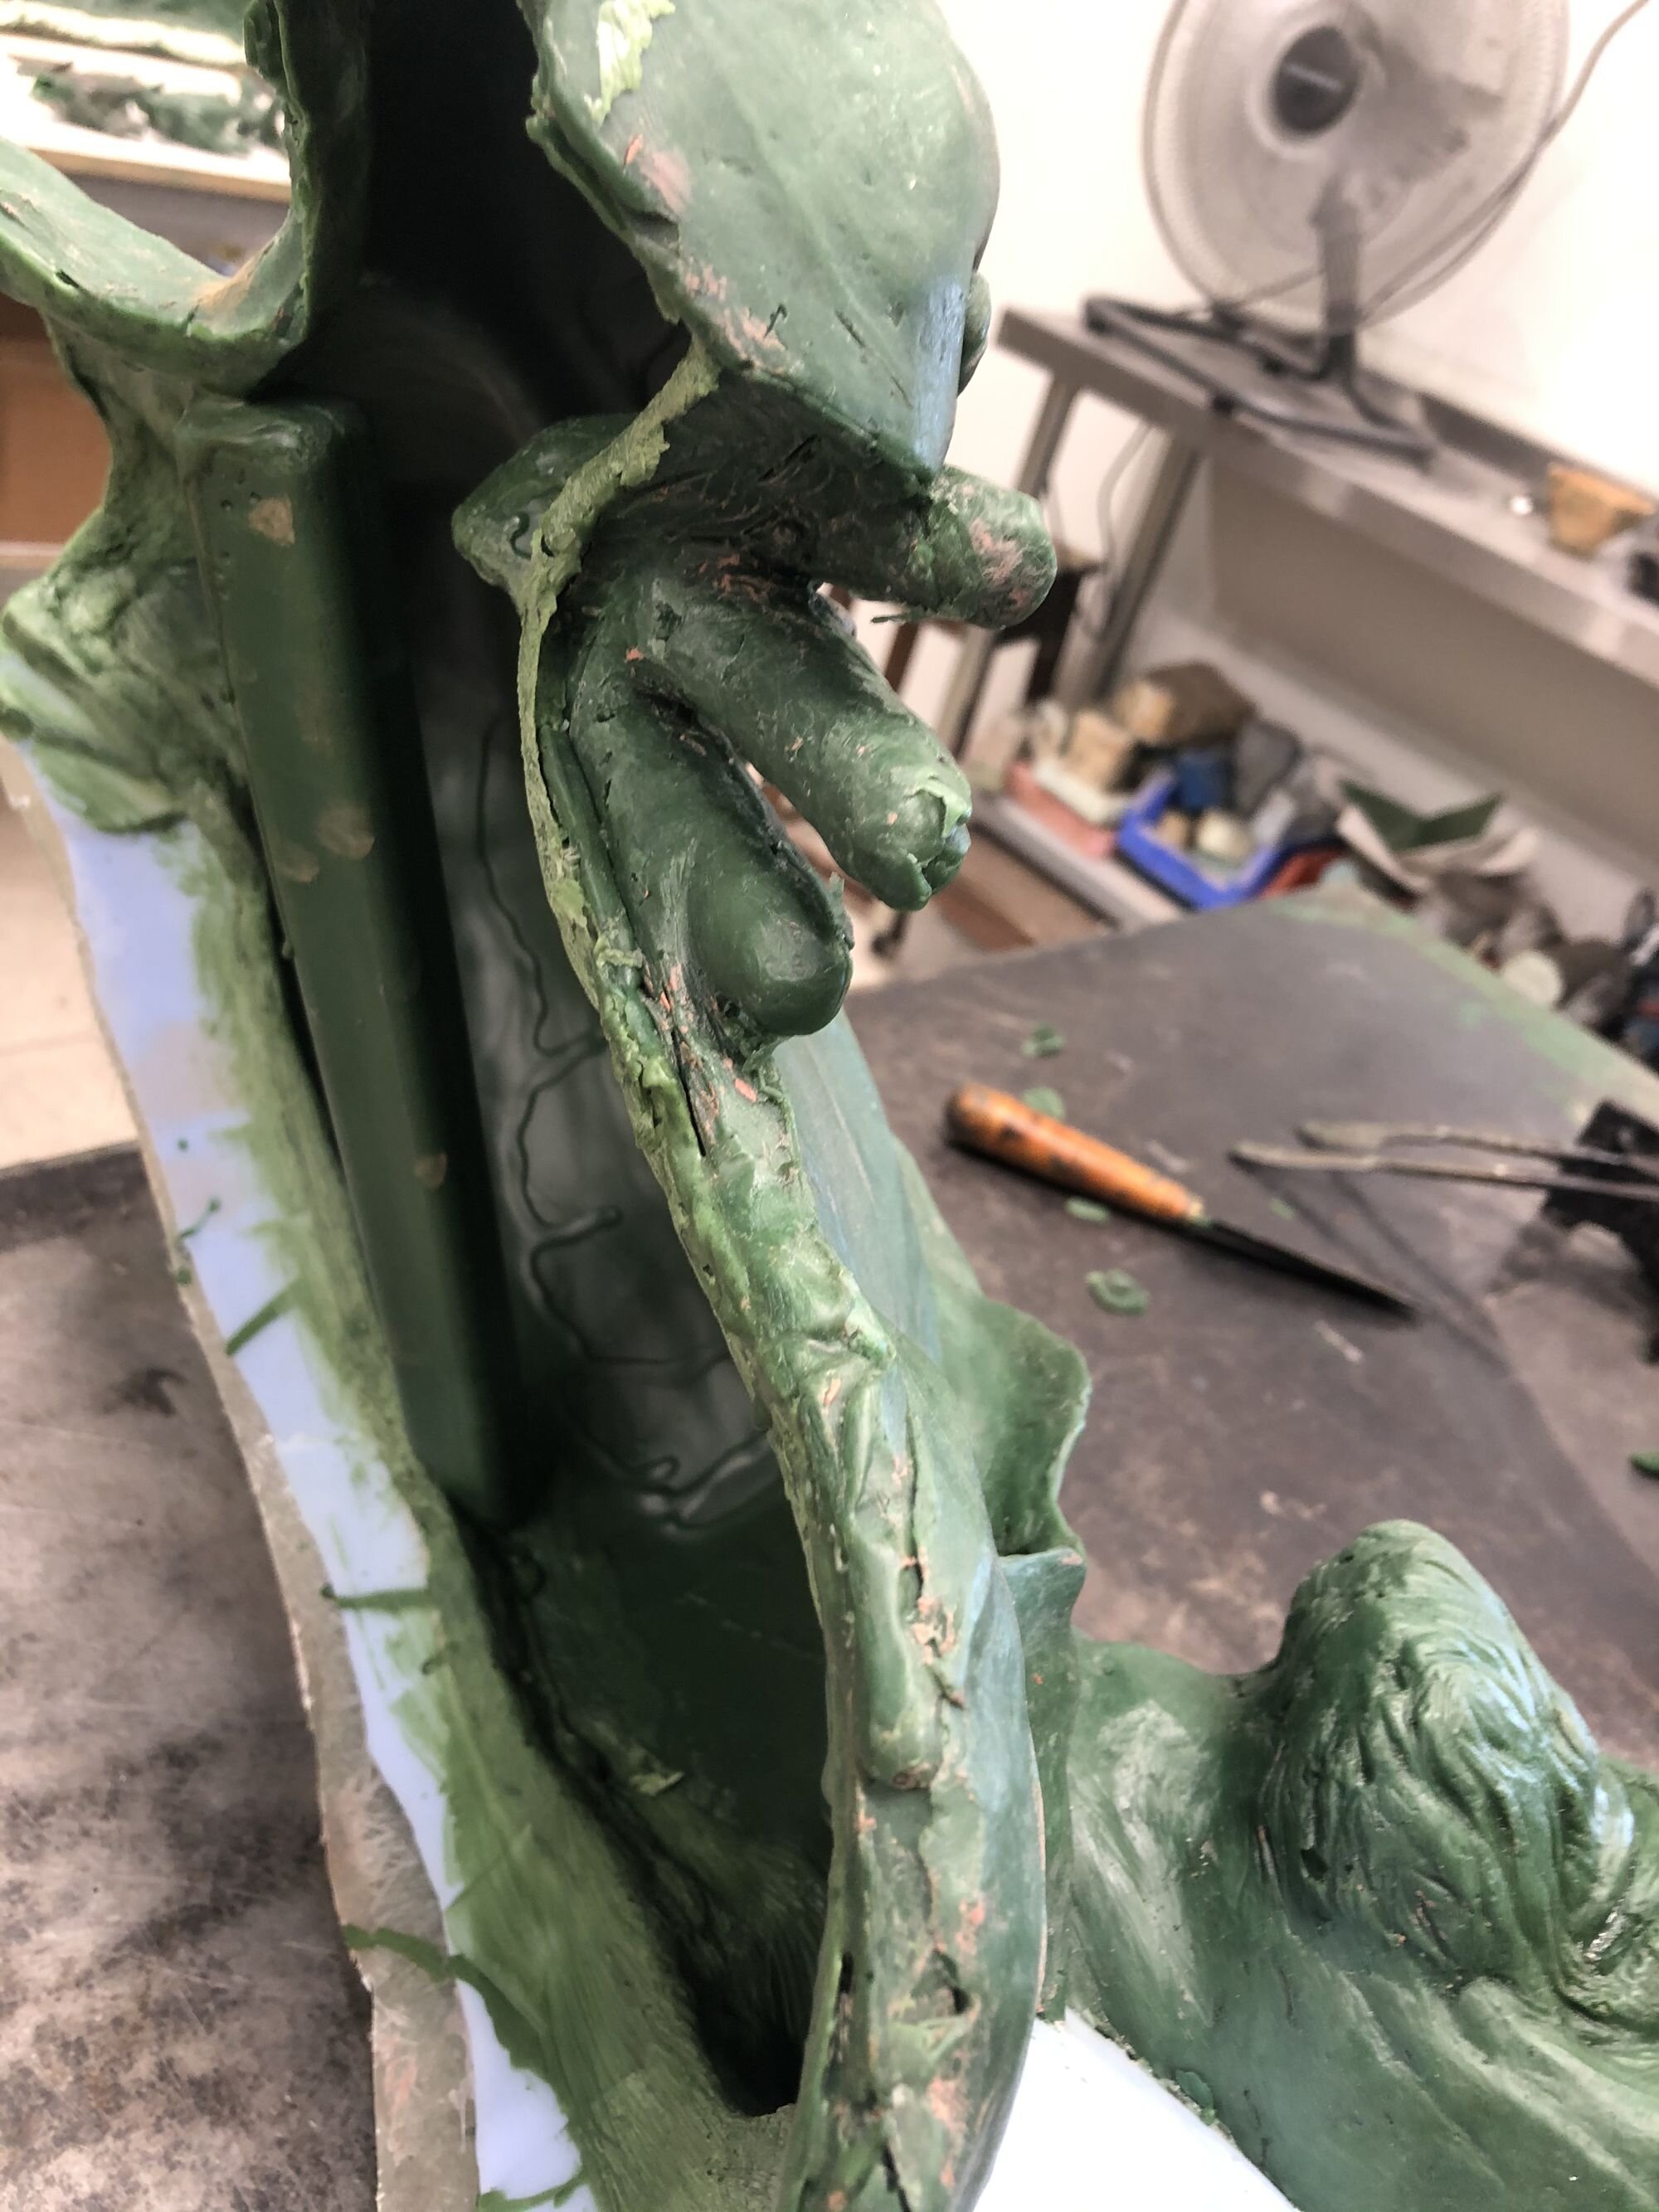
Firstly, the clay is coated in layers of silicone rubber. Since the silicone is flexible to allow it to be removed, it is then encased in a rigid ‘mother mould’ to support the silicone sections when the sculpture is removed and the mould sections reassembled.
The mould is then filled with melted wax. The wax cools in the mould against the silicone surface first. The wax is allowed solidify to the same thickness as the cast metal is to be, and then the excess wax poured out. The result is a hollow wax replica of the sculpture.
Pouring sprues and pouring cup are then added to the wax before the whole thing is invested, inside and out in a refractory coating. The ‘Clay to Bronze’ Blog illustrates this in simple diagrams.

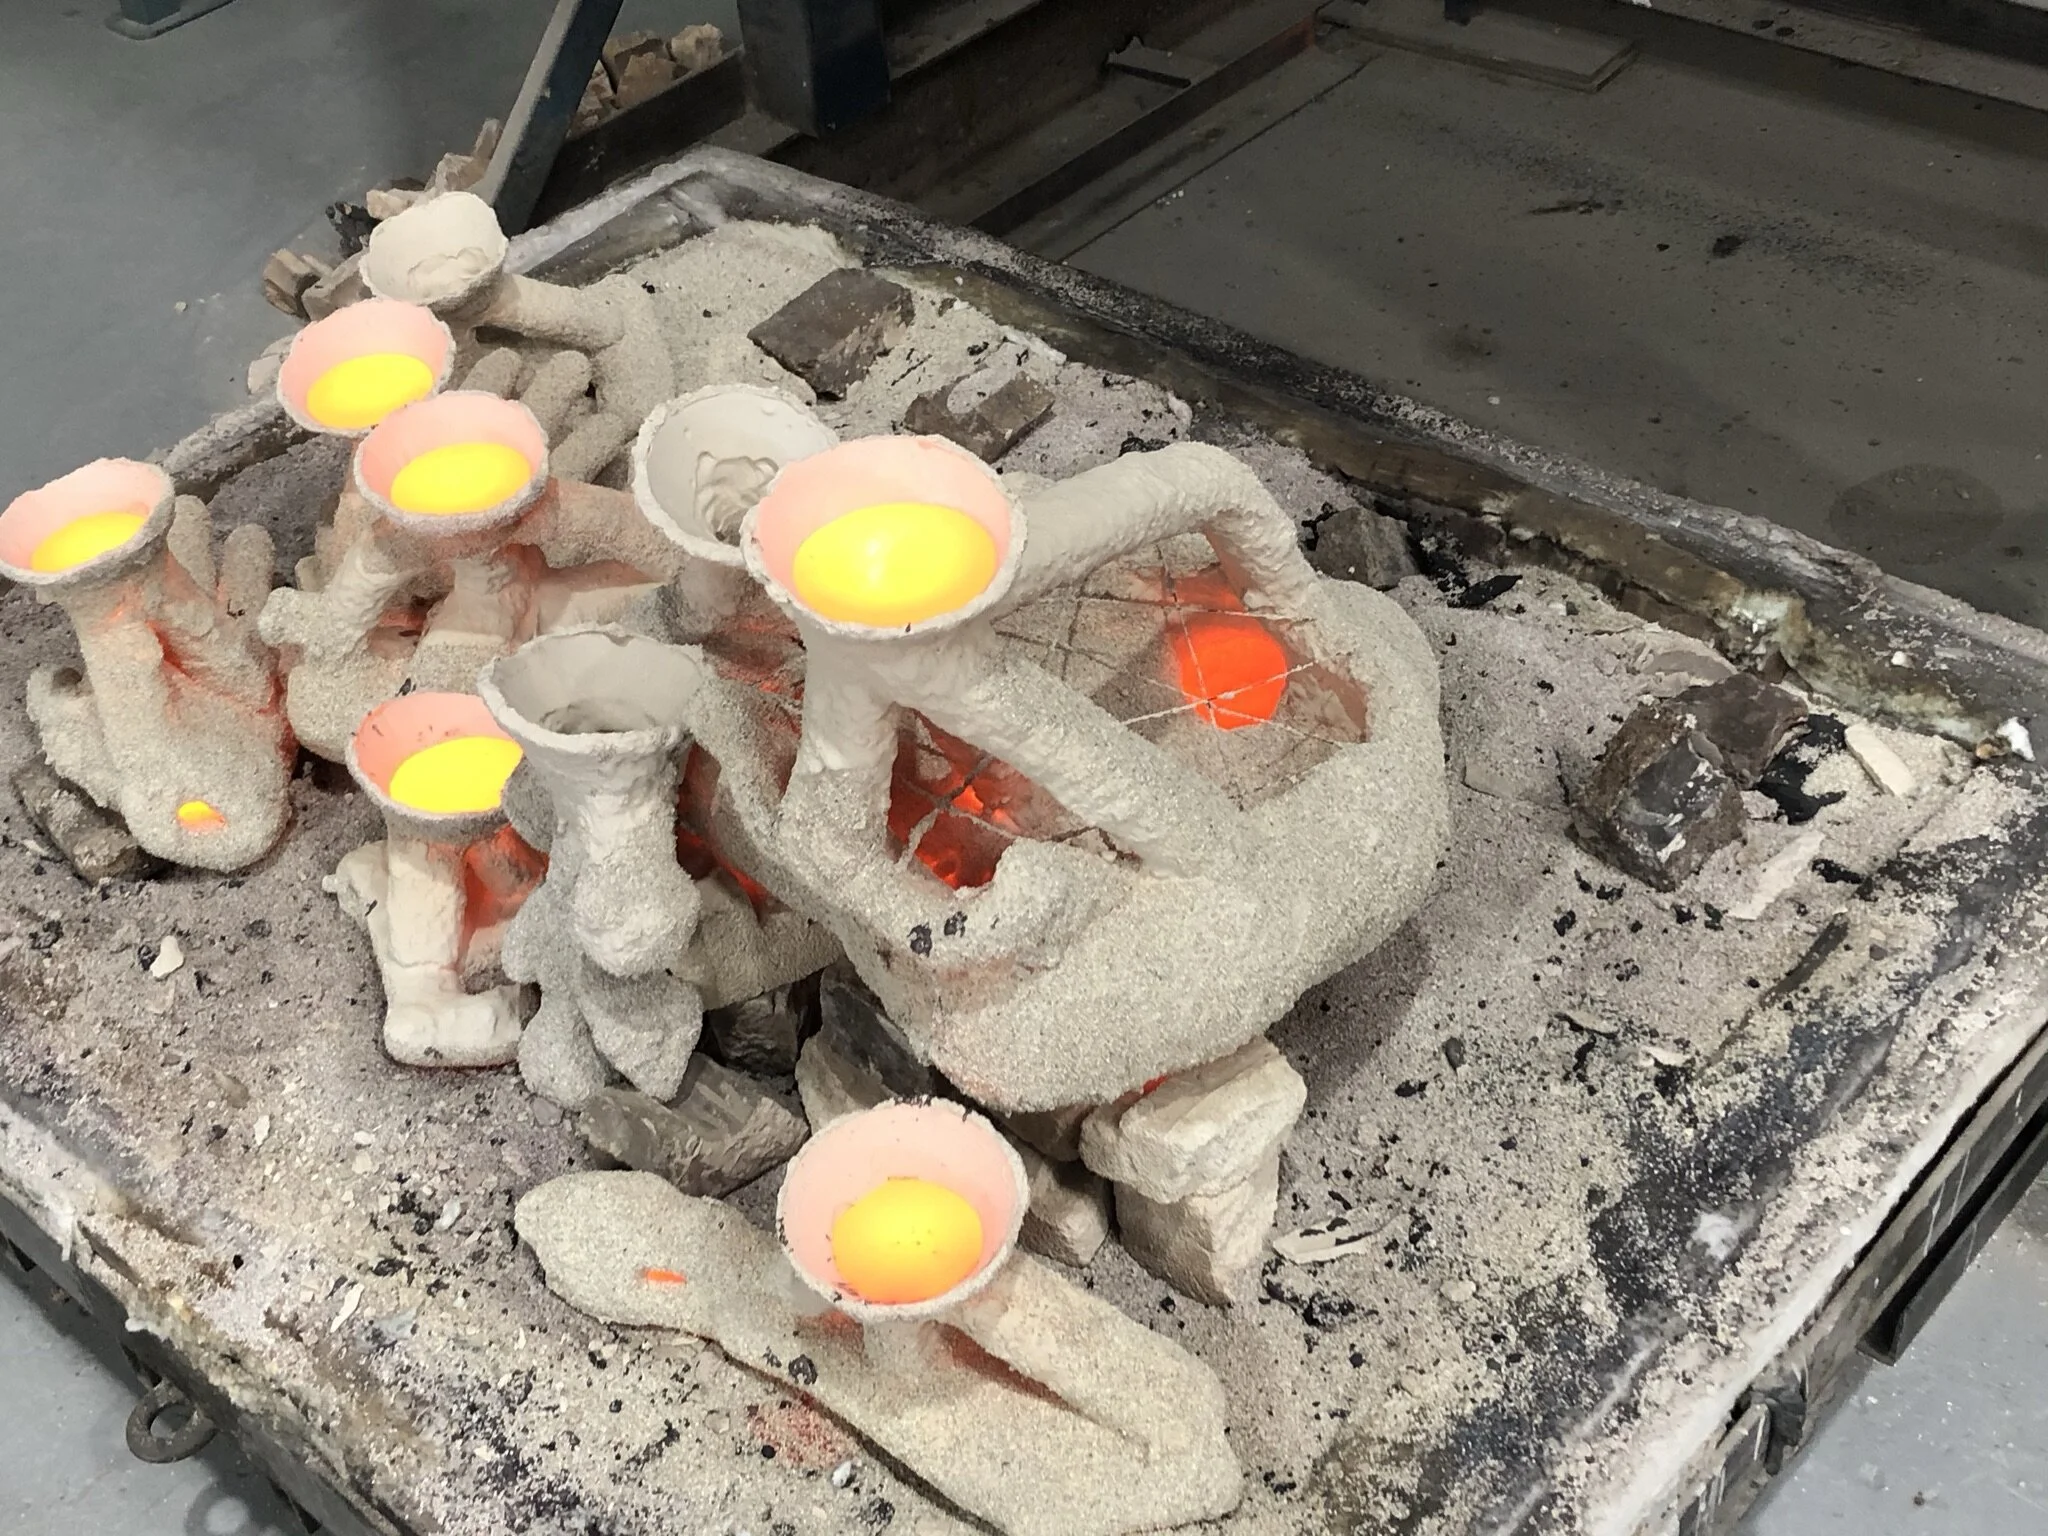
5 The Ceramic Shell
The wax is coated in layers of ceramic slurry and refractory grit until the ceramic shell is about 6mm thick. The whole shell and wax are placed upside down in the burn out kiln and heated to melt out the wax and taken to higher temperature near 1,000°C to vitrify the shell. The wax is now gone and the metal can be poured in to replace it.

6 Casting the Bronze
You can see in the first video, the set up of the foundry, with the furnace which is heating the crucible of bronze on the right and the burn out kiln on the left. In the second video, you see the top lifts up on the kiln to reveal the moulds on the kiln base. The crucible of molten Silicon bronze is lifted from the furnace into the crucible ring shank for pouring. Slag and dross from the surface of the melt is scraped off before pouring.
The second video shows the top of the burn out kiln being raised and the hot, now empty ceramic shell moulds ready for pouring. Phillip and Simon from Perides Art Foundry pour the bronze into the moulds and it’s all over very quickly. The moulds and cast metal are now left to cool.
7 The Bronze Pour Completed
Once cooled, the ceramic shell is hammered off by hand and the remaining stubborn shell carefully sand blasted off.

8 Cleaning up the bronze
‘The Captain’ was an excellent casting with few defects. The sprues and pouring cup are cut off and some minor pits were filled with weld. A base plate and stainless steel pin were also welded on to allow the finished bronze to be mounted on the timber plinth and be turned as required to suit the room and the day.

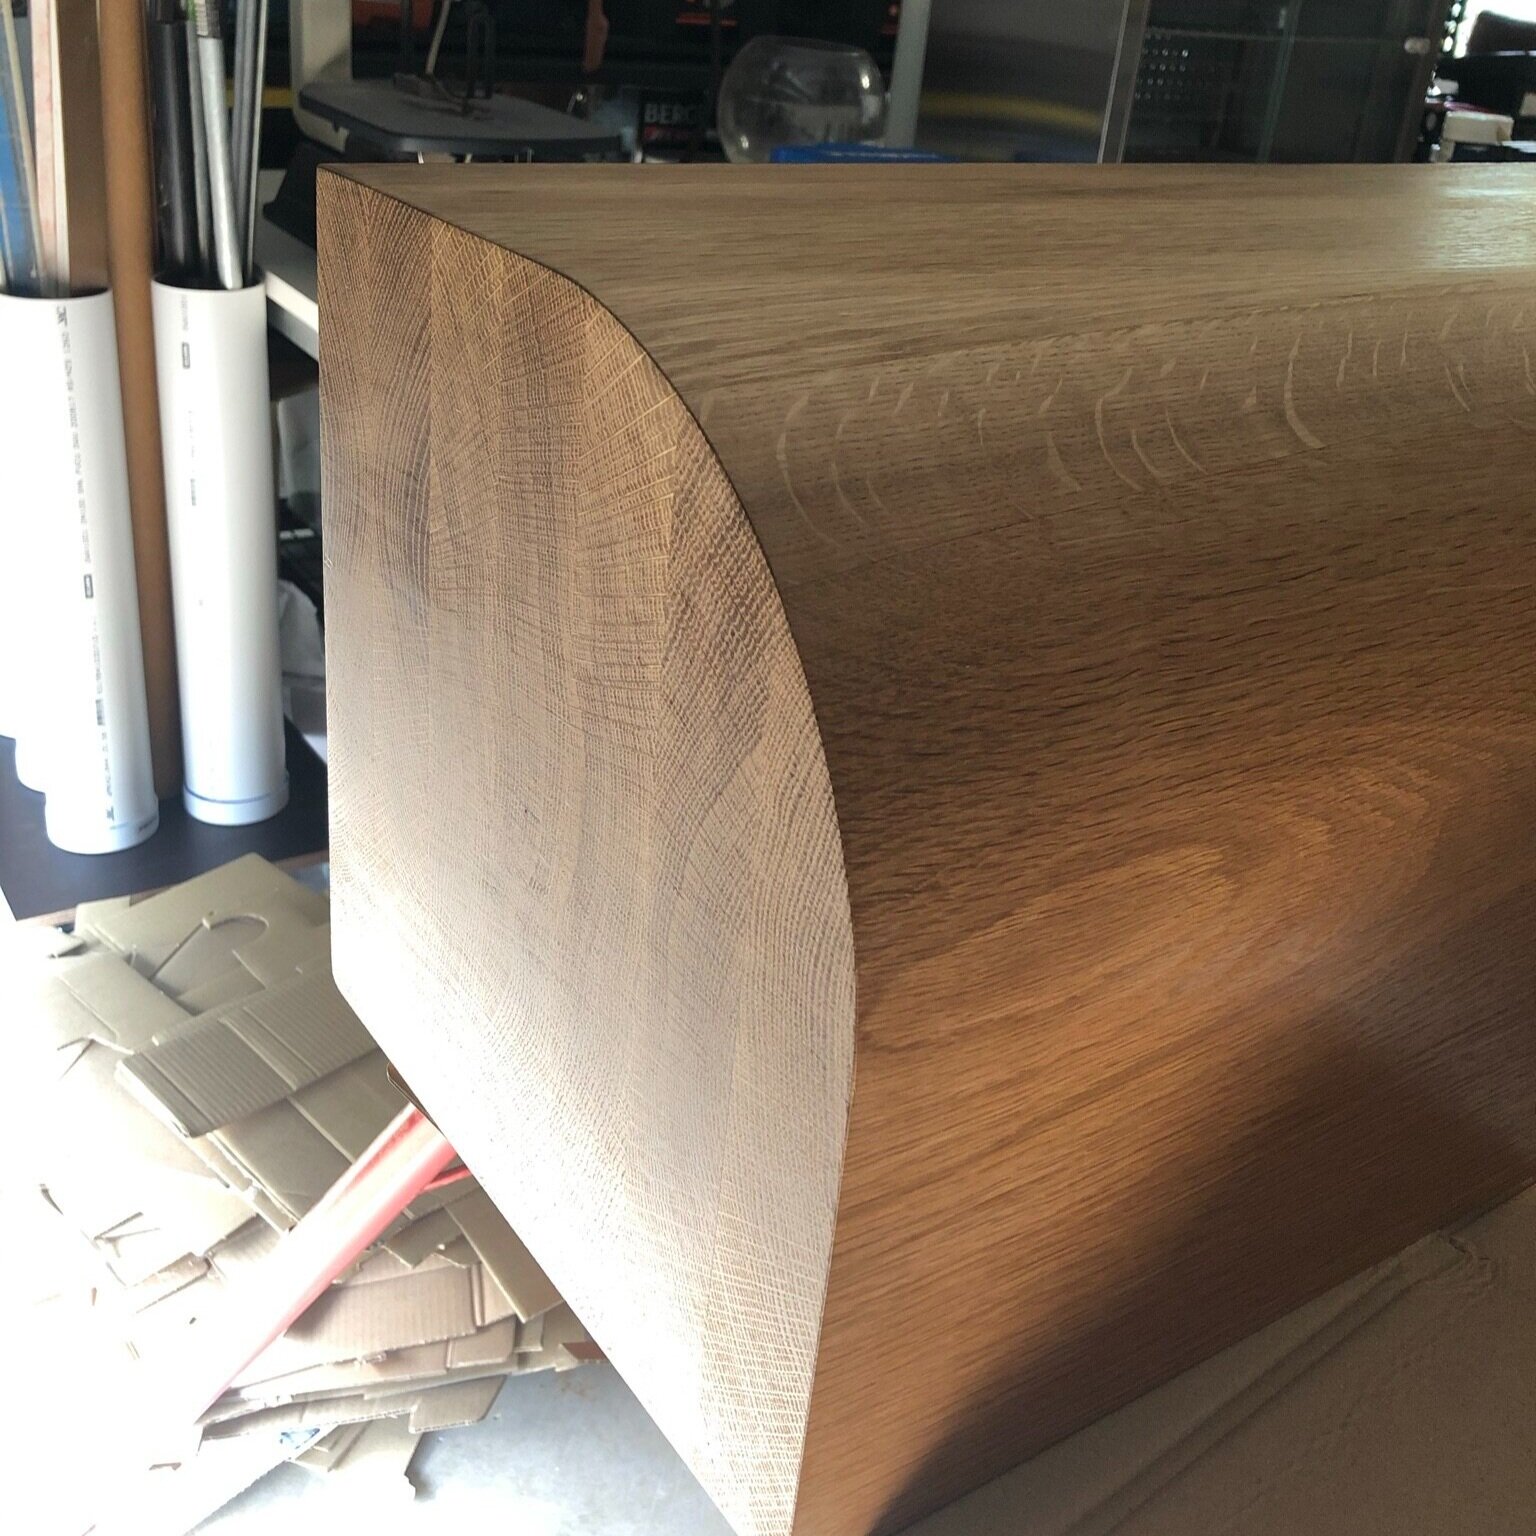
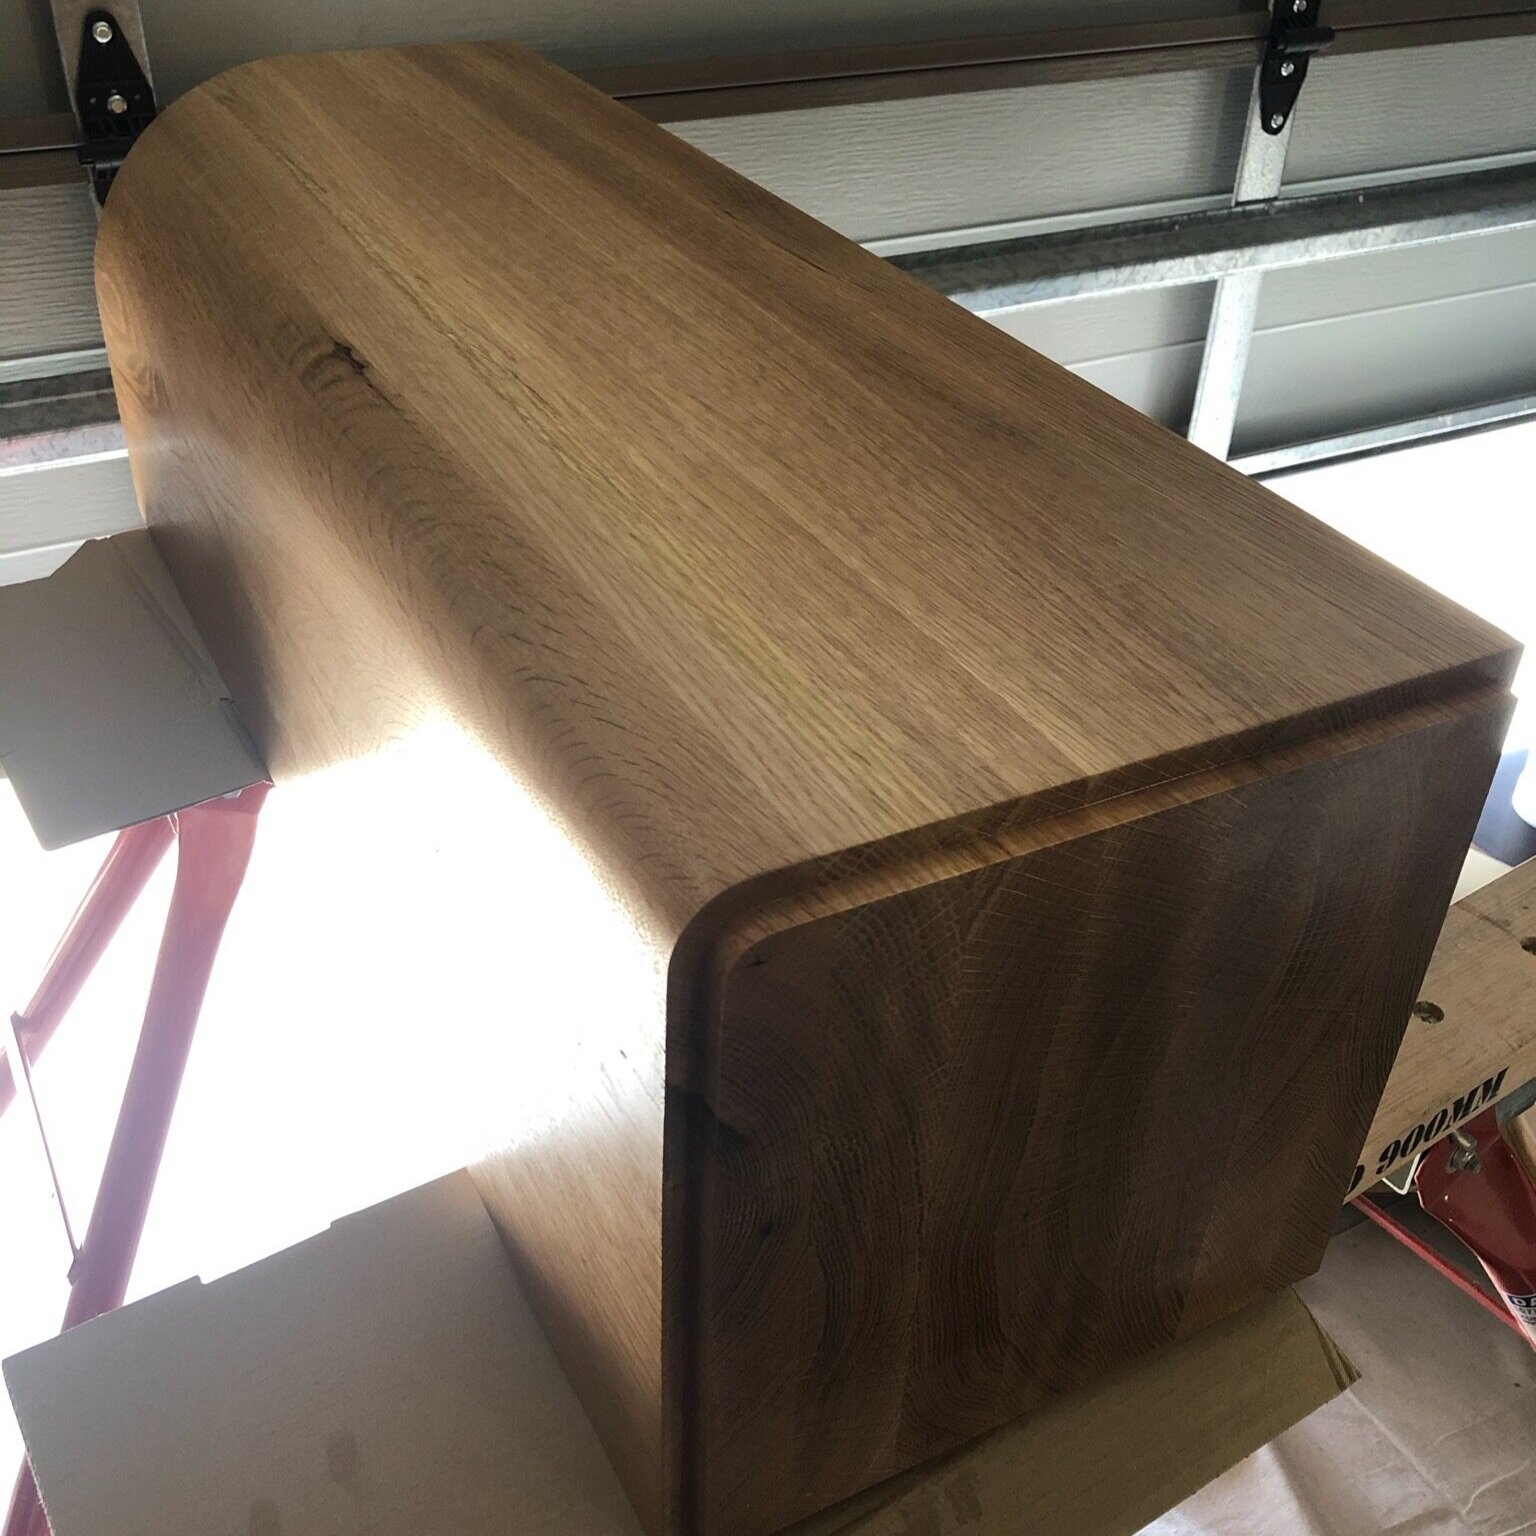
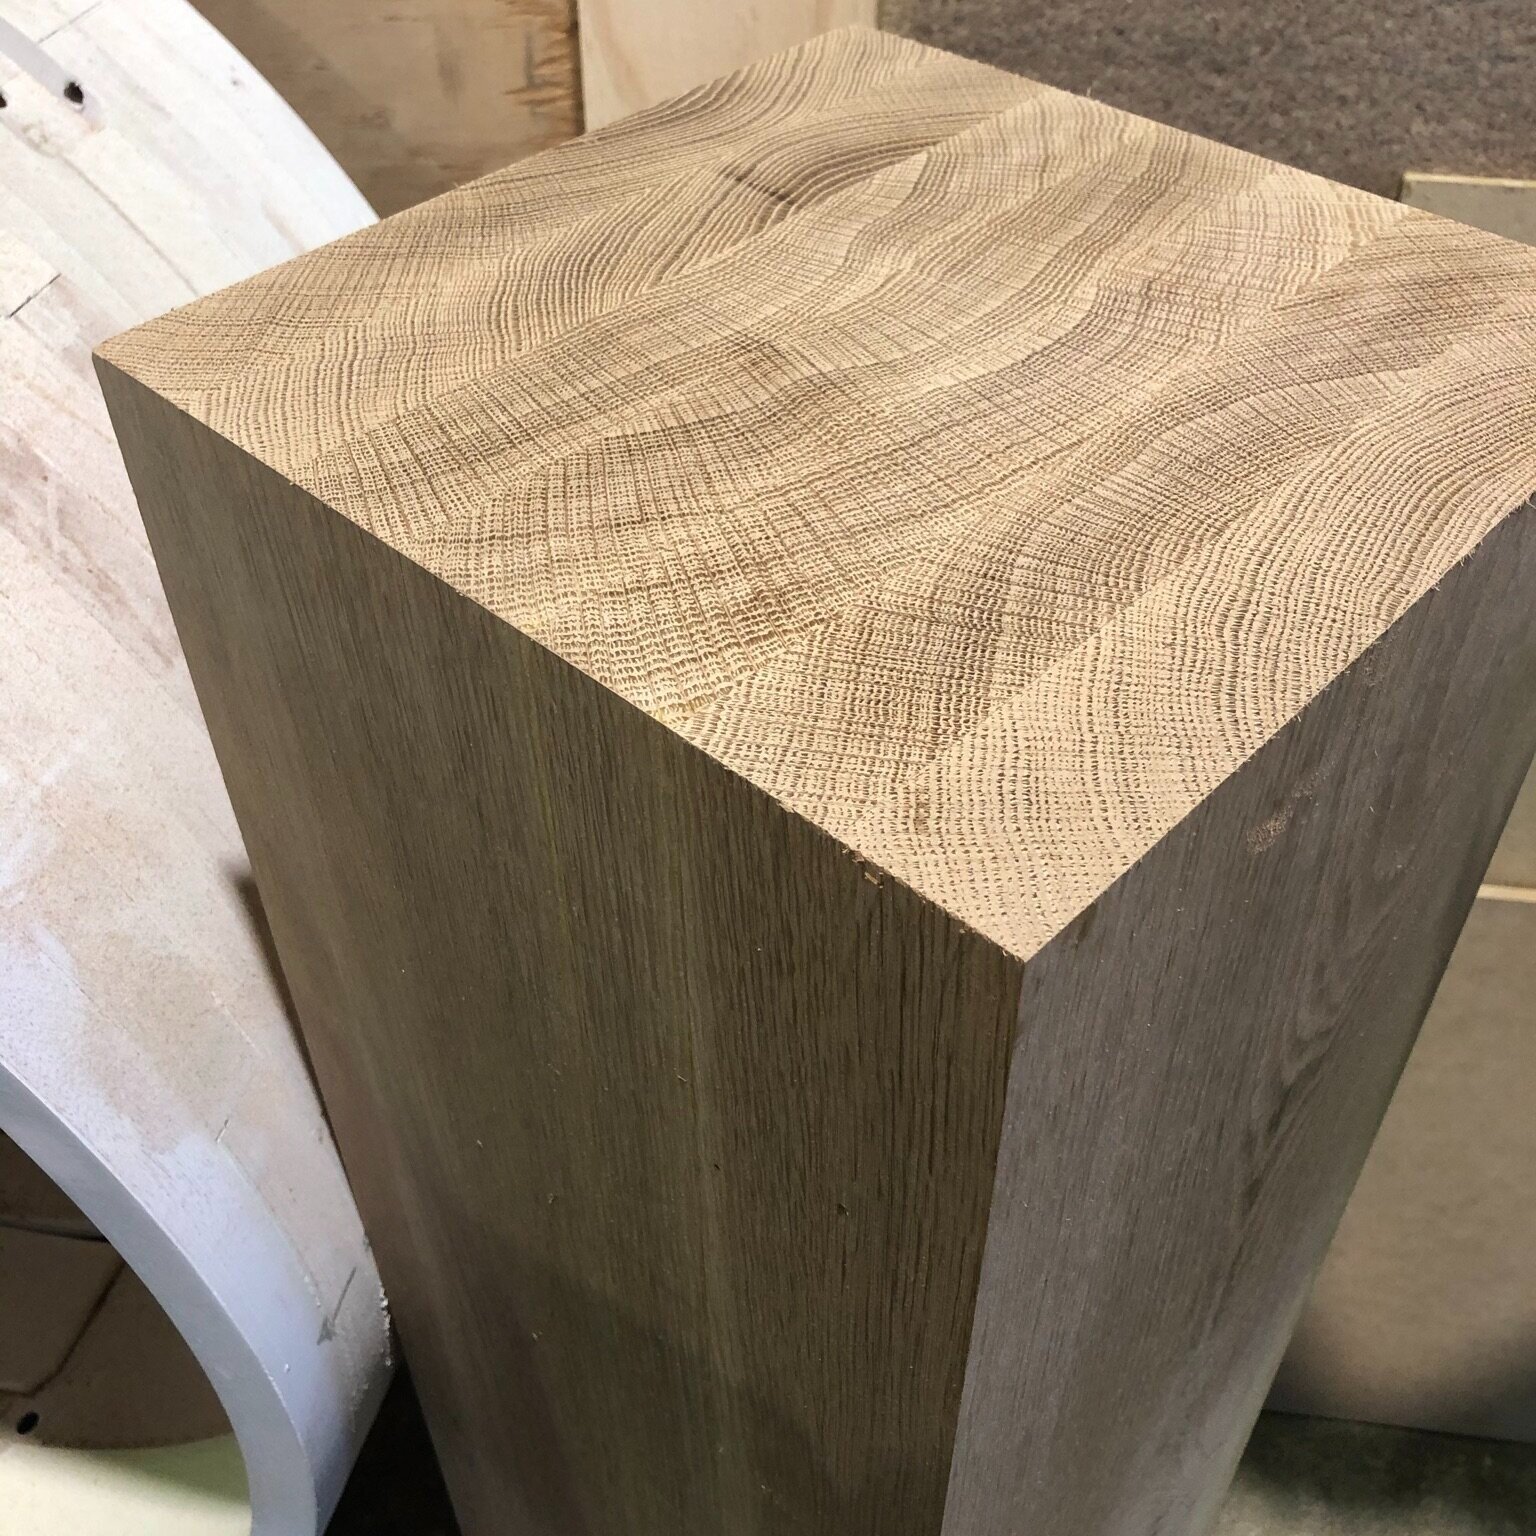
9 Mounting Set-up & the Plinth
A turned brass ferrule was housed into the top of the plinth to take the pin of the sculpture and allow it to be turned and adjusted. The plinth was fabricated by laminating 7 slabs of American White Oak into a single block. One corner was then shaped with a curve to reflect the curves of the owner’s house. The finish on the plinth is a high performance wax.

10 Patination & Final Wax Coating
The finished bronze was then ‘patinated’ to fix the surface of the metal. For ‘The Captain I selected to use an antique Florentine patina which has black undertones with brown flashes of the bronze metal coming through. This is a very stable patina. It is then sealed in coats of wax to further protect it from atmospheric corrosion and the salt laden air of its home location.

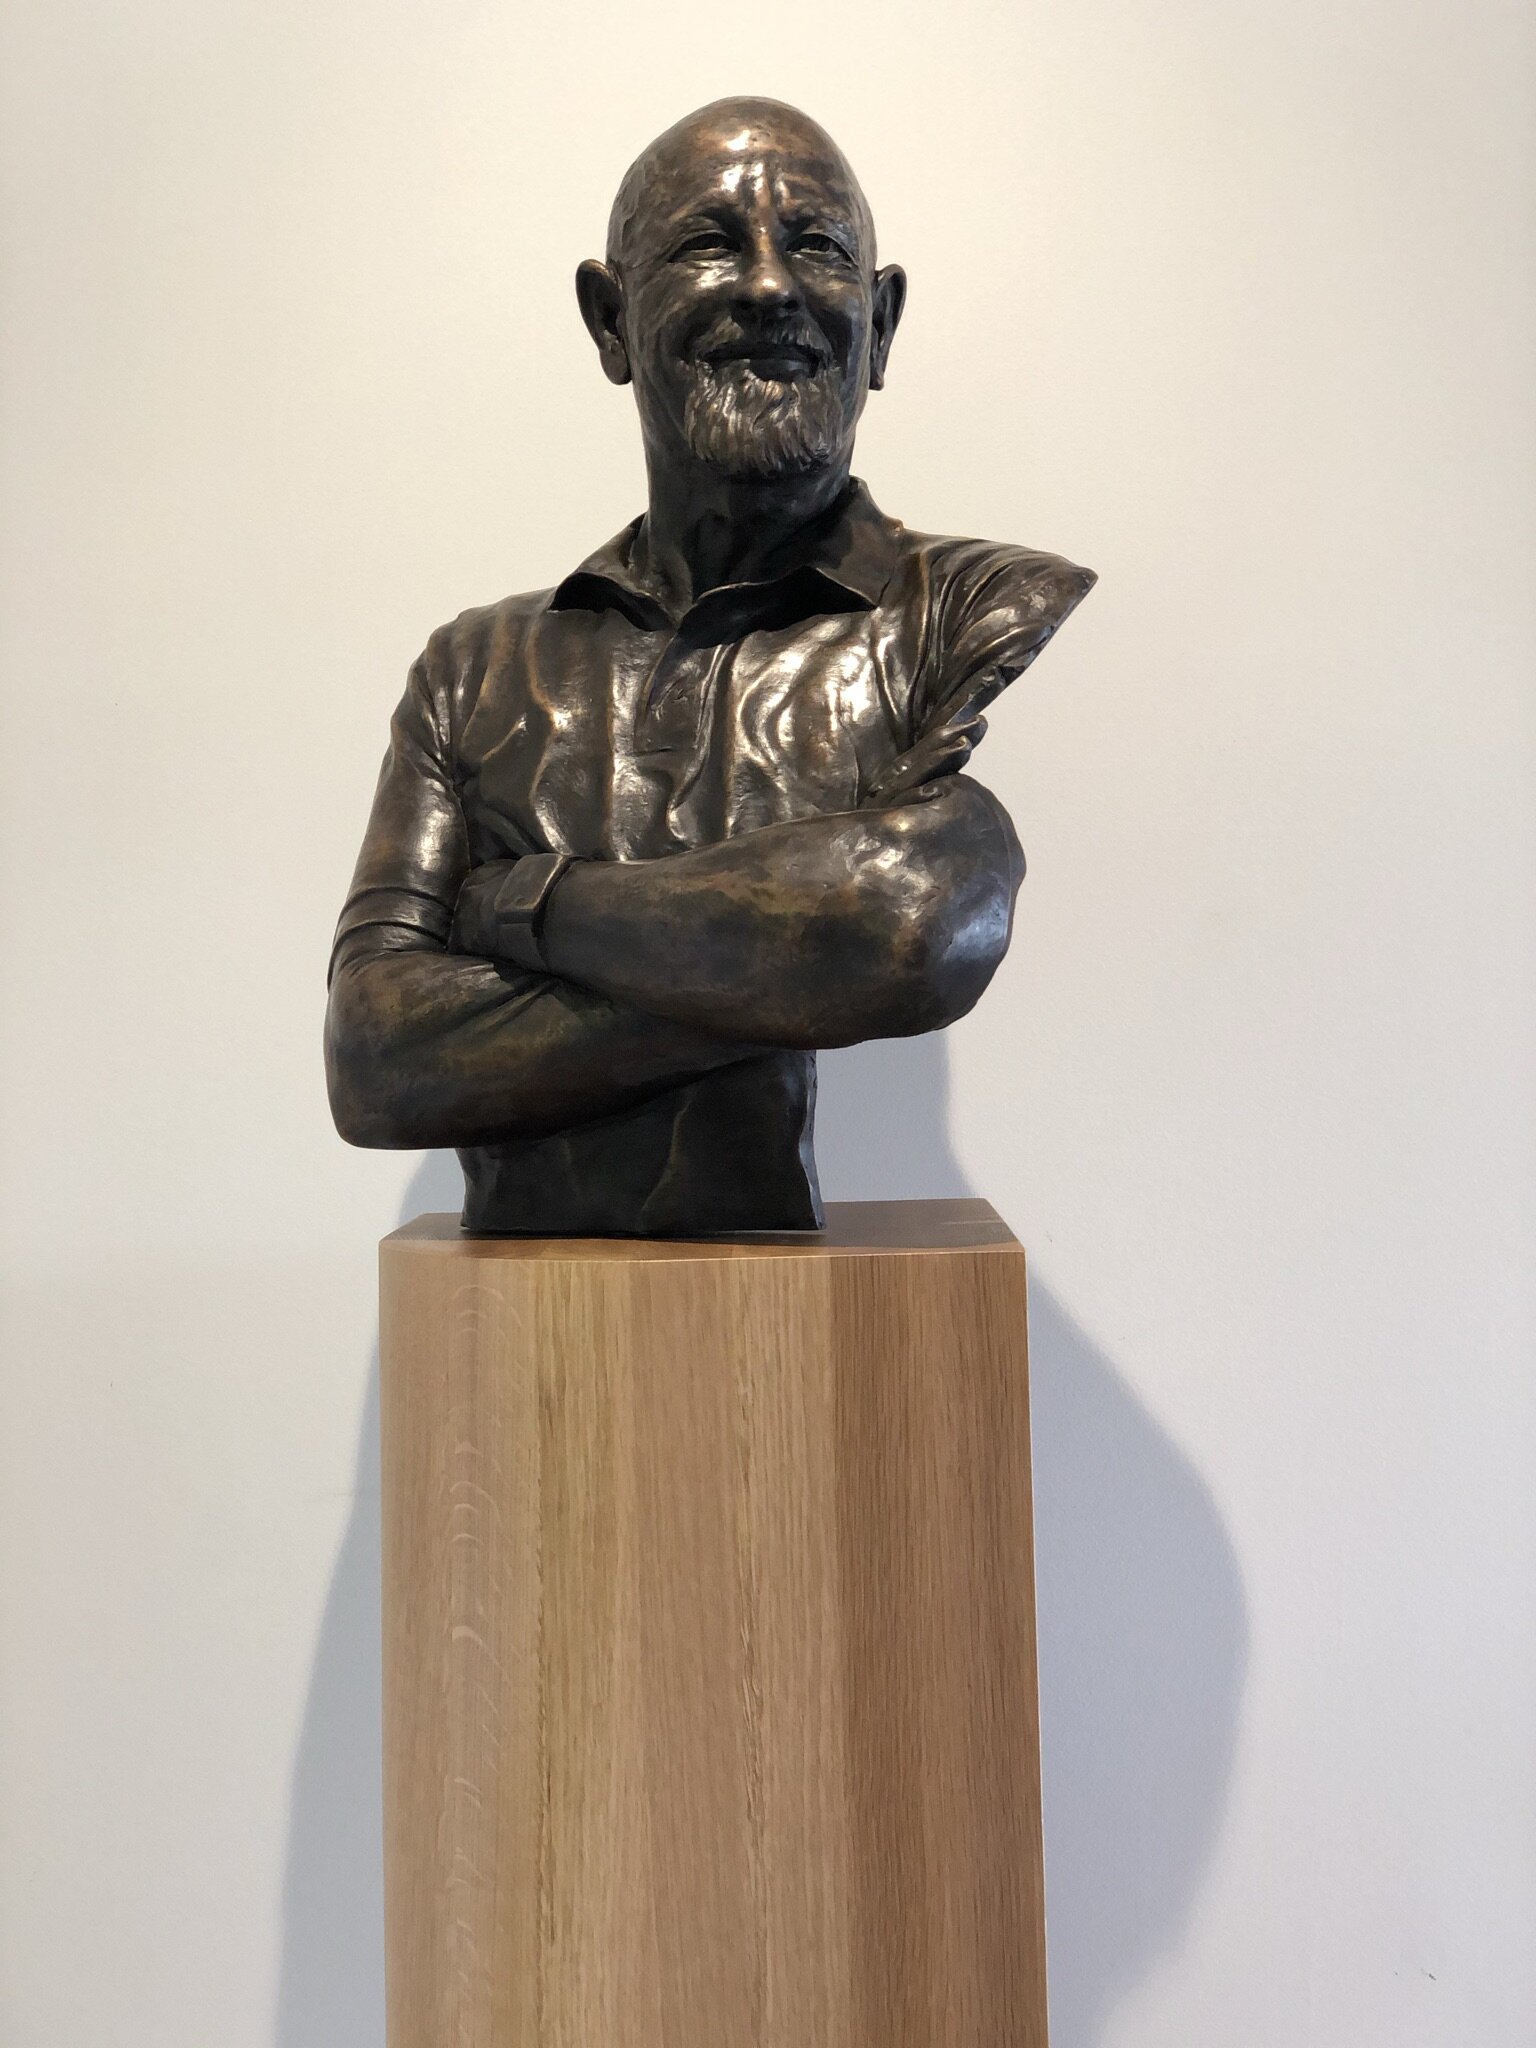
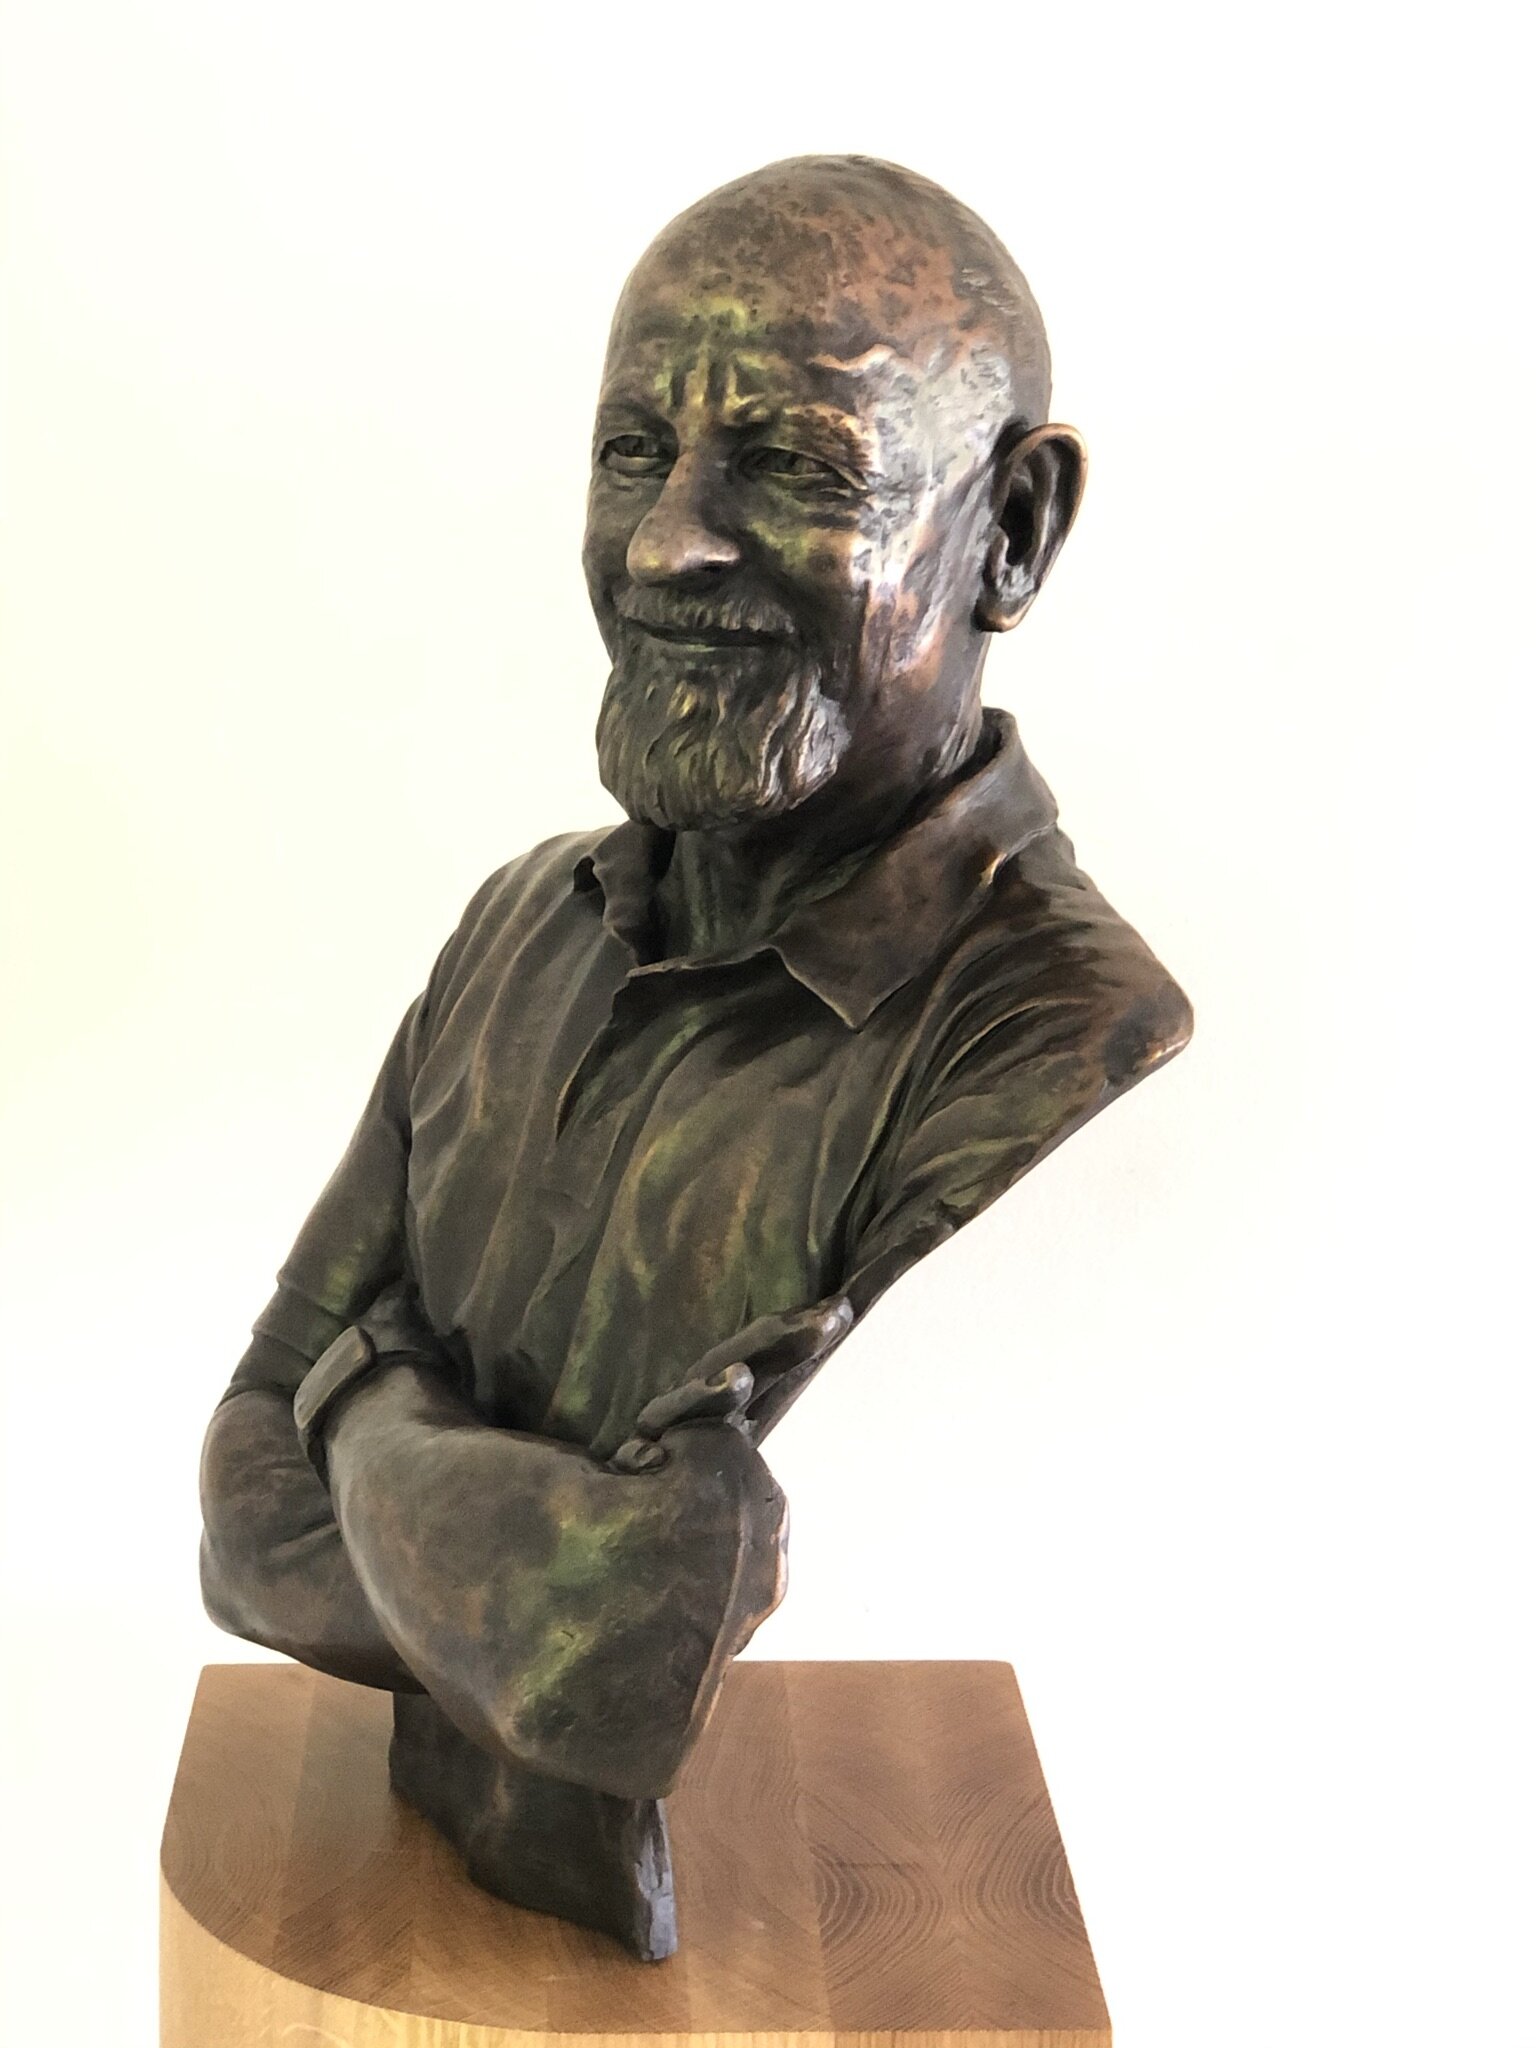
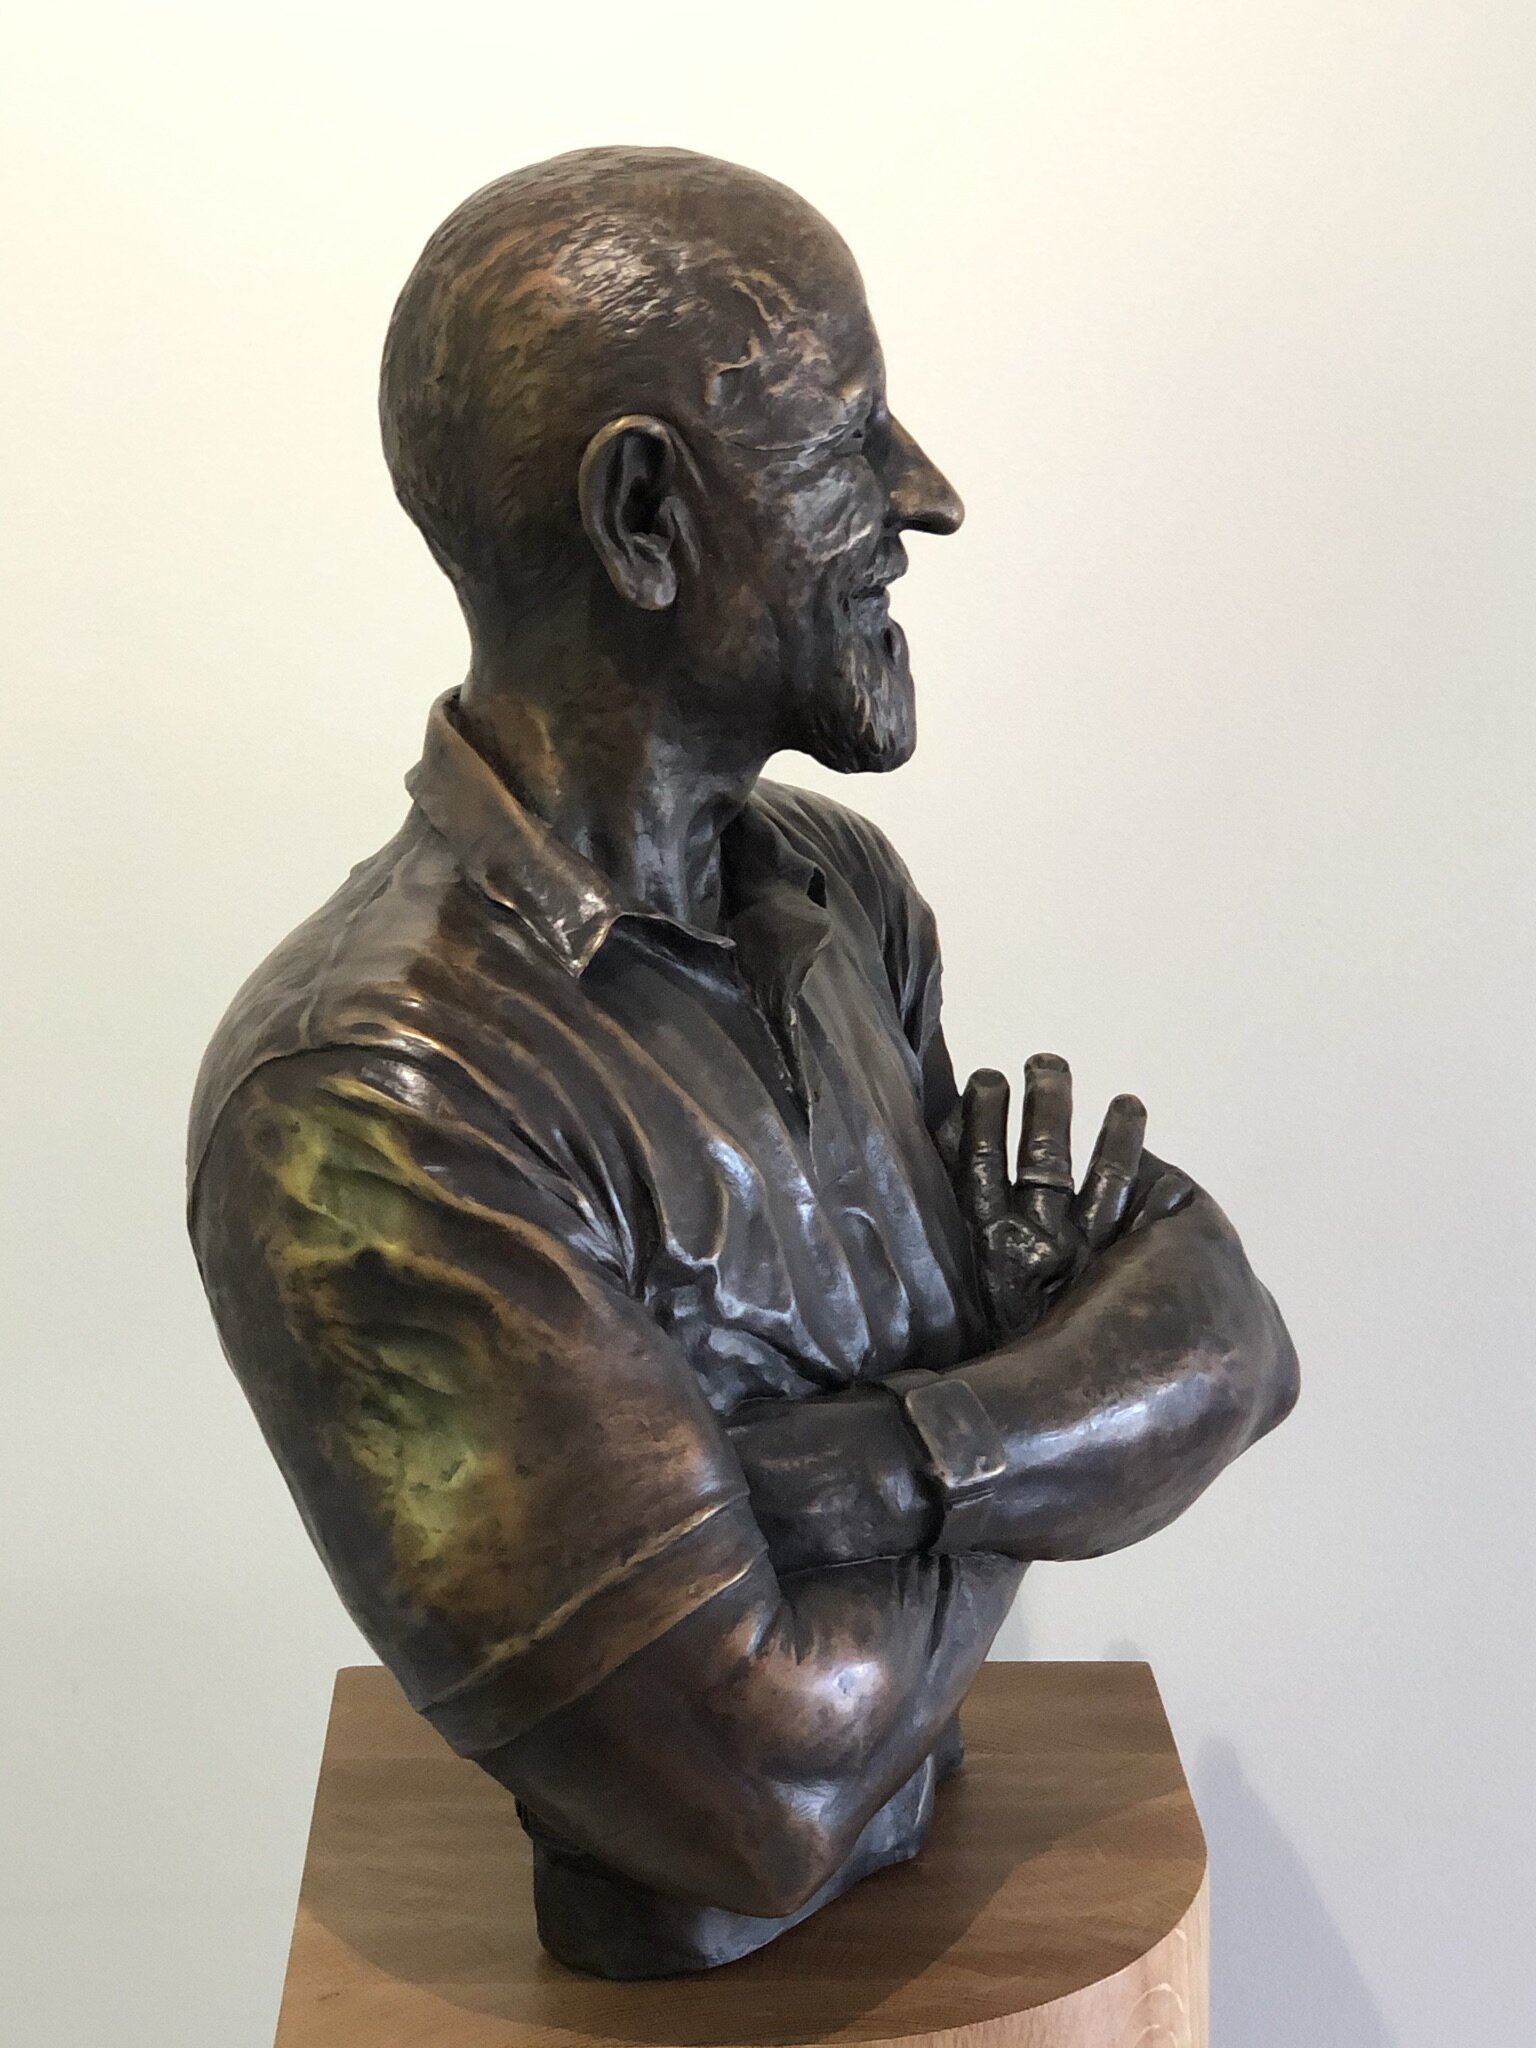
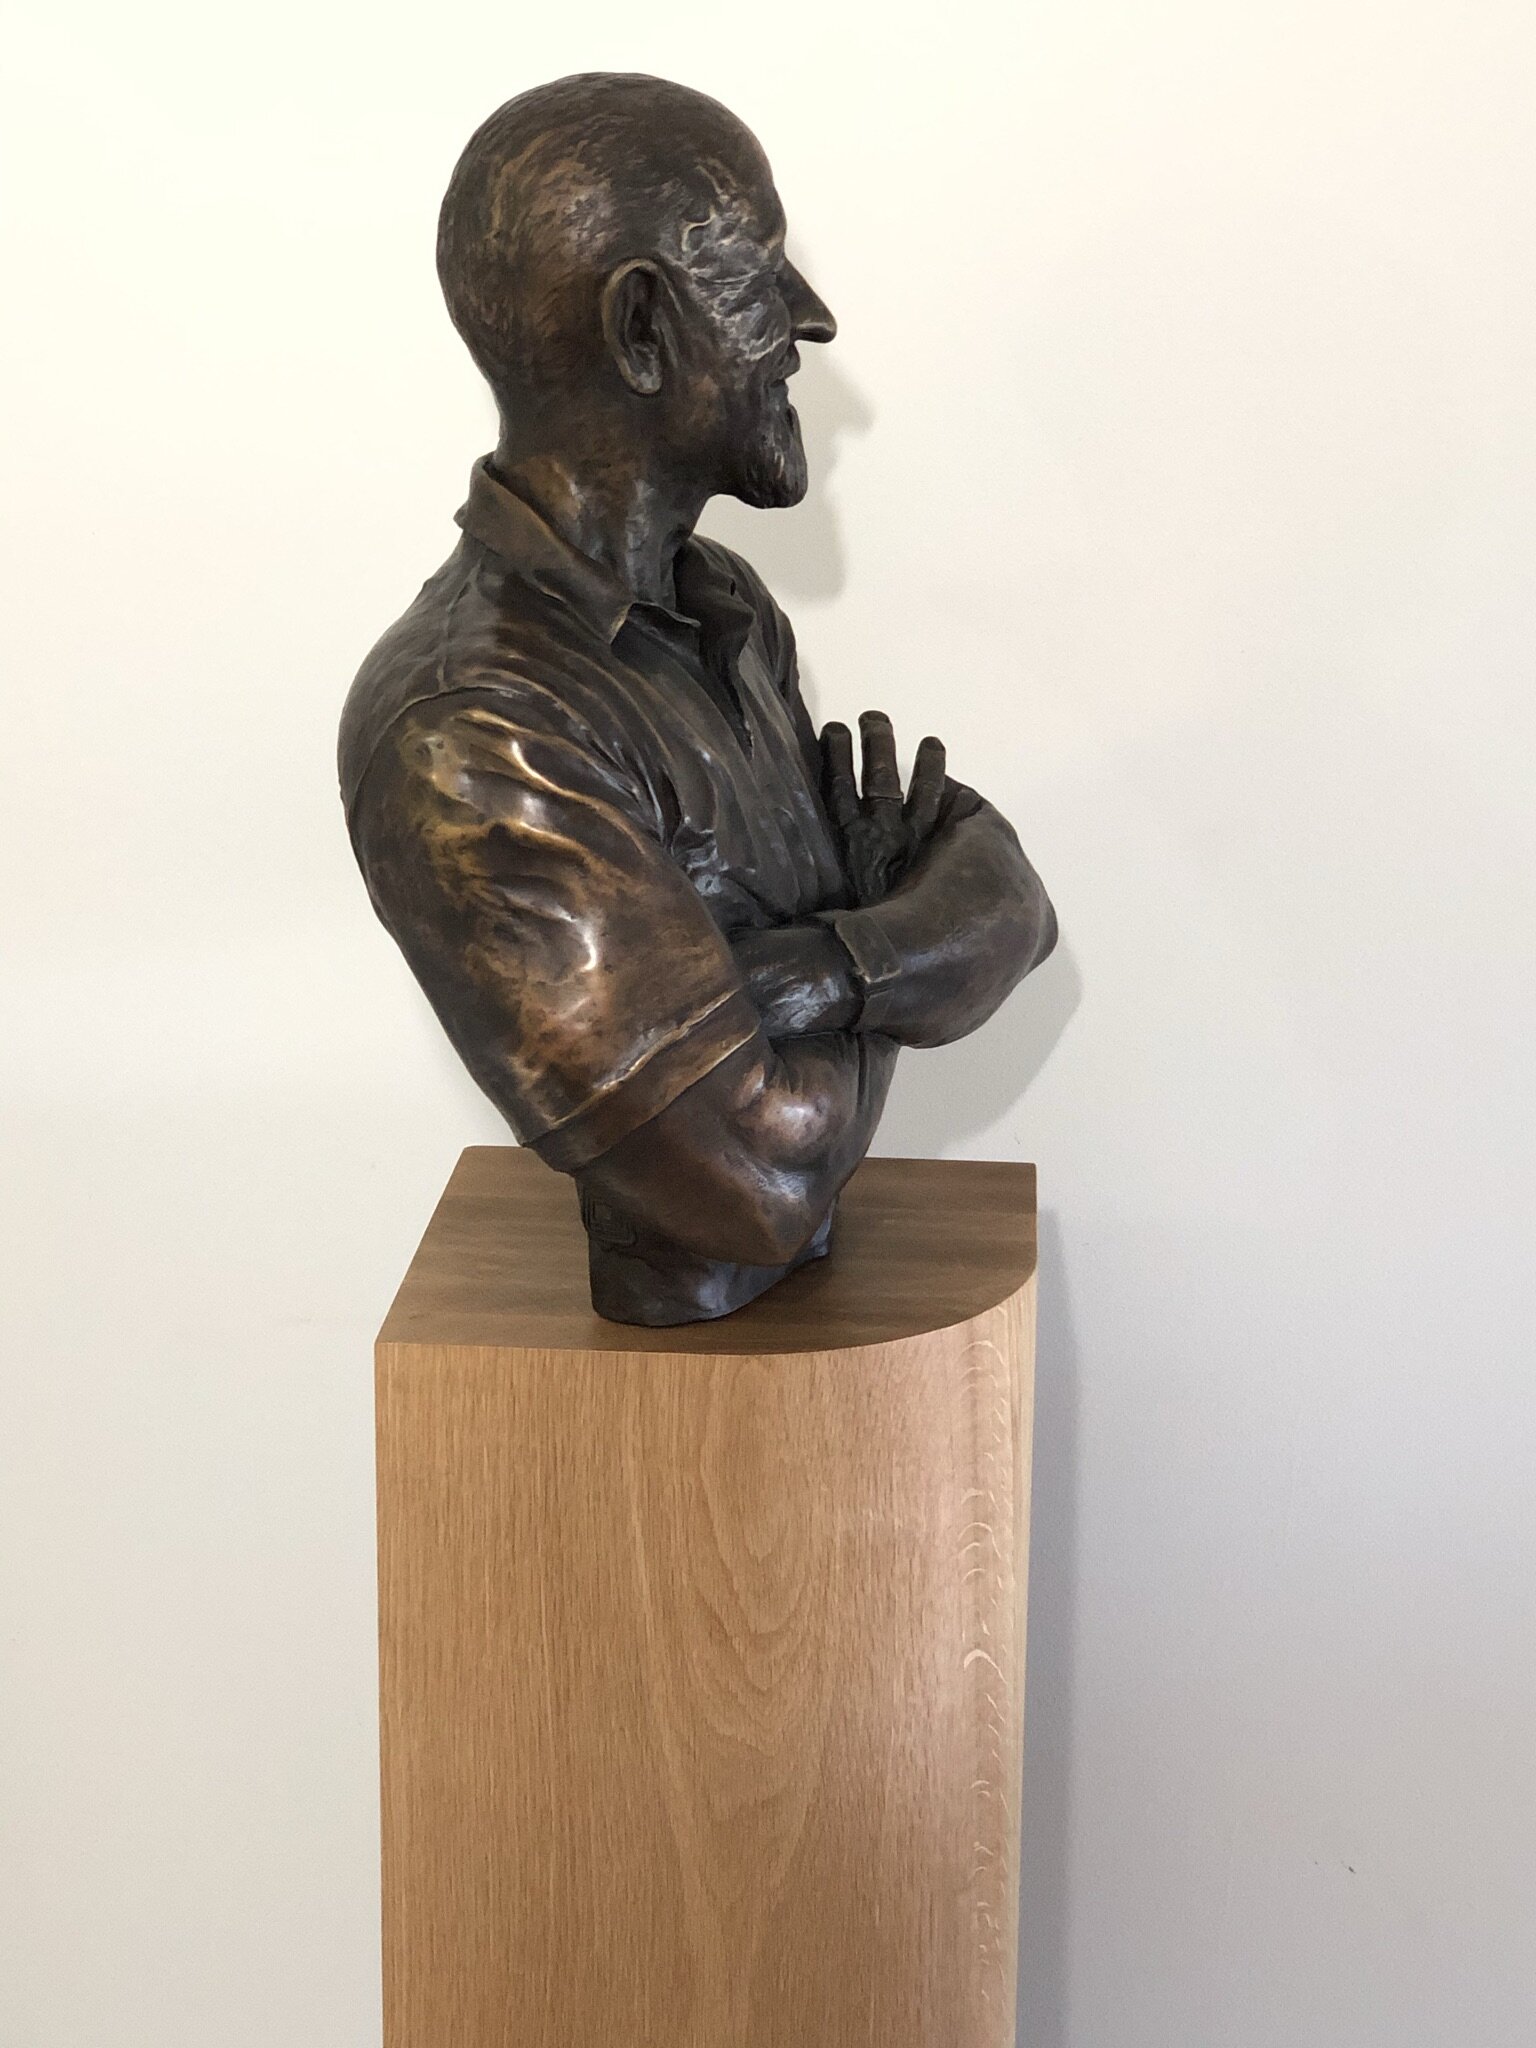
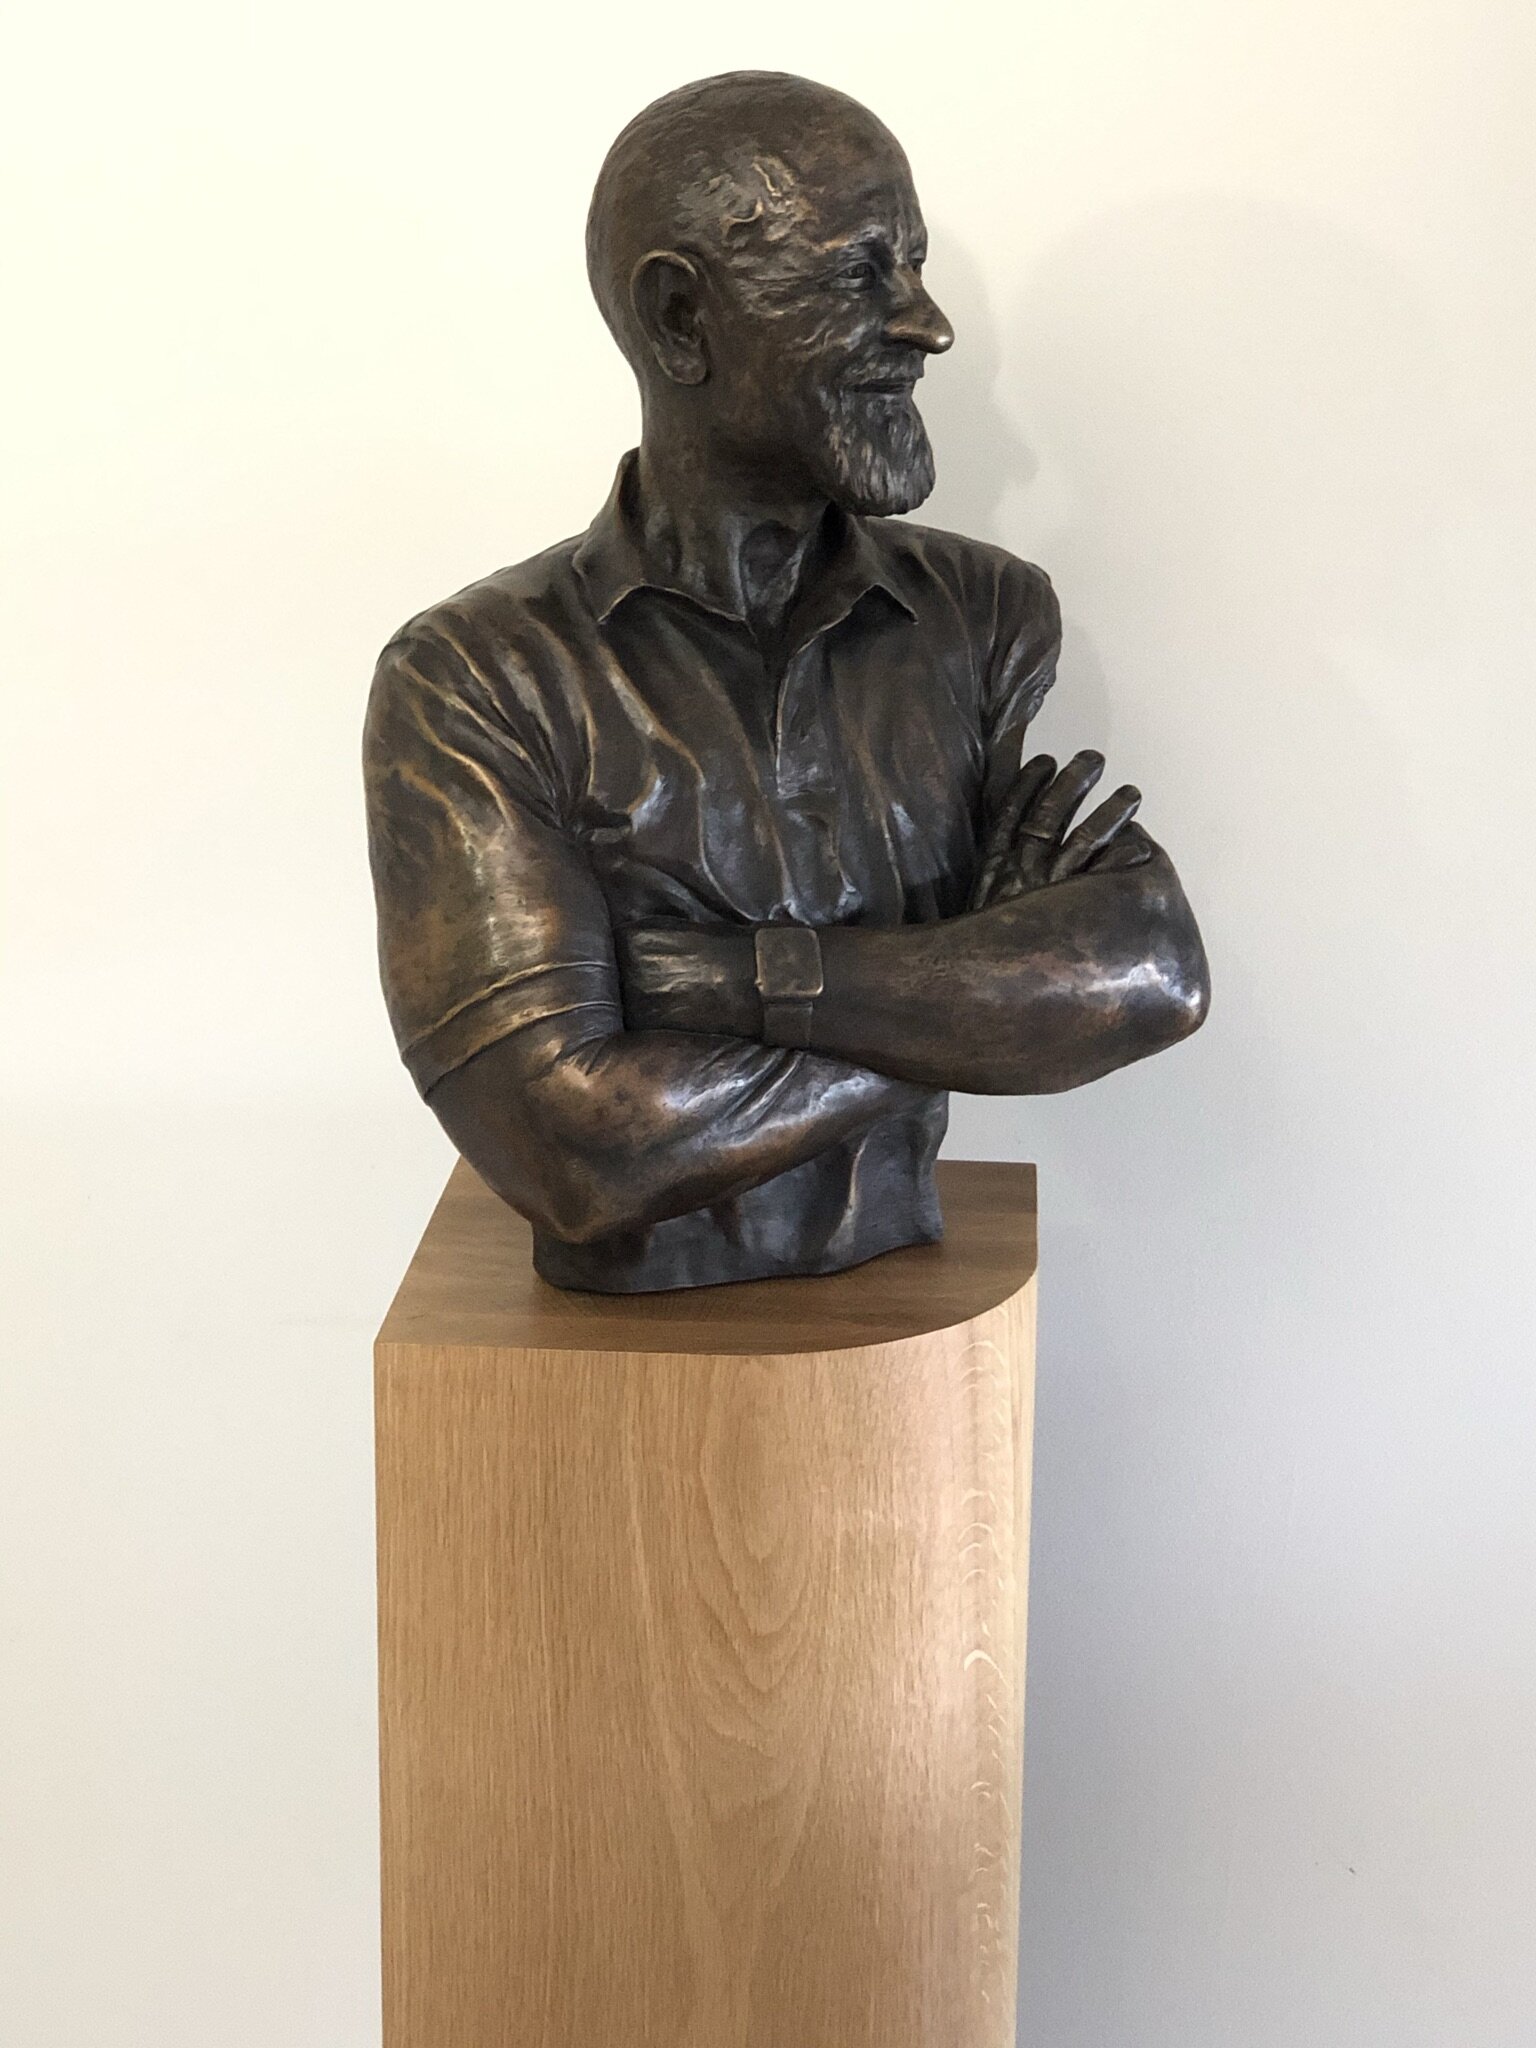
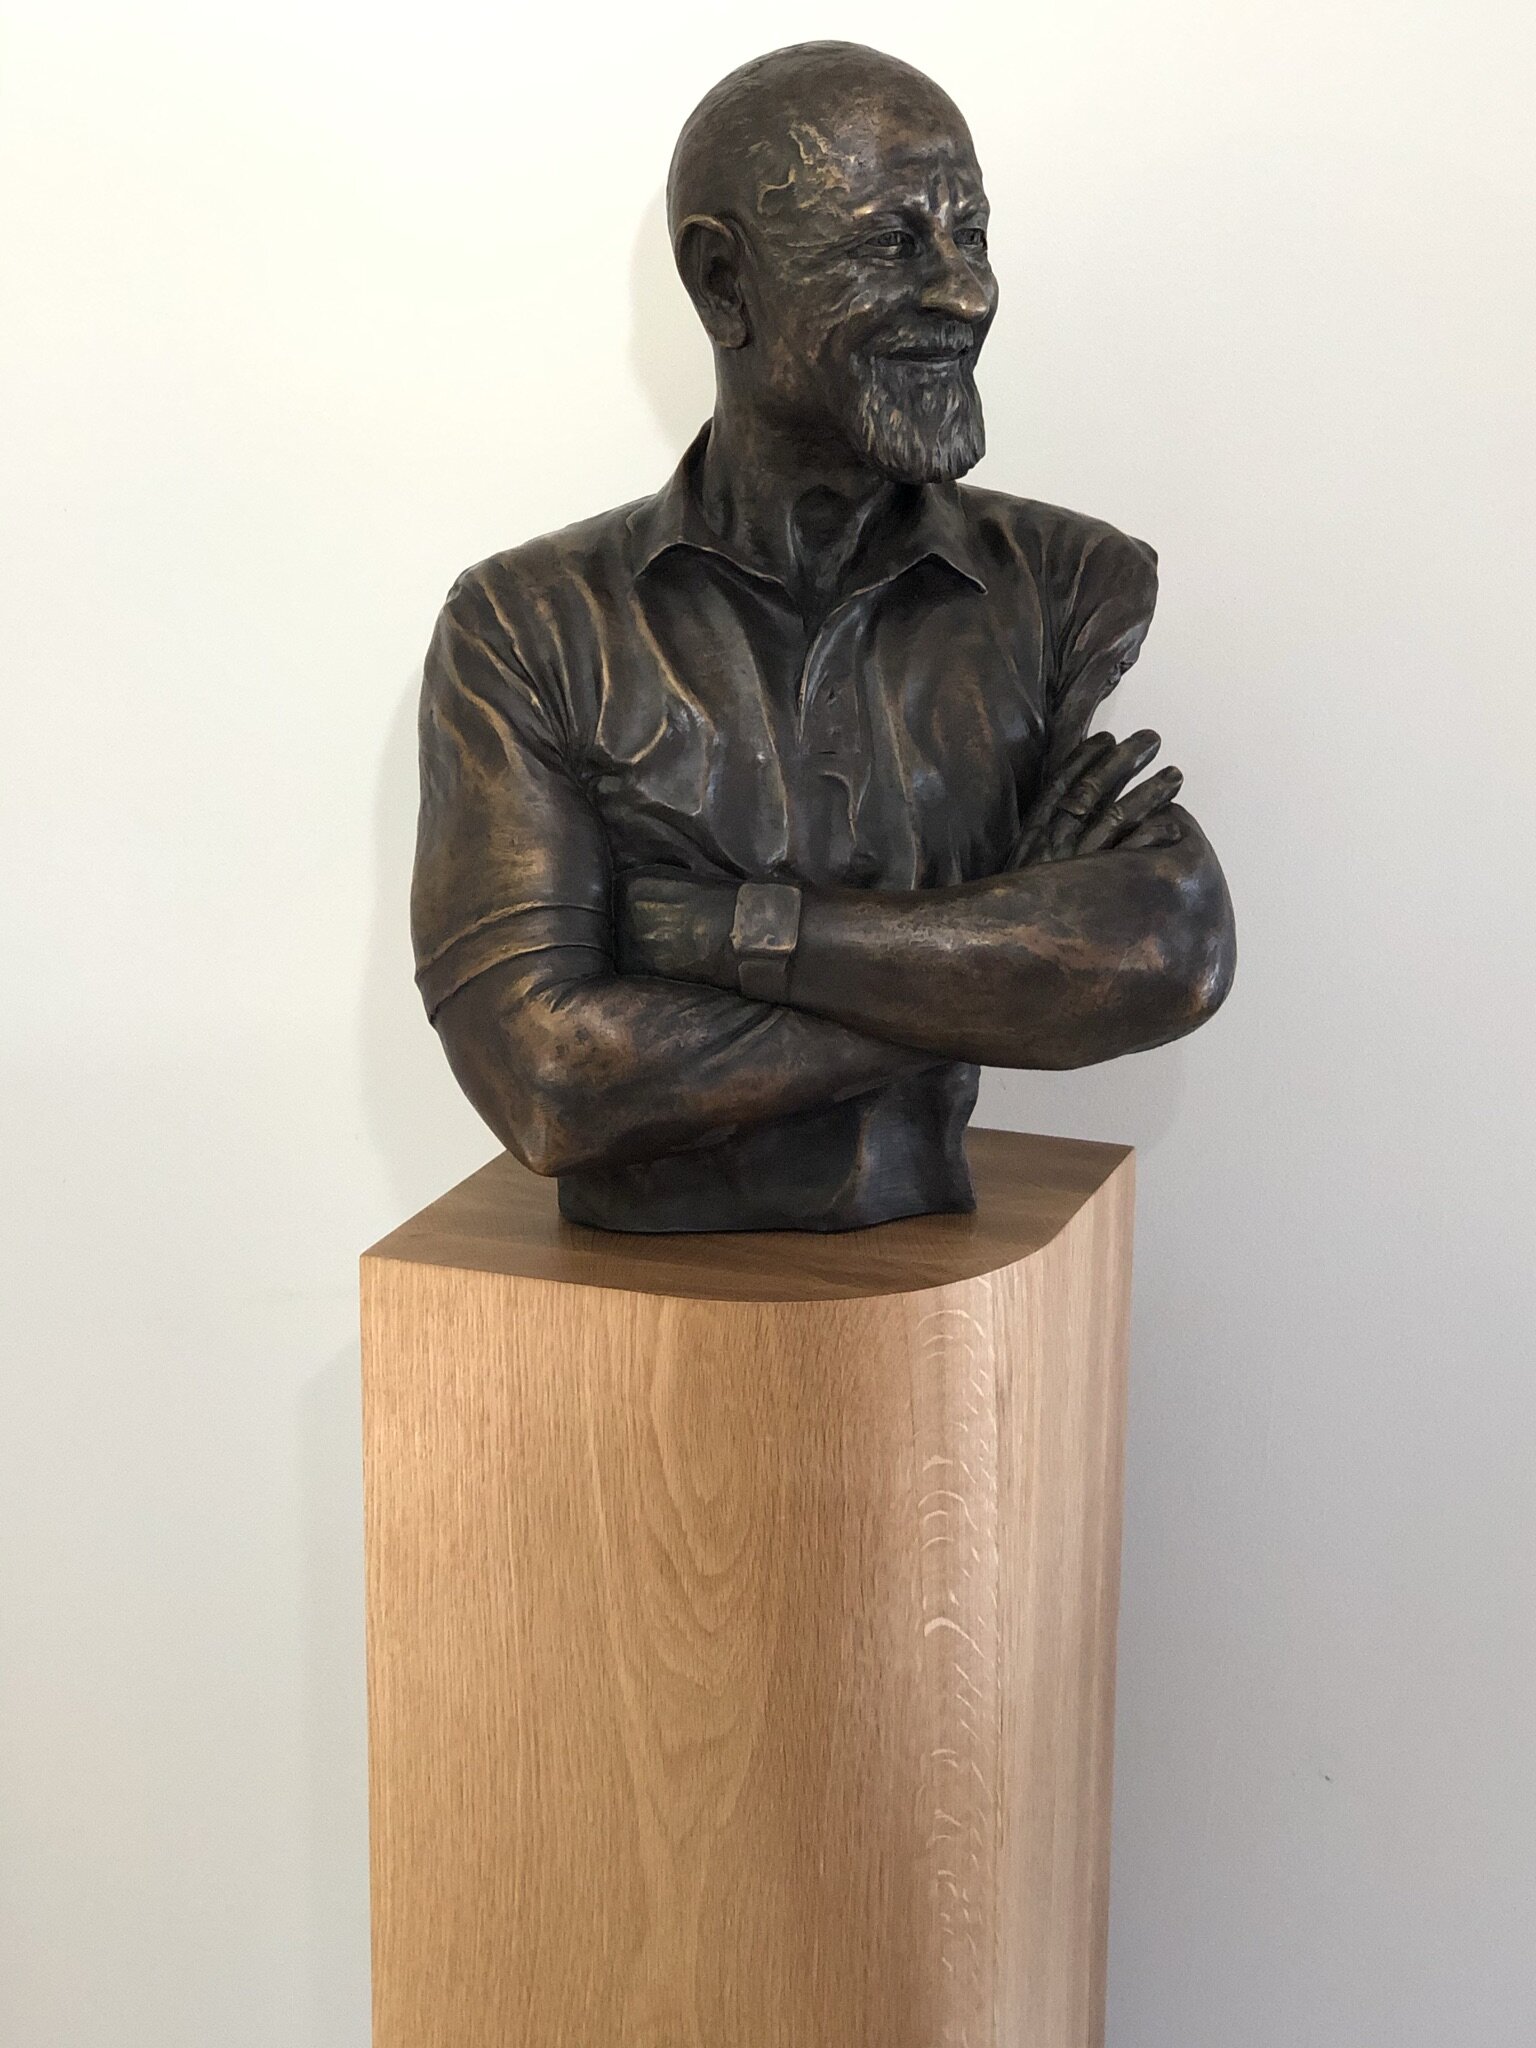
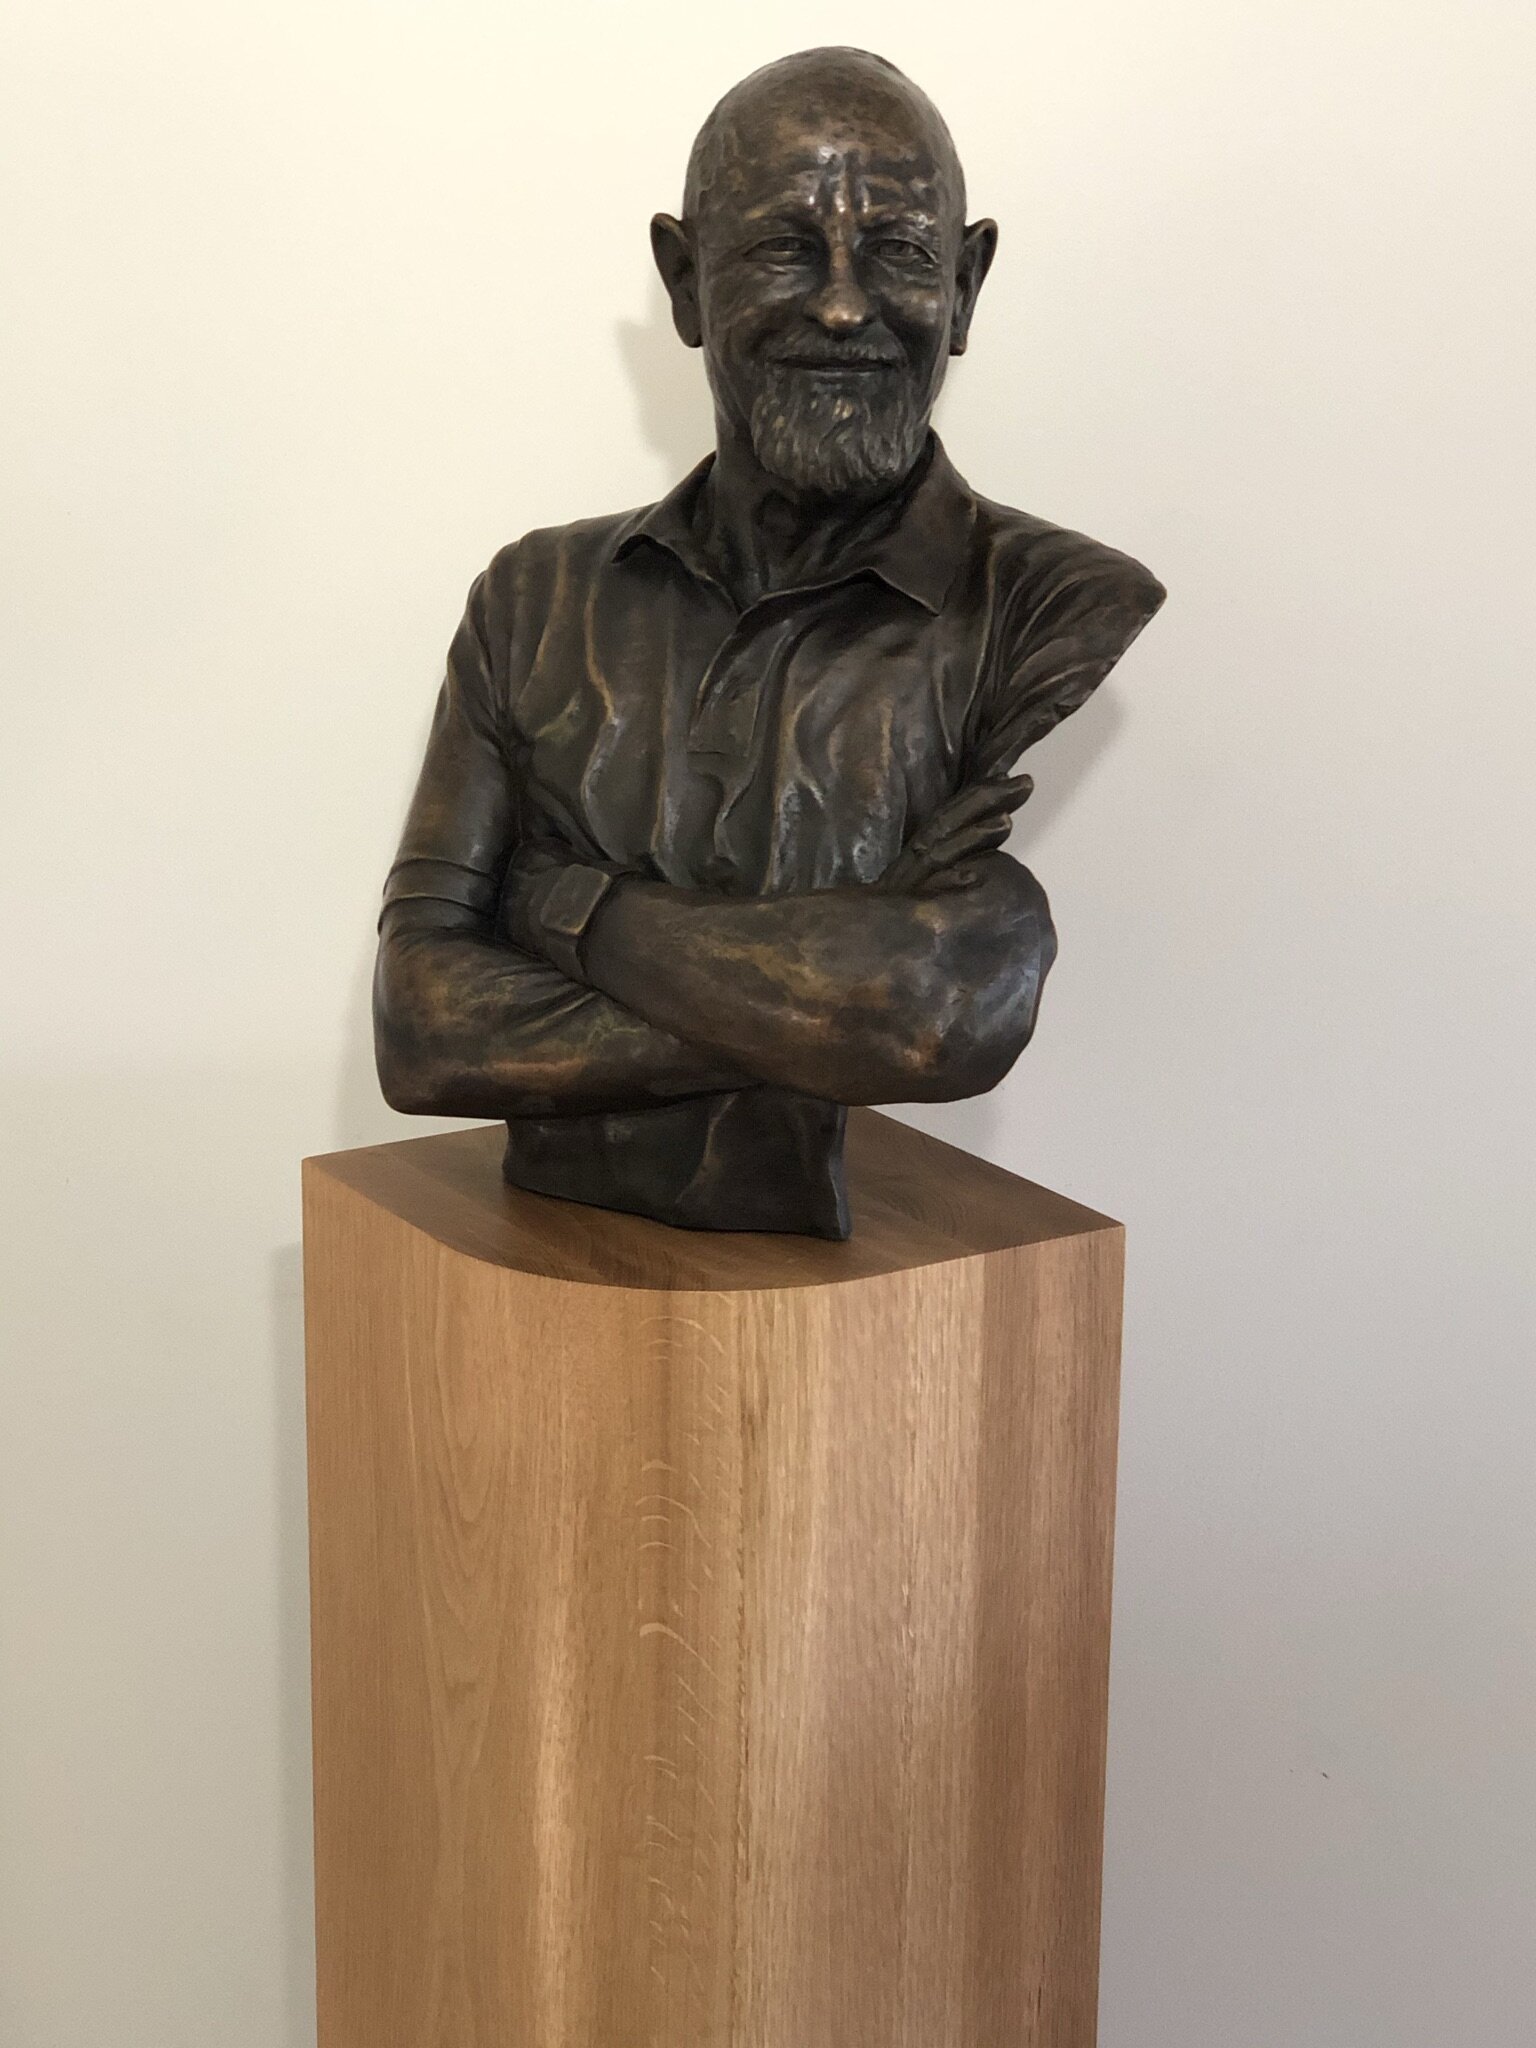
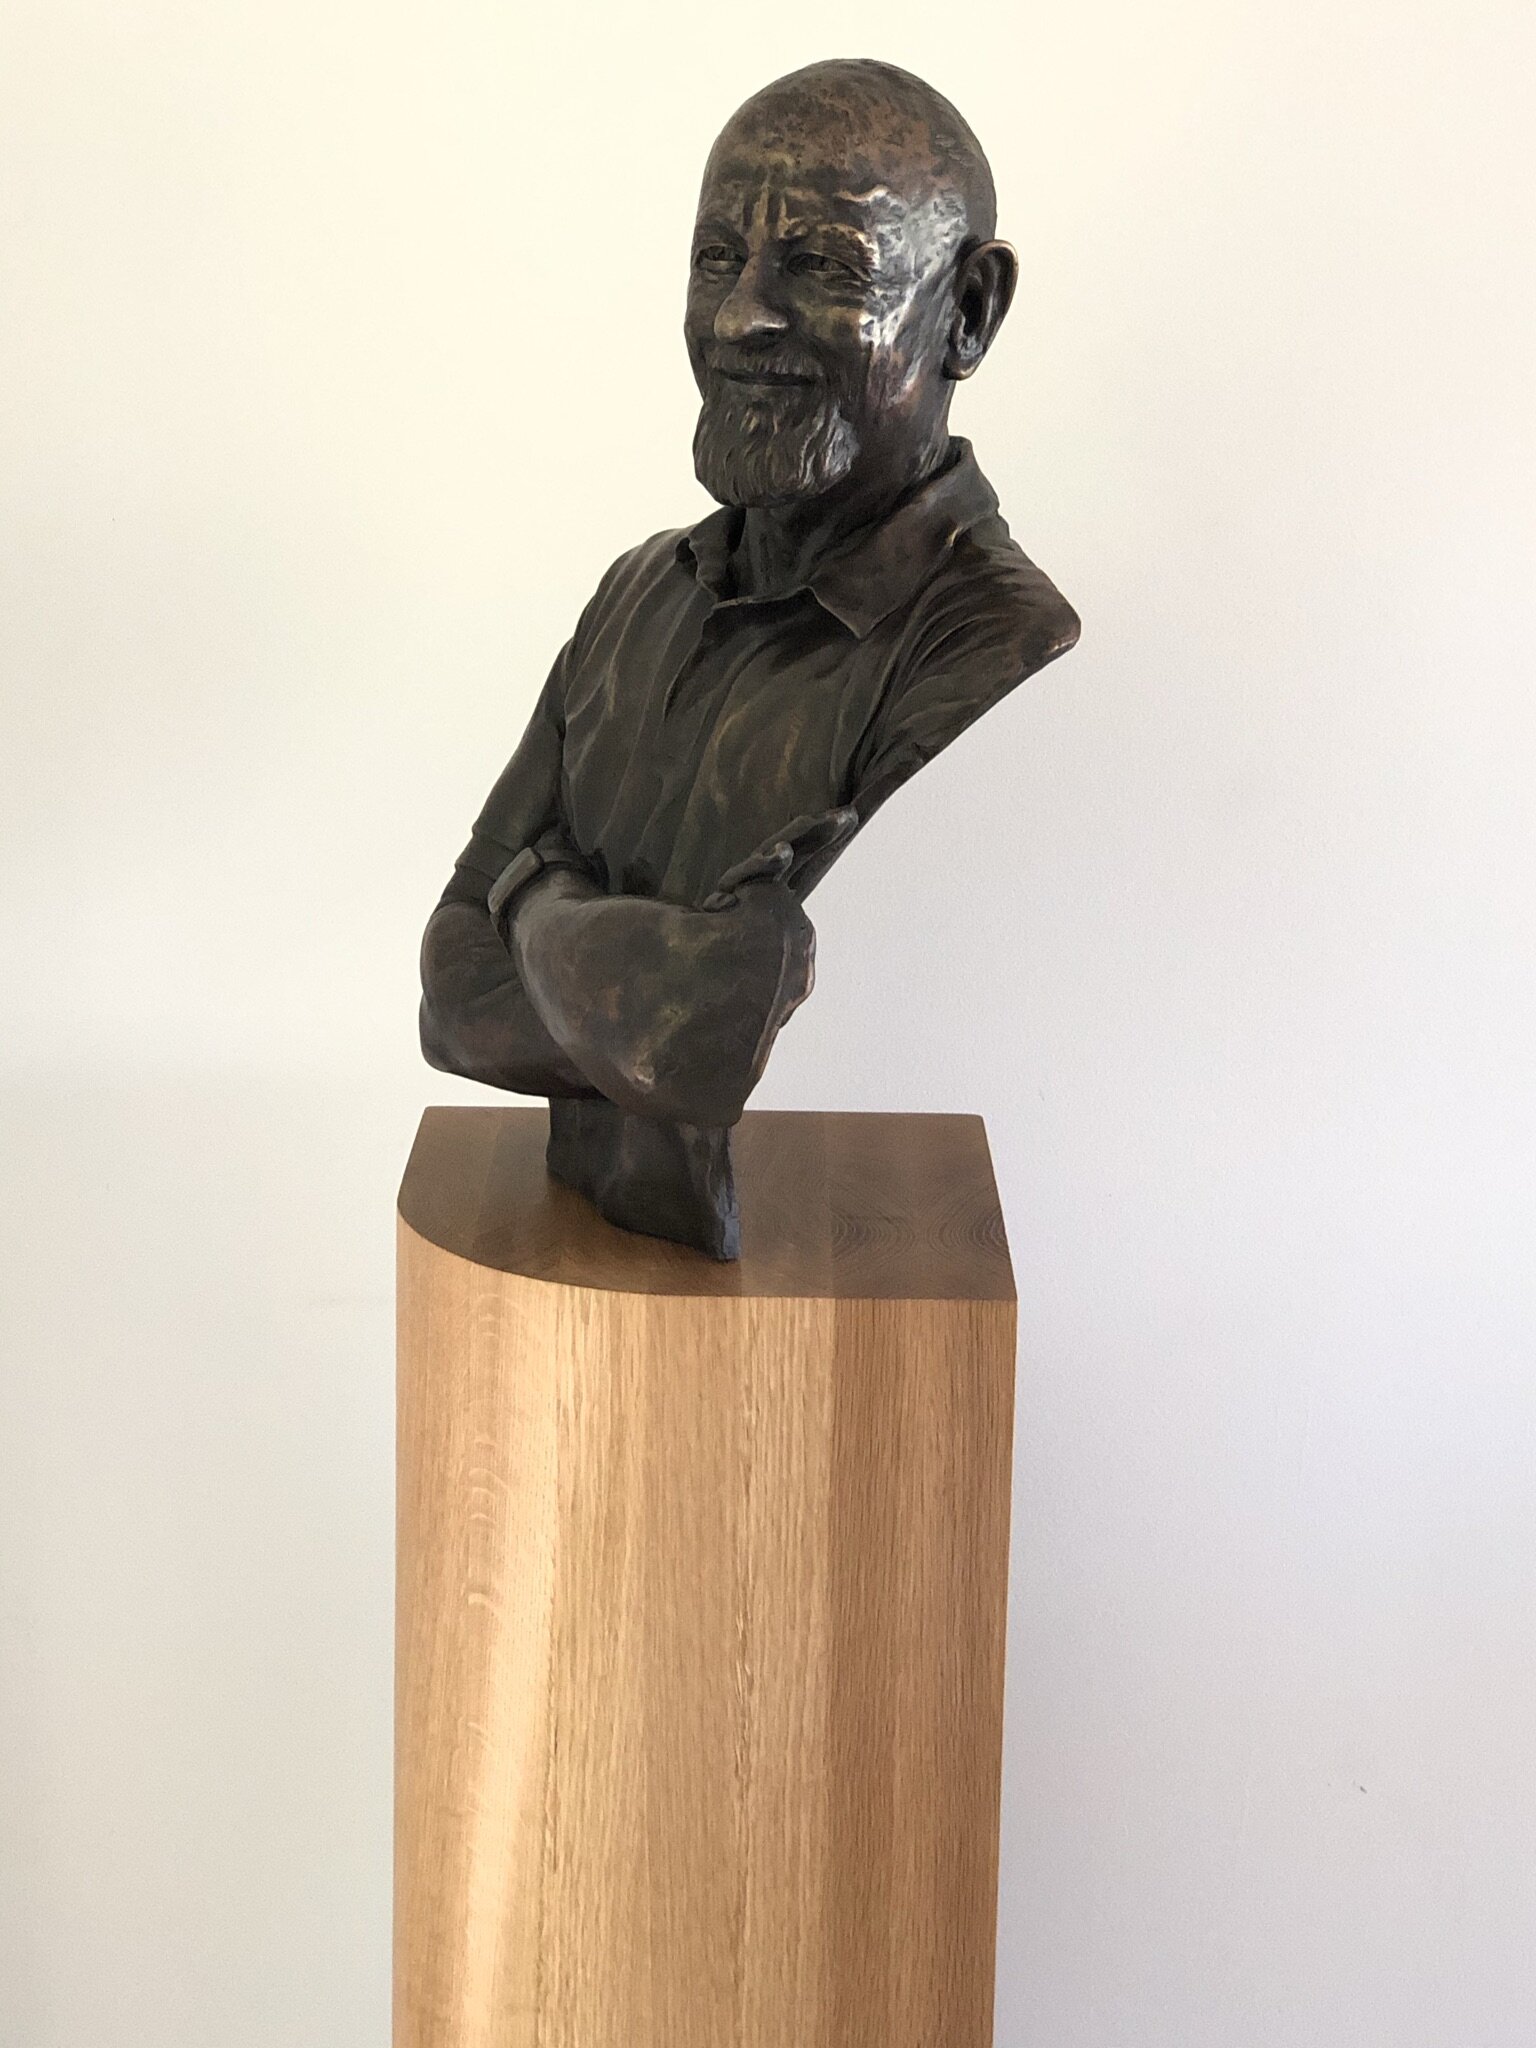
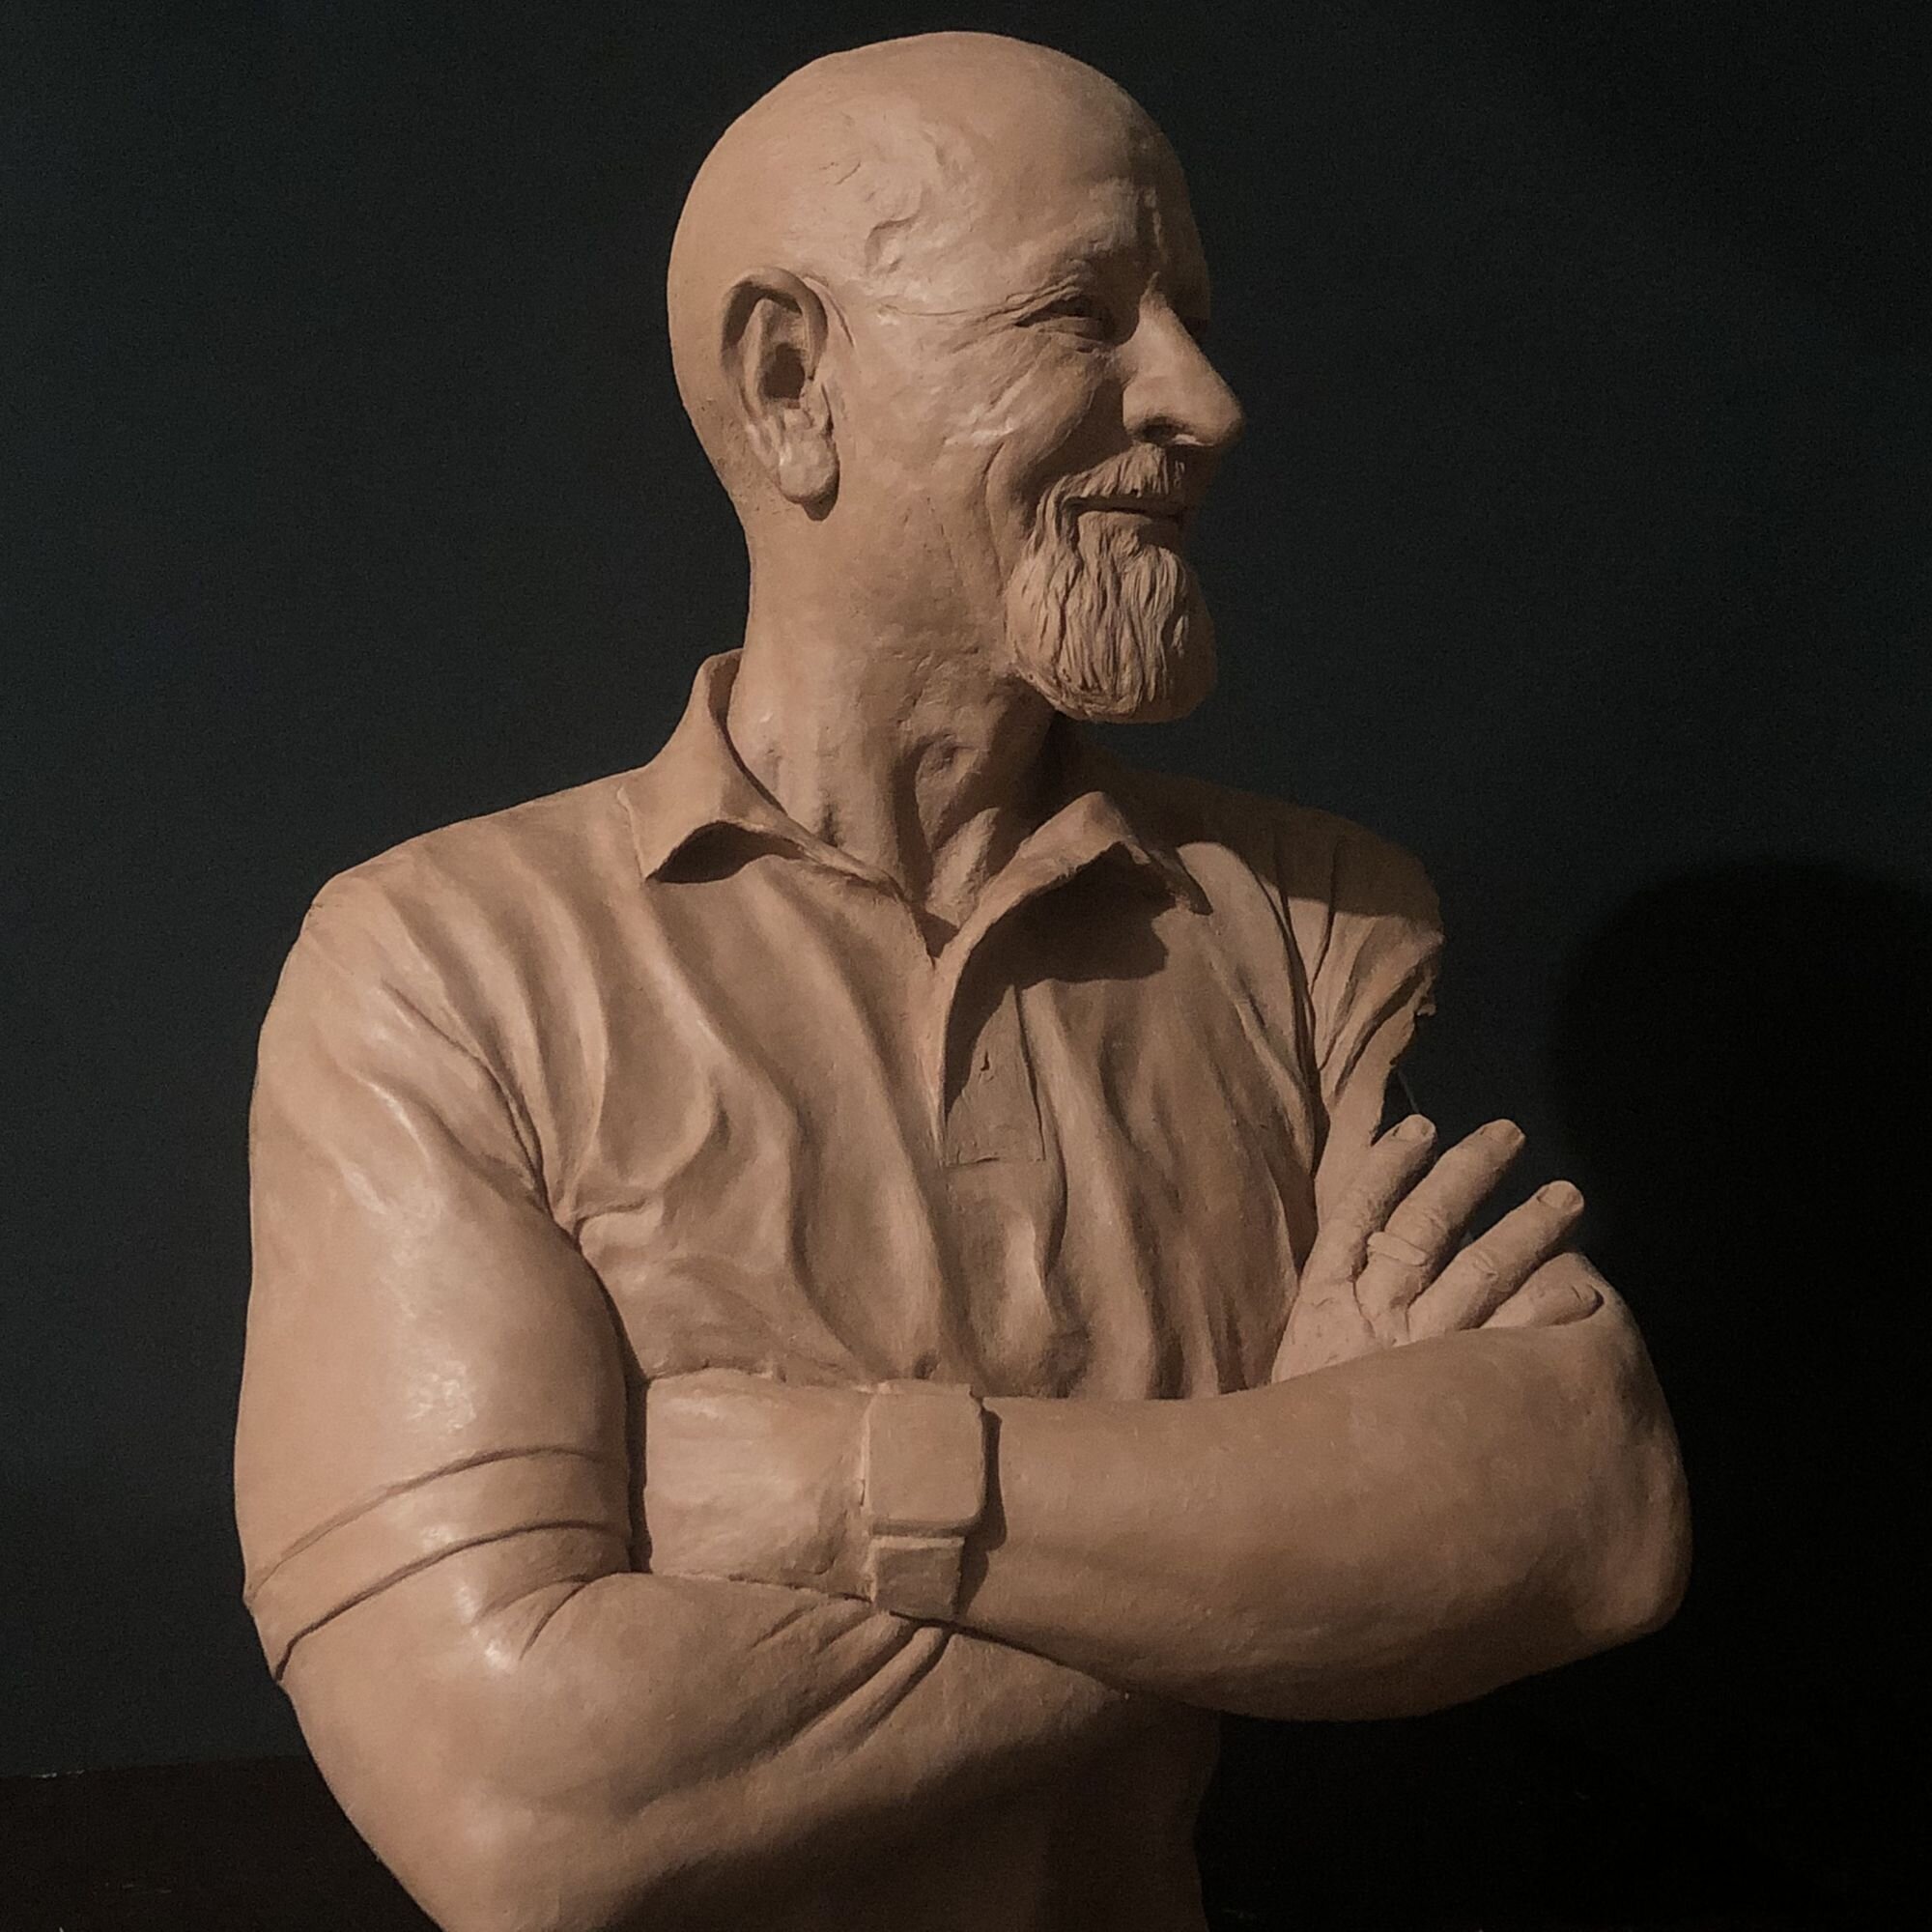
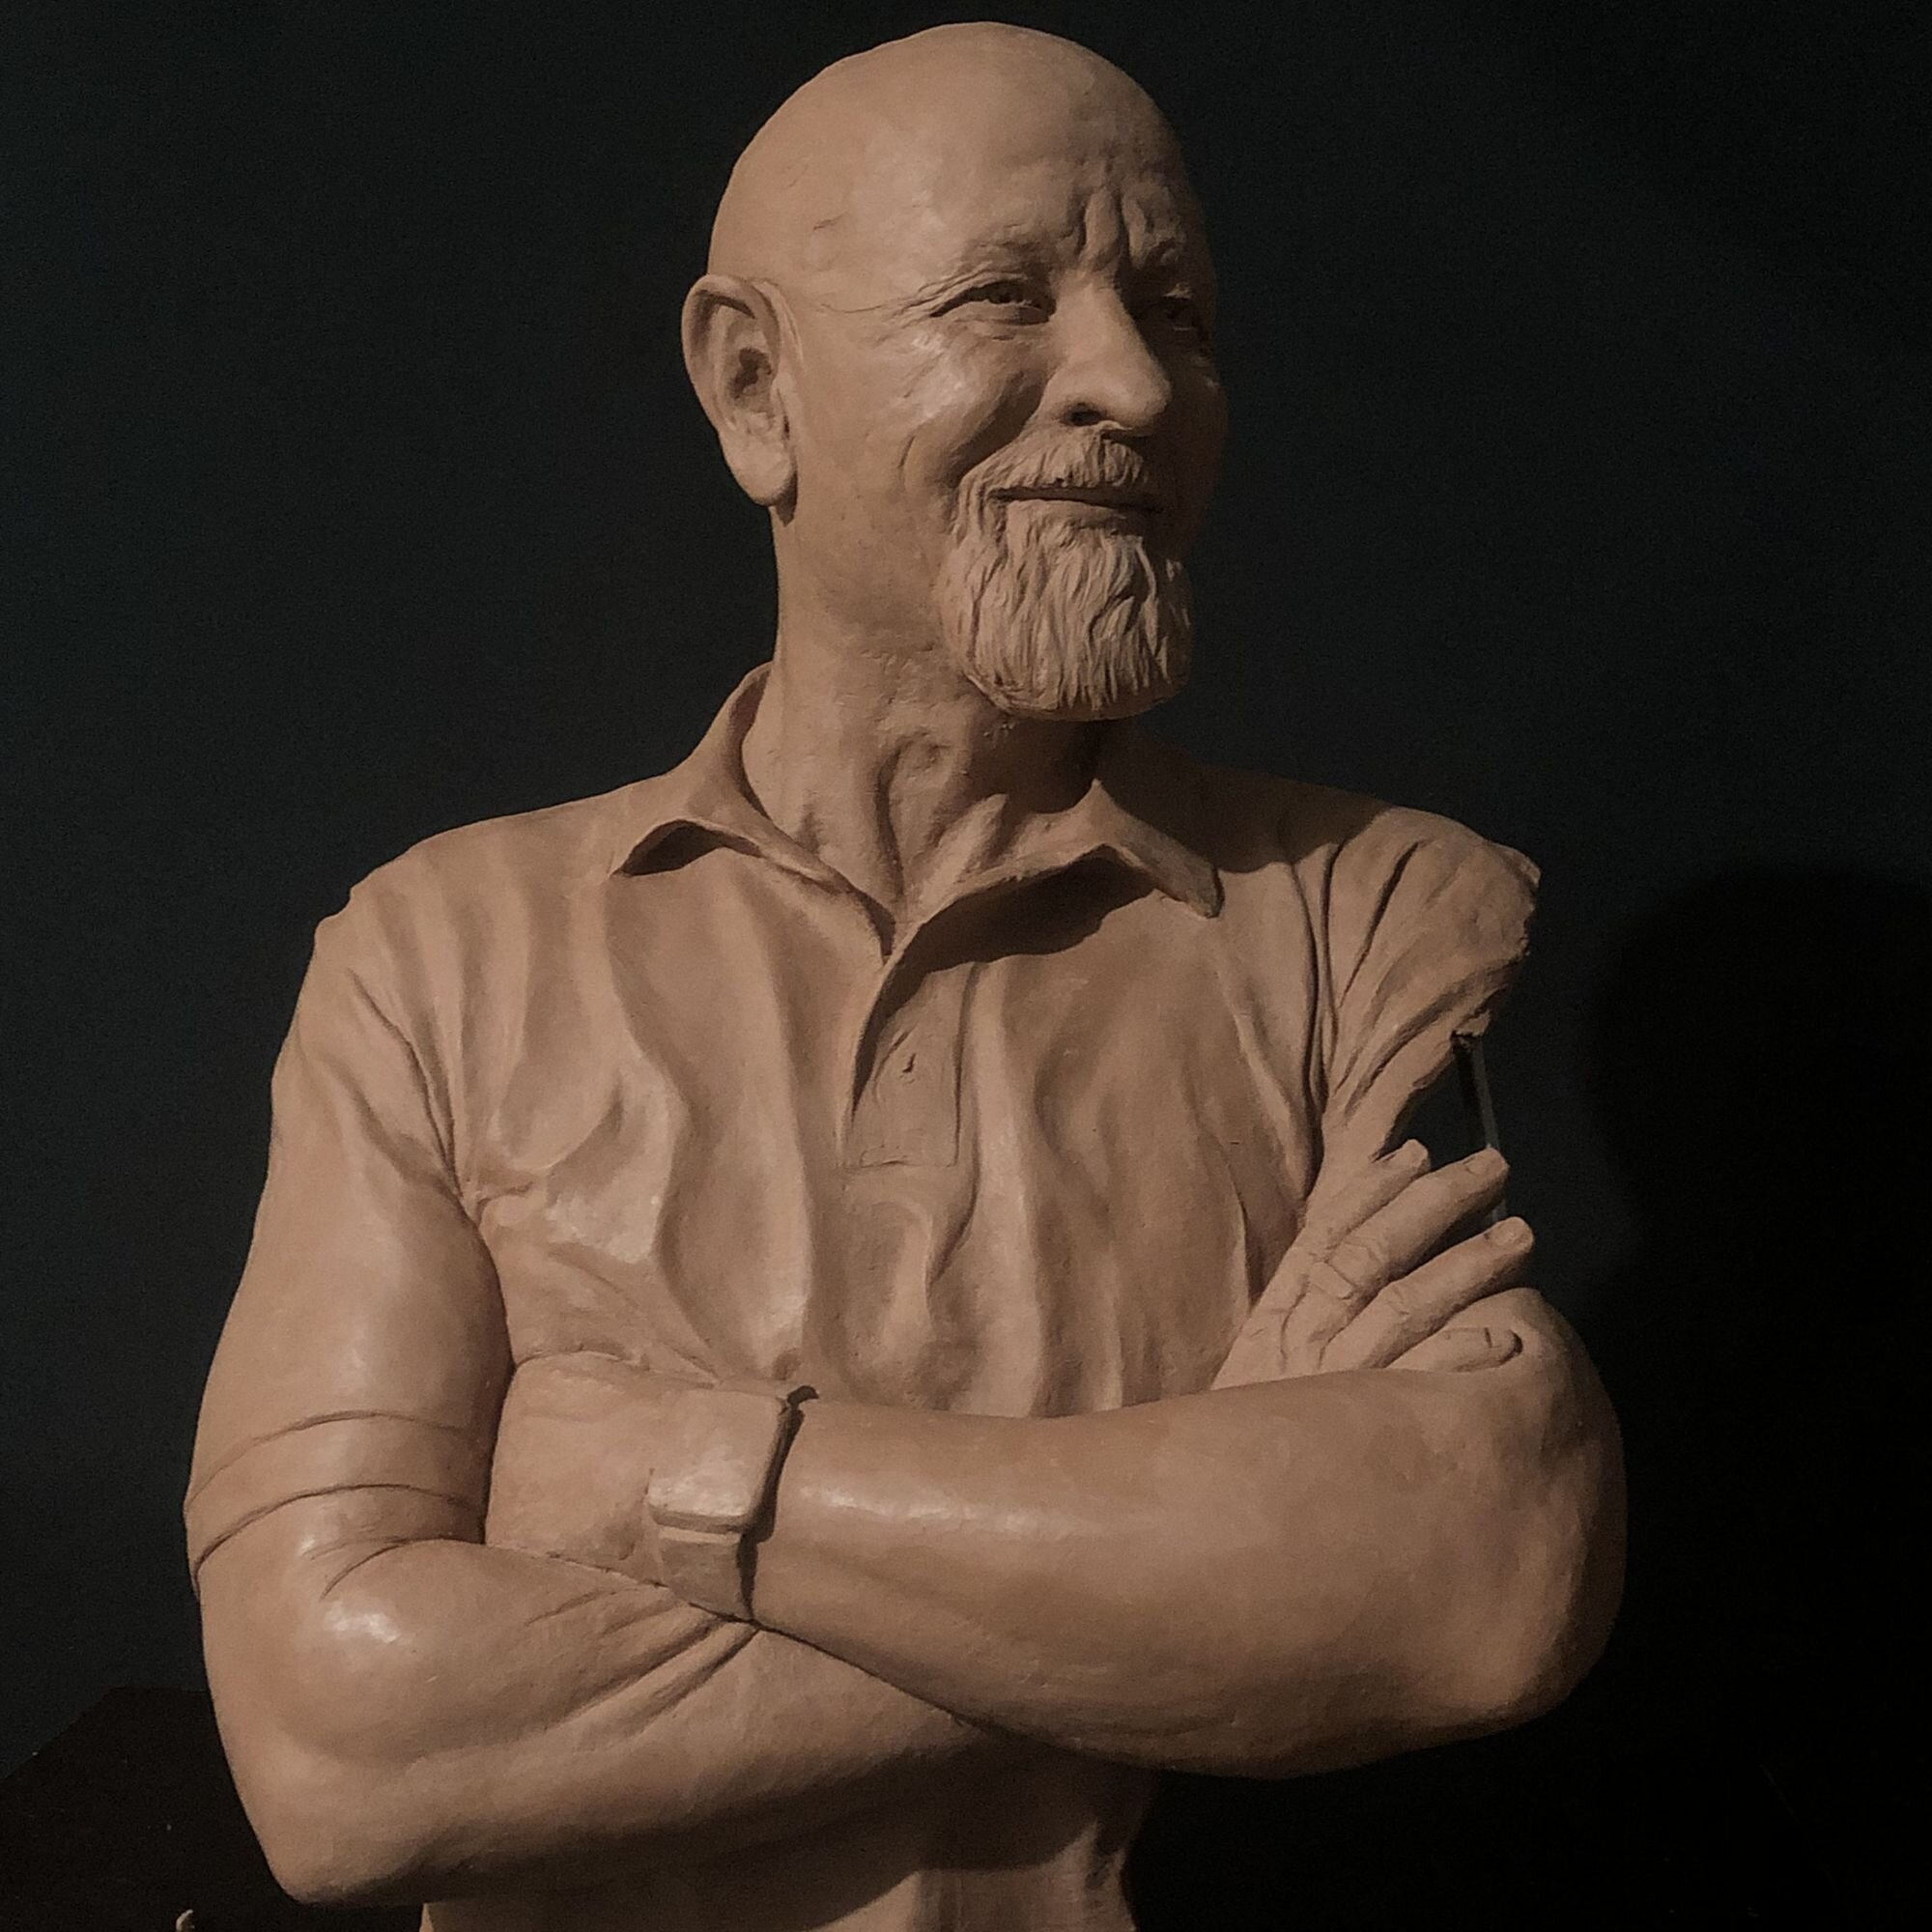
11 The finished work - ‘The Captain’
These are some images of the finished work, ‘The Captain’.